
 Kitchen remodeling
 Bathroom remodeling
 Home additions & ADU
 Roofing
 Windows & doors
 Driveway & pavers
 Fence
Free written scope consultation - allowances, timeline, and change-order rules on paper before a single trade is scheduled
Tub-to-Shower Conversion in Walnut Creek, CA: What It Involves and What It Costs
A tub-to-shower conversion in Walnut Creek typically runs $3,500 – $10,000 and takes five to ten working days from demo to final inspection. The job means pulling the old tub and its surround, reworking the drain and valve, waterproofing the wet area, and setting a new shower pan, walls, and glass. Most Walnut Creek homes we see in this trade are 1950s – 1970s ranches where the original tub has finally quit. Call (888) 419-3650 for a free on-site estimate before you commit to a layout.
How the Job Actually Runs, Stage by Stage
We don’t hand you a start date and disappear. Here’s the real sequence, with the decision points on your side marked.
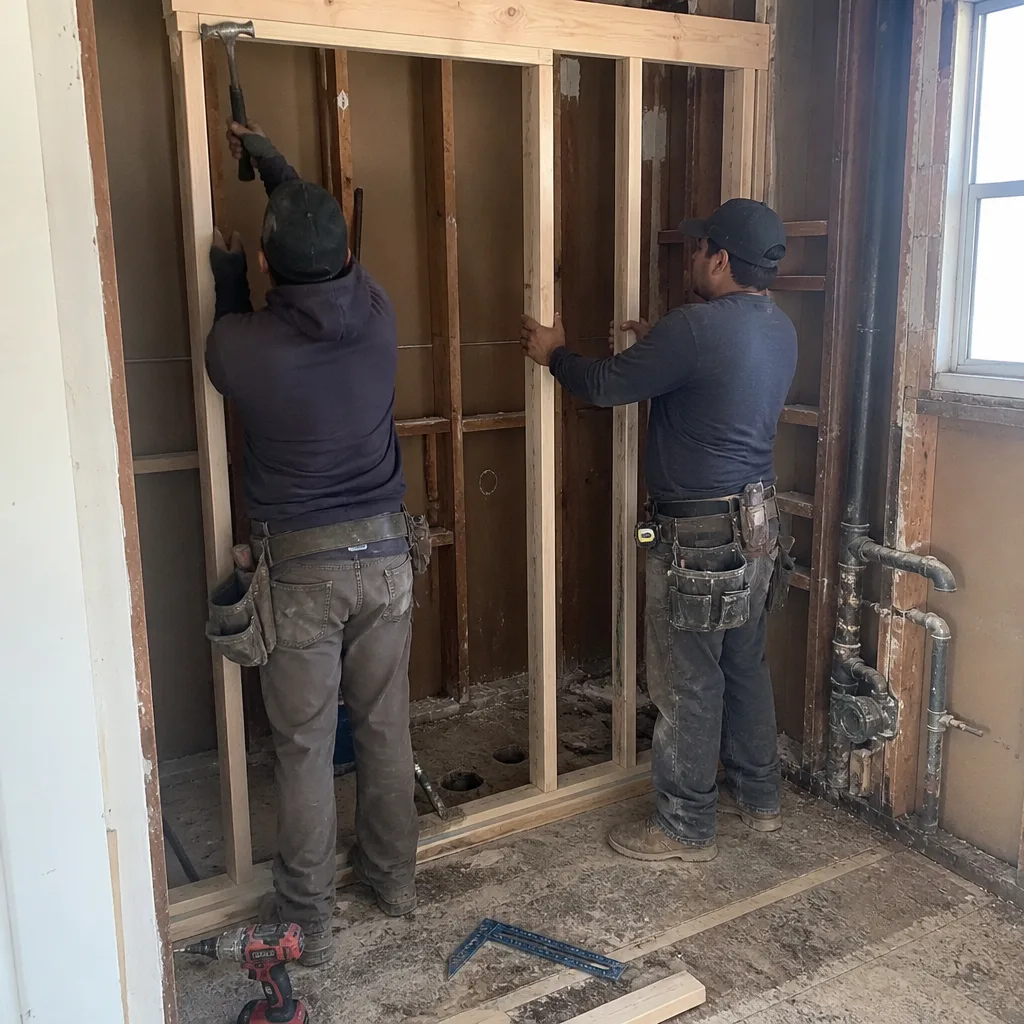
Day 1: Demo and first look underneath
We cut out the tub, the surround, and the valve trim, then inspect what’s behind the wall. In Walnut Creek ranches this is where the surprises live: galvanized supply lines, a drain that’s been patched once already, or drywall where there should be cement board. You’ll see photos of anything we find before we price the fix. Demo runs one day on a clean job, sometimes two if the old tile is set in a mud bed.
Days 2 – 3: Rough-in and inspection
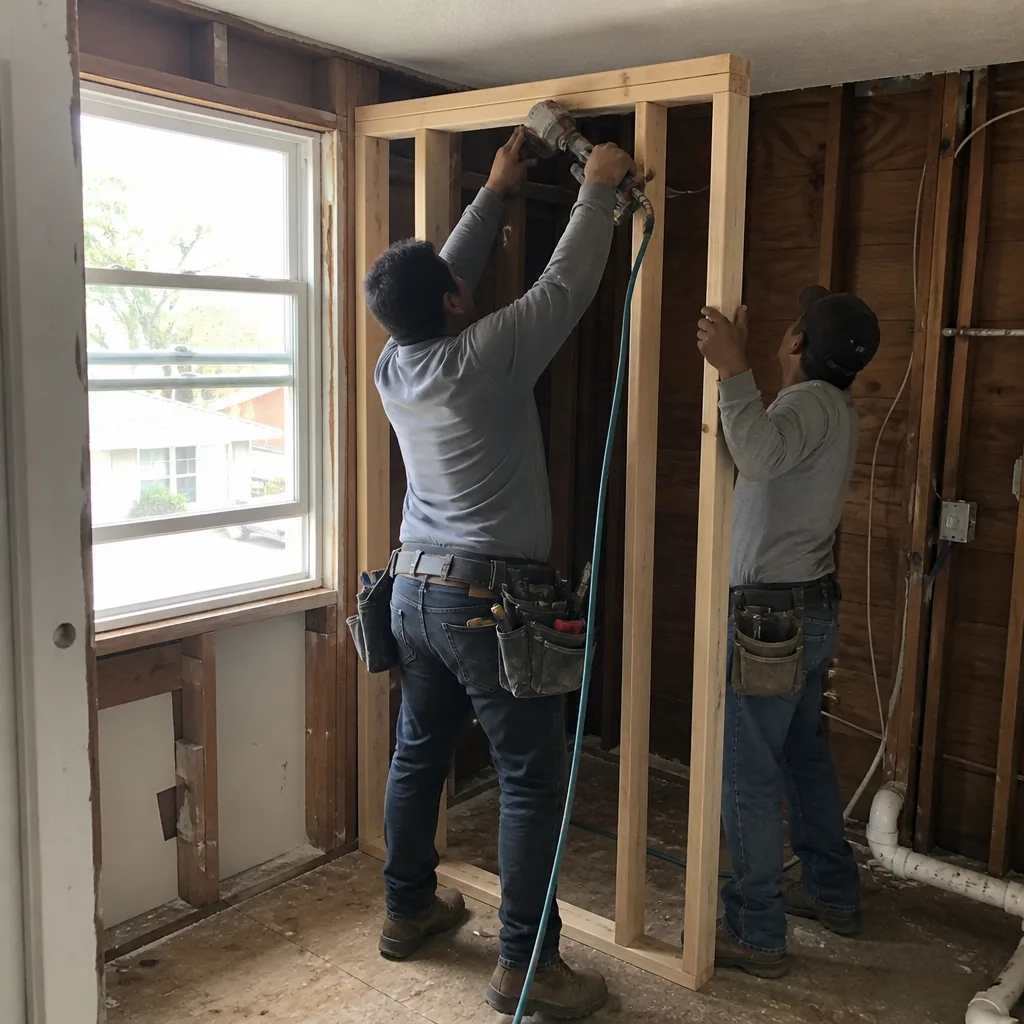
The drain gets relocated to the center of the new pan footprint, the valve gets set at the right height, and any framing repairs happen now. If we’re moving the shower head or adding a niche, the blocking goes in here. This is when the rough plumbing inspection gets called if your permit requires one. You decide the valve brand and trim at this stage, not later, because the rough-in depth depends on it.
Days 4 – 5: Waterproofing
This is the stage nobody sees and everybody should ask about. We set a bonded waterproofing membrane over the pan and walls, then flood-test the pan for a full 24 hours before anything goes over it. If that test fails, we fix it and re-test. No tile goes down on an unproven pan. You don’t decide anything here; we just show you the test result.
Days 6 – 8: Tile, pan, and fixtures
Wall tile, floor tile, grout, and the shower valve and trim go in. A prefab acrylic surround shortens this to a day and a half; large-format porcelain or a curbless pan adds a day. You pick the tile and grout before this stage starts, and we hold the layout to what you approved.
Days 9 – 10: Glass, trim, and final inspection
Glass panels and door go on, the threshold and trim get finished, and we walk the job with you. The final inspection gets called if the permit requires one. Any punch items get written down and scheduled before we leave.
Styles & brands we work with
- Kitchen remodeling
- Bathroom remodeling
- Home additions & ADU
- Roofing
- Windows & doors
- Driveway & pavers
- Fence
The Choices That Actually Change the Outcome
Most of the money and most of the regret sit in four decisions. Here’s the honest version of each.
- Pan type: prefab acrylic vs. tiled mud-set vs. curbless. Prefab acrylic is the fastest and cheapest, holds up well, and suits a rental or a quick flip. A tiled pan with a linear drain looks better and lasts longer but adds days and dollars. A curbless pan needs the floor structure reworked and usually a recessed subfloor, which is where a $3,500 job can turn into a $9,000 one.
- Wall surface: acrylic surround vs. porcelain tile vs. large-format slab. Acrylic is easy to clean and forgiving. Porcelain tile is the middle path and the most common pick here. A large-format slab (think a single-piece wall) reads high-end but drives the price up and limits future repairs.
- Waterproofing system. A bonded sheet or liquid membrane under the tile is not optional. We use a system like Schluter’s because it’s proven and inspectable. The cheap alternative is cement board with a painted-on sealer, which is what fails in ten years. Ask what’s under the tile.
- Fixtures and valve brand. A basic valve and trim work fine. A thermostatic valve or a brand like Grohe or Toto buys you smoother temperature control and better parts availability. Cost difference runs a few hundred dollars; the difference in daily use is real.
What Tub-to-Shower Conversion Costs in Walnut Creek, CA
Plan on $3,500 – $10,000 for the conversion itself. The low end is a straight swap with a prefab pan and acrylic walls in a standard 5-foot alcove. The high end is a tiled pan, custom tile, a relocated drain, and glass.
What pushes a job to the top of that range:
- Moving the drain or valve. Relocating the drain to the center of a wider footprint or shifting the valve wall adds plumbing and, in some cases, a framing change. That alone can add $800 – $2,000.
- What’s behind the wall. Aluminum branch wiring, a rusted drain, or a rotted subfloor discovered at demo adds cost. In Walnut Creek’s older ranches this is common enough that we budget for it in the estimate rather than surprise you later.
- Pan and tile grade. Curbless and large-format tile are the two biggest drivers. A curbless pan with a linear drain can add $1,500 – $3,000 over a standard acrylic pan.
- Permit scope. A like-for-like swap often needs only a plumbing permit. Moving the drain, adding a valve, or changing the footprint can pull in an electrical or framing inspection, which adds both cost and calendar time.
- Glass. A framed door is the budget pick. A frameless or semi-frameless enclosure adds $600 – $1,500.
A written estimate from us lists demo, rough-in, waterproofing, tile, fixtures, glass, permit, and haul-away as separate lines. What it doesn’t include unless we note it: structural repair if the subfloor is compromised, a full electrical upgrade if the bath circuit is undersized, and any HOA or design-review fees. The number you see is the number you pay, and it doesn’t move once work starts.
See the difference
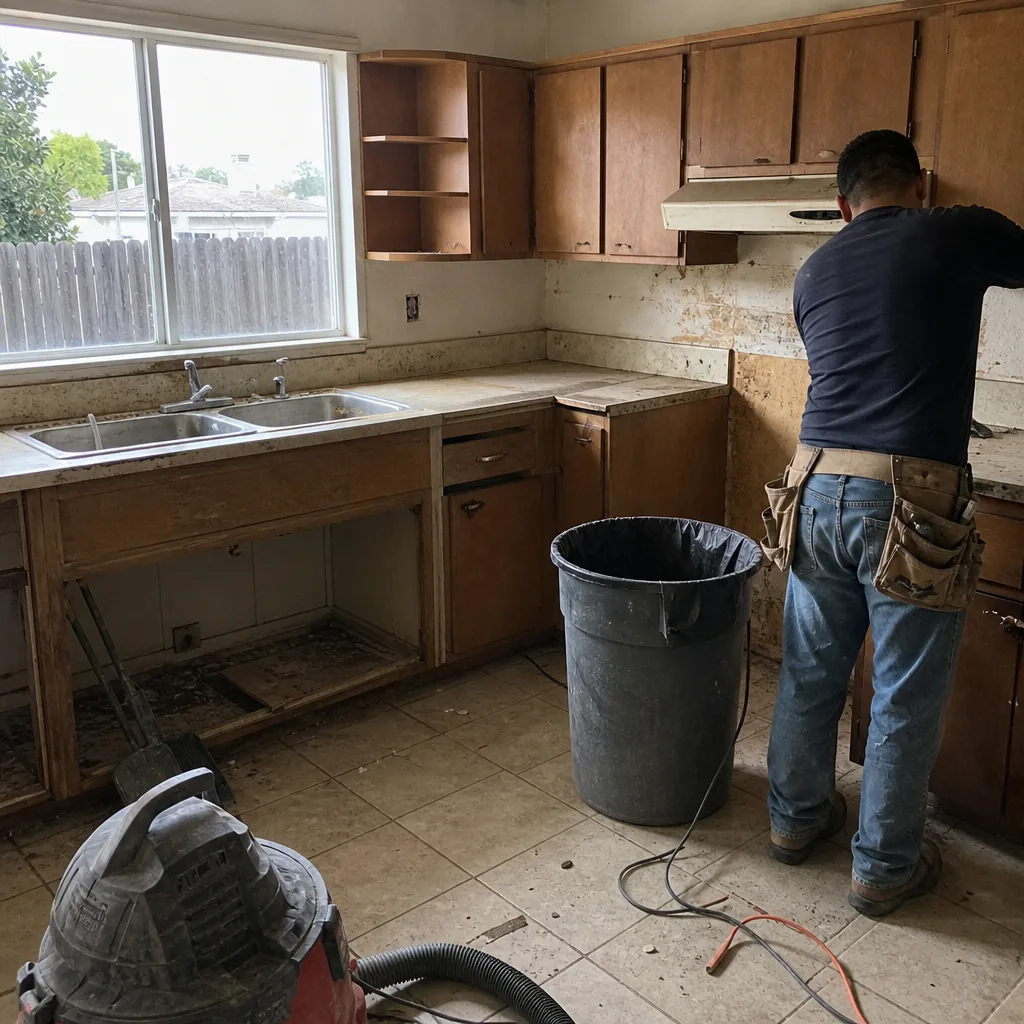 Before
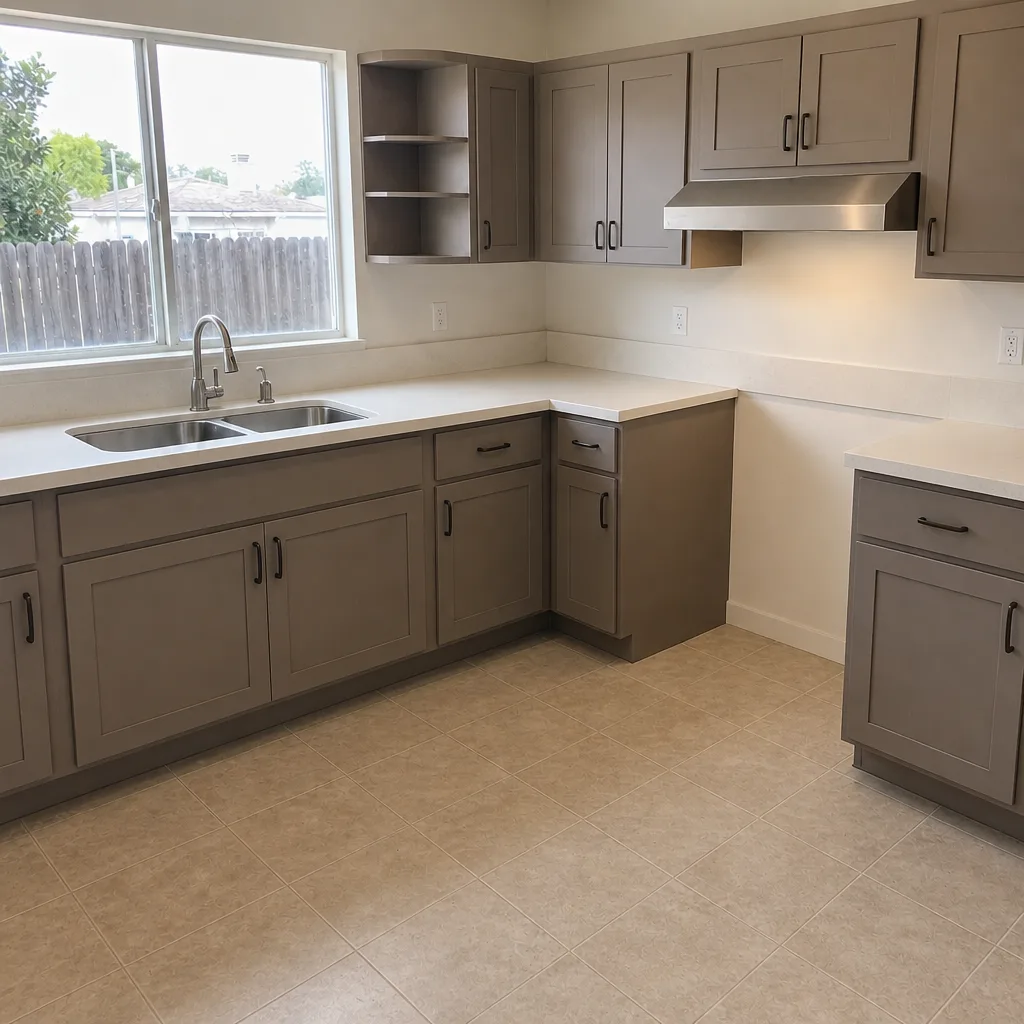 After
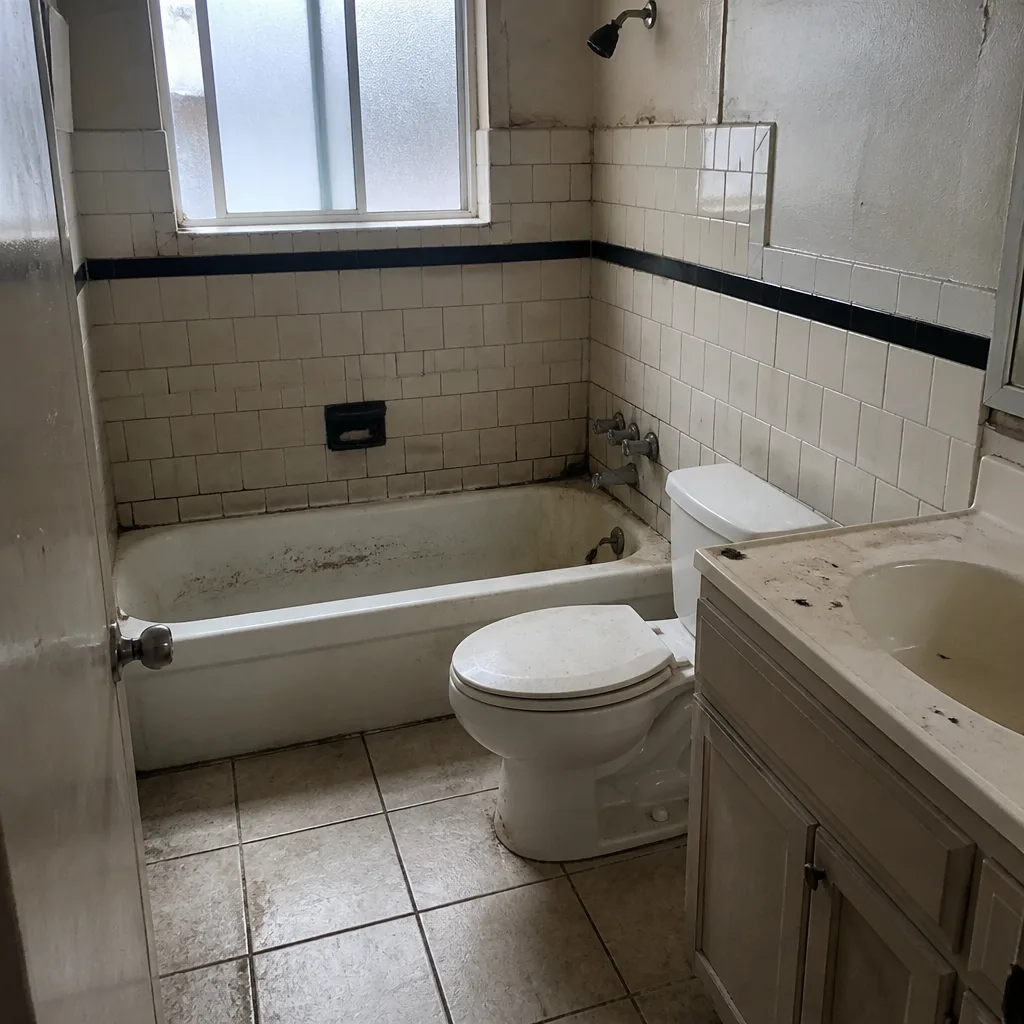 Before
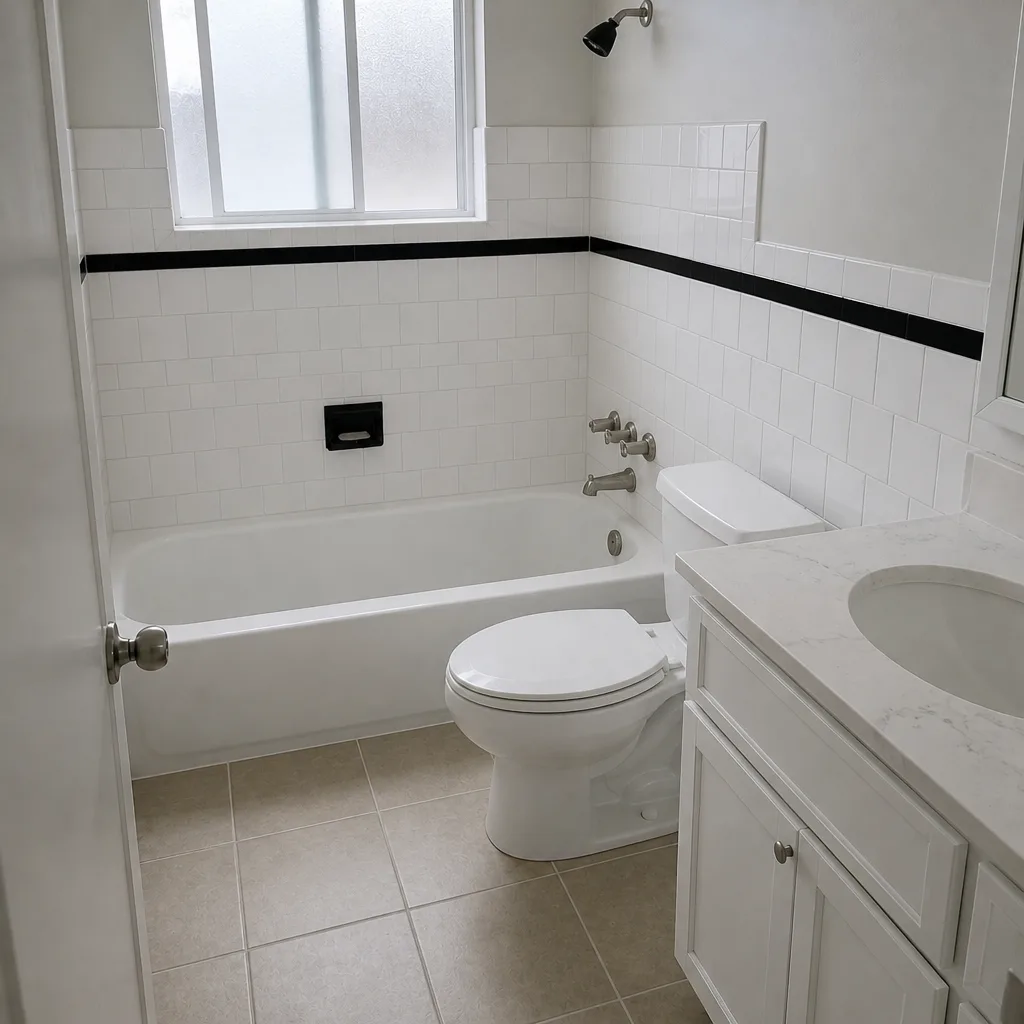 After
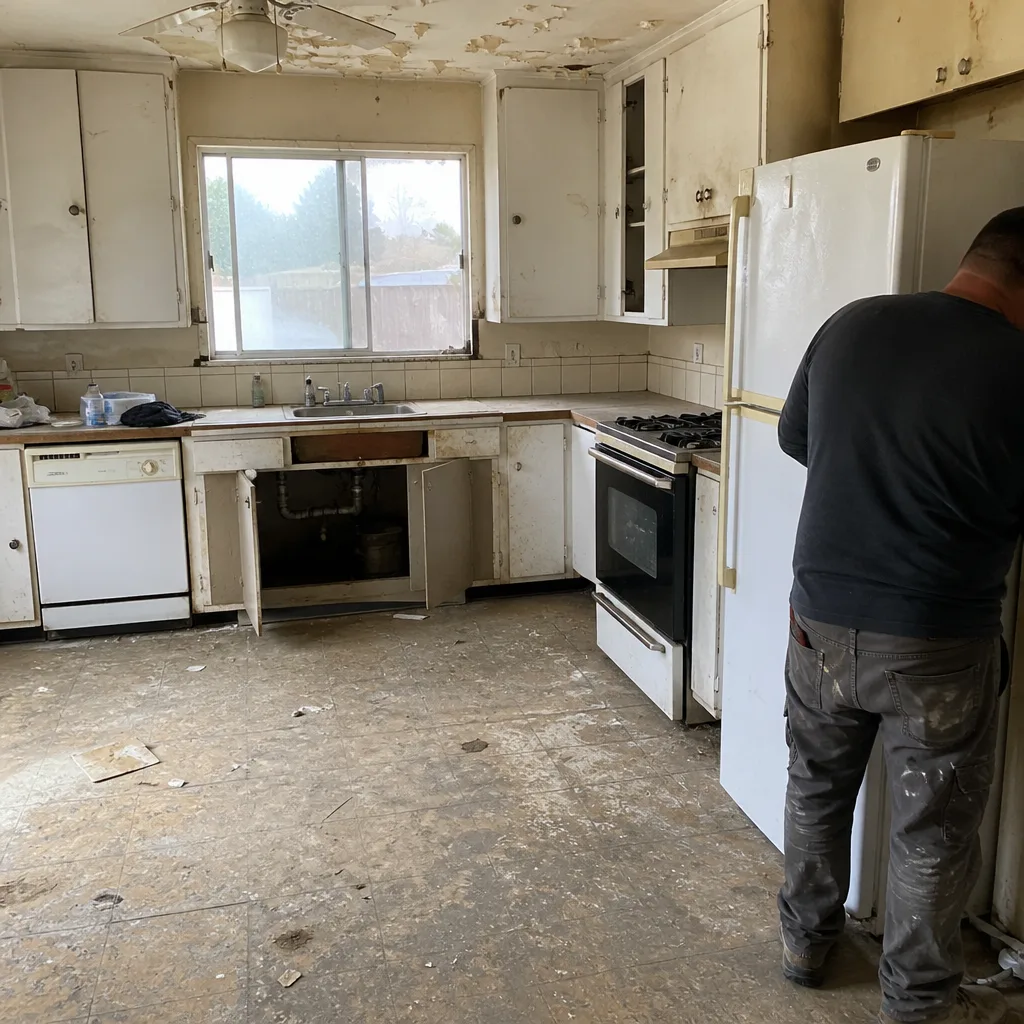 Before
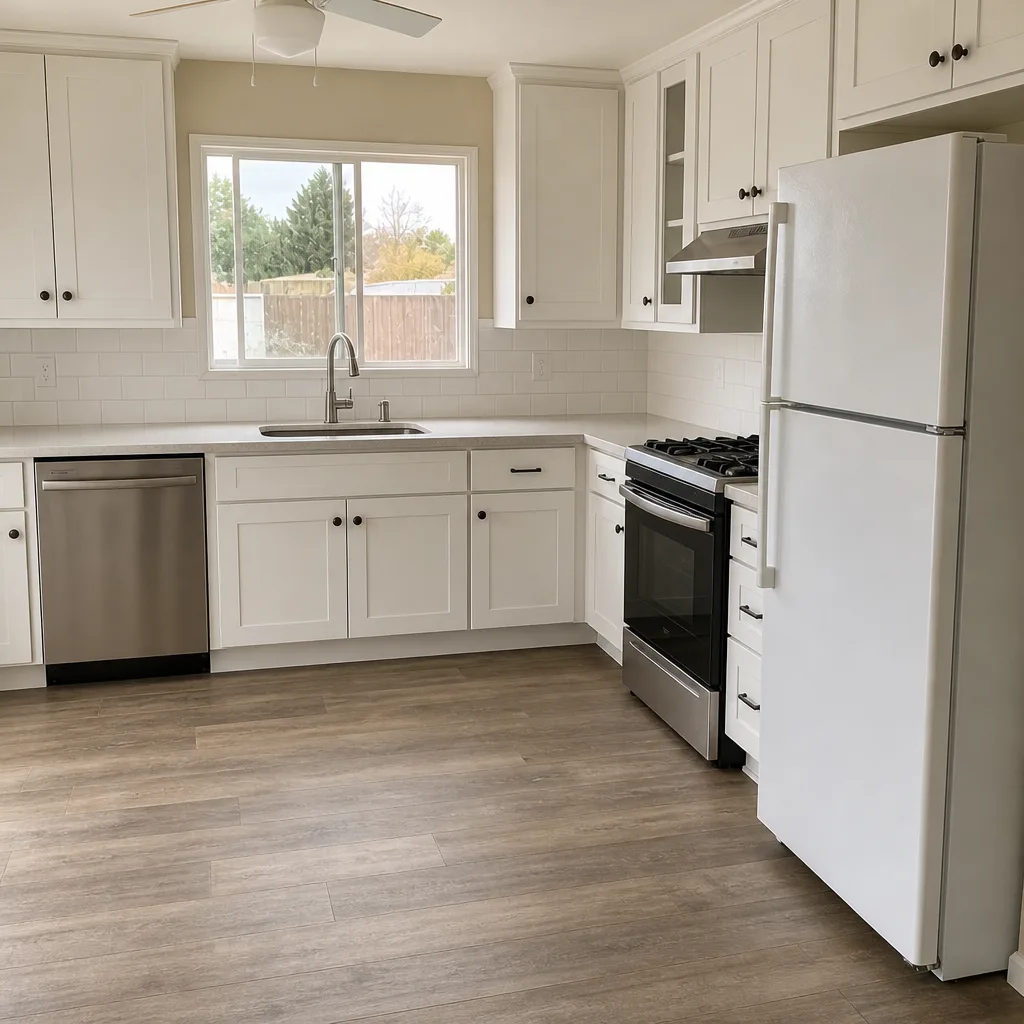 After
What Walnut Creek Homes Specifically Do to This Job
Walnut Creek’s housing stock is the story here. A lot of the homes we work in are 1950s – 1970s single-story ranches and split-levels, and many of them were built with aluminum branch wiring and minimal bath insulation. A tub-to-shower conversion in one of those homes often turns into an electrical and insulation upgrade because current Title 24 energy standards get triggered once you open the wall. We plan for it upfront rather than discovering it at inspection.
Permitting here runs through the city’s building department, and the inspection sequence matters: rough plumbing, then a pan flood test, then final. Skipping a step means a re-inspection and a delay, so we build the calendar around it. If your home sits on a hillside lot, design review and hillside preservation rules can apply to anything that changes the exterior envelope, though a straight interior conversion usually stays clear of that. Where we do see issues is in older tract homes: undersized drains, a valve set too high for a new pan, and shower walls that were never waterproofed because the tub surround was doing the work. Homeowners in the Saranap and Parkmead areas often pair a conversion with a full Bathroom Remodeling in Walnut Creek when the vanity and floor are on the same list, and hillside homeowners sometimes pair it with Metal Roofing in Walnut Creek for fire resistance. We cover the whole of Walnut Creek, including the 94596, 94597, 94598, and 94595 ZIPs.
Serving Walnut Creek, CA – Our Local Coverage Area
We serve Walnut Creek and nearby communities. Use the map below to see the area we cover. If you’re nearby, we can almost certainly help.
Frequently Asked – Tub-to-Shower Conversion in Walnut Creek
Five to ten working days from demo to final walkthrough, with a prefab acrylic job landing near five and a tiled or curbless job pushing toward ten. Inspection scheduling can add a few days on top. Call (888) 419-3650 for a date-range quote specific to your bath.
Usually yes, at least a plumbing permit, and the scope decides whether an electrical or framing inspection gets added. A like-for-like swap is the simplest; moving the drain or valve typically requires more. We pull the permits and pass the inspections, and we’ll tell you at estimate which path your job falls on.
In most Walnut Creek alcoves, yes. A standard 5-foot alcove converts to a shower with the drain roughly where it was, which keeps the price near the bottom of the range. Moving the drain to the center of a wider footprint is what adds cost. Most conversions don’t need structural work at all.
The range is $3,500 – $10,000, with the middle of that band being a tiled pan with porcelain walls and a semi-frameless glass door. Curbless, large-format, and relocated-drain jobs sit higher. Call (888) 419-3650 for an exact quote; estimates are free.
Every conversion is covered by our 730-Day Done Right Promise, which is one of the longest workmanship guarantees in residential construction: if it’s not done right, we make it right. That covers the waterproofing, tile, and installation, not just the fixtures. Ask for it in writing with your estimate.
Get a Free Tub-to-Shower Conversion Estimate in Walnut Creek
Call (888) 419-3650 to schedule a free on-site estimate for your tub-to-shower conversion in Walnut Creek. We’ll measure the alcove, check the drain and valve, and talk through pan and tile options, then hand you a written line-item price. Calls are answered by a live person, 24/7, and there’s no pressure to decide on the spot. Our technicians have up to 12 years of experience, and our broader bathroom remodeling service handles the full-bath version if your scope grows. Bathroom Remodeling is our core line.
Written by the team at Groundwork Construction Co.