
Last updated November 17, 2026
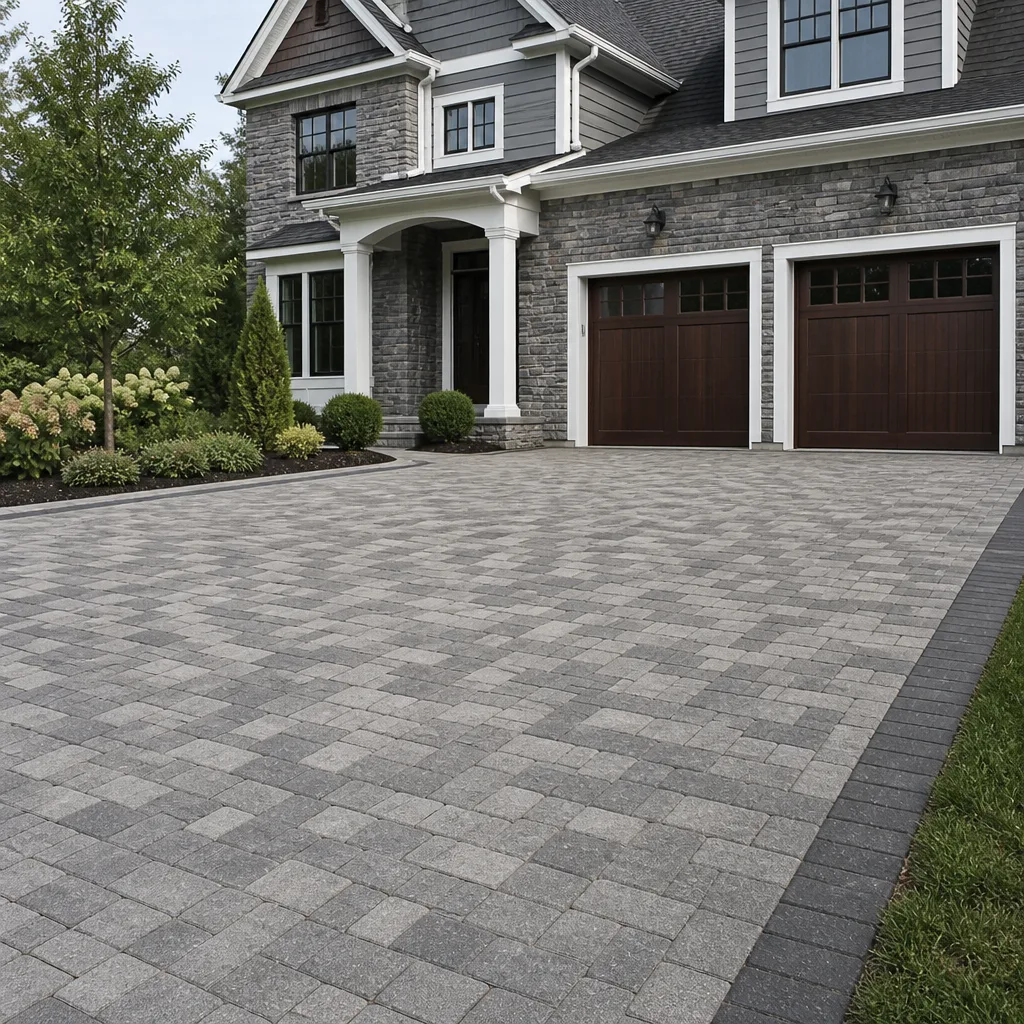 Driveway & pavers
 Kitchen remodeling
 Bathroom remodeling
 Home additions & ADU
 Roofing
 Windows & doors
 Fence
Free written scope consultation - allowances, timeline, and change-order rules on paper before a single trade is scheduled
Driveway & Pavers Maintenance Schedule: What to Do and When
Sealing pavers at the wrong time of year does more damage than not sealing them at all. We’ve watched homeowners in Antioch spend good money on a fresh seal coat in April, only to see it blister and peel by July when the Central Valley heat slammed it from underneath. The pavers didn’t fail because of neglect. They failed because the work happened on the wrong week of the calendar. That’s the piece almost every maintenance guide skips. What follows is a task-specific schedule built around how Antioch actually behaves – the clay soil, the hot summers, the wind that pushes topsoil across a driveway all summer, and the winter rain that finds every weak joint. You’ll get the timing, the signs to watch for, and the milestones that separate a driveway that looks new at year ten from one that’s heaving at year five.
Quick Answer
Pavers need four touchpoints a year: a three-minute perimeter walk every month, joint sand top-off in late spring, a full reseal in fall, and a deep clean in early spring after the last rain. The single most important rule is to reseal in fall, once daytime highs settle below 85°F and the surface is dry – not in spring, when rising heat traps moisture under a fresh coat. In Antioch’s climate, that window usually opens in late September and closes hard once the winter rains start.
Styles & brands we work with
- Kitchen remodeling
- Bathroom remodeling
- Home additions & ADU
- Roofing
- Windows & doors
- Driveway & pavers
- Fence
Table of Contents
- Why Fall – Not Spring – Is the Right Time to Reseal in Antioch
- The Signs Polymeric Sand Needs Replacing (Before the Joints Erode)
- The Three-Minute Monthly Perimeter Checklist
- Clearing Biofilm on Shaded Pavers Without Stripping the Sealer
- Year One, Year Three, Year Seven: What Each Phase Requires
- The Full Antioch Maintenance Calendar, Month by Month
- Drainage, Slope, and the Clay Soil Problem
- What Your Paver Material Changes About the Schedule
Why Fall – Not Spring – Is the Right Time to Reseal in Antioch
Here’s the counterintuitive part: spring looks like perfect sealing weather, and it’s the worst choice you can make. A sealer needs to cure from the top down while the moisture underneath escapes upward. In Antioch, spring means the ground is still holding winter rain and the air temperature is climbing fast. You put a coating on top, the sun heats the pavers, and the trapped moisture pushes up against the film. That’s how you get the white, cloudy haze and the flakes that peel off in sheets by June. The sealer didn’t fail. It was applied over a surface that couldn’t breathe.
Fall flips every one of those variables in your favor. The rains that saturated the clay soil have stopped, the surface dries out for good, and the daytime highs drop into the range most sealers are actually rated for. The cool nights slow the cure, which sounds bad and isn’t – a slow cure is a stronger cure. The coating locks down before the first real storm and carries the pavers through the wet season with a sealed joint.
The Antioch Fall Sealing Window
In our experience across Contra Costa County, the workable window usually runs from the third week of September to the first week of November. You’re looking for a stretch where:
- Daytime highs stay under 85°F for the full cure period
- No rain is forecast for at least 48 hours after application
- The pavers have been dry for a minimum of two days before you start
Miss the window and you’re better off waiting until next fall than forcing a coat on in December. A sealer applied to a cold, damp surface cures unevenly and can trap a film of moisture that turns into a milky stain you’ll pay to strip later. If you’re not sure how to read the timing, our team handles Driveway & Pavers in Antioch and can walk the surface with you before the season turns.
The Signs Polymeric Sand Needs Replacing (Before the Joints Erode)
Polymeric sand is the stabilizer that sits in the joints between pavers, locks them against lateral movement, and keeps weeds and water from finding a path down into the base. Once it’s gone, the joints open, water gets under the pavers, and the failure sequence starts – one paver rocks, then a section sinks, then the whole edge lifts. The catch is that sand erodes slowly enough that most homeowners don’t notice until the damage is done. These are the specific signs to catch it early:
- Visible joint depth. Healthy polymeric sand sits within about 1/8 inch of the paver surface. If you can drop a fingertip into the joint without touching sand, it needs topping off.
- Sand in the driveway after rain. A little grit washing toward the street after a storm is normal in year one. Finding a distinct trail of sand at the edge of the driveway in year three means the joints are losing material.
- Weeds threading up through joints. Isolated weeds are a nuisance. A line of weeds along the same joint run means water is now moving through that channel and the sand is gone.
- Pavers that rock underfoot. If a paver shifts slightly when you step on it, the sand underneath has failed and the base is working loose. This is your strongest warning sign and the one most often ignored.
- Pitting or a rough texture on the joint sand surface. Polymeric sand that has broken down from UV exposure or freeze-thaw cycles crumbles when you probe it with a screwdriver tip.
When to Apply Polymeric Sand in Antioch
The best time is late spring, once the pavers are fully dry and the weather has stabilized – typically May into early June. You don’t want to apply fresh sand right before the rainy season, because a heavy storm within the first week can wash out a joint before the polymer sets. The ideal sequence is sand first, cure through the dry summer, then seal in fall so the sealer locks the sand in place for the wet months. Doing the sand and the seal in the same appointment compresses your protection into a single pass. That has real value on a driveway that takes daily traffic.
The Three-Minute Monthly Perimeter Checklist
We tell Antioch homeowners the same thing: walk your driveway once a month, and you’ll catch the vast majority of problems while they’re still inexpensive to fix. Three minutes. No tools beyond a screwdriver and your eyes. Done at the same time each month so it becomes a habit rather than a chore.
The Walk-the-Perimeter Checklist
- Start at the street edge and walk the entire perimeter. Look for sand trails, cracks in the border pavers, and any spot where the edge has begun to separate from the surrounding soil or concrete.
- Look for pavers sitting proud of the field. If one paver has lifted even a quarter inch above its neighbors, water is pooling under it. That’s a base issue, not a surface issue.
- Check the joints along the driveway-to-garage threshold. This seam takes more water and more vehicle weight than any other part of the driveway. It’s always the first to fail.
- Probe the joint sand with a screwdriver. Push down gently on three or four spots across the driveway. If the tip sinks past 1/4 inch, the sand is low and needs topping off.
- Walk the edge that abuts your lawn. Clay-soil heaving along the edge is common in Antioch, especially after a wet winter. Look for a hairline gap between the pavers and the adjacent soil.
- Confirm water still drains away from the house. After a rain, check that ponding water clears within about 24 hours. Standing water against the foundation is a drainage problem, not a paver problem – and it’s worth flagging right away.
Do this monthly and you’ll spot problems at the point where a $200 fix is still a $200 fix. Skip it for a year and you’re looking at resetting pavers, which is a much bigger number. We’ve seen both outcomes in Antioch, and the difference between them is almost always the monthly walk.
Clearing Biofilm on Shaded Pavers Without Stripping the Sealer
If your driveway sits under a shade tree, faces north, or runs along the shadowed side of the house, you’ll fight biofilm. That’s the dark greening and occasional black streaking that builds on any paver surface that stays damp for hours after rain. In Antioch, the driveways tucked under mature oak or sycamore canopies see this within 18 months of installation. The mistake is grabbing the pressure washer and blasting it clean – that strips the sealer and opens the joints in the same pass. The right approach is gentler and it keeps your fall seal intact.
Step-by-Step Biofilm Removal That Protects the Sealer
- Wait for dry weather. Two to three dry days after the last rain so the surface is fully dry before you start.
- Sweep off loose debris. A hard-bristle push broom, no water yet. Get every leaf, twig, and bit of grit off the surface.
- Apply a diluted oxygen-based cleaner or a paver-safe biofilm treatment. The label will tell you the dilution for the surface type. Skip bleach and skip anything labeled as a stripper – both attack the sealer matrix.
- Let it dwell, then scrub with a medium-bristle brush. Not a wire brush. Medium synthetic bristles on a long-handled brush, worked along the joint direction rather than across the pavers.
- Rinse with low pressure. A garden hose with a fan nozzle, or a pressure washer held at no more than 1,200 to 1,500 PSI with the tip held far off the surface. High pressure is the enemy.
- Let it dry completely before walking on it. Overnight is usually right in the Antioch shoulder seasons.
If your sealer is already broken down and the biofilm keeps returning, that’s a signal your fall reseal is due. Biofilm can’t establish a hold on a properly sealed surface. A fresh fall seal is often the smartest “biofilm treatment” you can buy. Call (888) 419-3650 if you’d like a look at the surface before the season – estimates are free.
Year One, Year Three, Year Seven: What Each Phase Requires
New pavers don’t need the same maintenance as a ten-year-old driveway. The failure sequence runs on a schedule of its own, and matching your work to the age of the installation is how you avoid over-maintaining in year one and under-maintaining in year seven. Here’s how we break it down in Antioch.
Year One: Establish and Protect
- Monthly perimeter walks start immediately. Catch settling early – it’s normal and it’s fixable.
- Top off polymeric sand once after the first rainy season. Initial settling always leaves some joints low.
- First full seal happens in fall of the first year, once the pavers have had a full summer to cure and settle.
- Watch for edge migration on the driveway-to-lawn boundary. Fresh installations are exposed to clay-soil movement most in their first wet season.
Year Three: Consolidate
- Monthly walks continue, but you’re now looking specifically for the first joint sand erosion and any pavers that rock.
- Reapply polymeric sand if any joint probes more than 1/4 inch deep. Year three is the average point for that in this climate.
- Reseal on the fall schedule, every year or every other year depending on sun exposure and shade. A full-sun driveway in Antioch may need the every-other-year cadence. A shaded one usually needs yearly.
- If your driveway sits along a mature shade-tree border, this is when biofilm becomes a routine part of your cleaning rather than an exception.
Year Seven: Rehabilitate
- Reassess the base, not just the surface. Pavers over clay soil in Antioch can settle unevenly and a section reset may be warranted. We see this most often on driveways where the original base was too thin.
- Consider a strip-and-reset for any section that rocks underfoot or has sunk more than half an inch. Patching sand on top of an unstable base is a waste of time by this point.
- Reseal may need a light strip before a new coat – the original film can build up over the years and trap moisture under new layers.
- Check the driveway-to-garage threshold. Seven years of vehicle traffic is when this seam typically needs repair.
Homeowners planning bigger changes – extending the driveway, paving a side yard, matching new pavers to an existing installation – should pull the whole project into one scope. Our Home Additions & ADU in Antioch work often includes reworking driveways and walkways to match a new structure, and it’s much cheaper to do the sequencing together than as two jobs. We also see fence lines that border the driveway needing replacement around year seven. If your fence is on the same aging curve, Fence Installation in Antioch explains what to look for.
The Full Antioch Maintenance Calendar, Month by Month
Here’s the worked-out calendar we’d hand any Antioch homeowner. It’s built around the local climate – the dry May-through-September stretch, the winter rains that start in earnest around November, and the clay soil that holds water and moves with it.
The Month-by-Month Schedule
- January: Post-storm perimeter walk. Looks for edge lifting, sand washout, and standing water after a rain.
- February: Deep clean once the weather stabilizes for two or three days. Clear debris from joints and check for biofilm on shaded sections.
- March: Final winter assessment. Note any pavers that are rocking or joints that have lost sand over the wet season.
- April: Choose the polymeric sand date. Wait until the surface is fully dry and there’s no rain in the five-day forecast.
- May: Apply polymeric sand to any joints that are low. This gives the sand the full dry season to cure and settle.
- June: Reinstate the monthly perimeter walk habit if it slipped over the winter. Look for weeds along joint lines.
- July: Check for sun-bleached areas and hot-spot sealer breakdown on exposed driveway sections. Full-sun driveways in Antioch take a real beating in July and August.
- August: Confirm your fall sealing is scheduled. Sealer products can be hard to source in season, so this is the month to get on a calendar.
- September: Fall seal window usually opens in the second half of the month. Begin the dry-surface prep if you’re doing it yourself.
- October: Prime sealing month. This is the target – cool nights, warm dry days, no rain pressure.
- November: Final seal window before the rainy season. If you missed it, wait until next fall.
- December: First winter perimeter walk. Look at the driveway-to-garage threshold and the edge where the driveway meets the lawn.
Print this. Tape it in the garage. The whole system works when it’s not a matter of remembering, but a matter of checking the calendar and doing the step.
Drainage, Slope, and the Clay Soil Problem
Contra Costa County’s clay soil holds water longer than most homeowners expect. That’s the single biggest variable that changes the maintenance schedule from a generic national guide. Clay expands when saturated and shrinks when it dries, and both movements push on whatever is sitting on top of it. Pavers over clay need more frequent joint sand top-offs than pavers over sand or gravel – the movement opens joints faster, and once they’re open, water finds the base and the sequence accelerates.
What to watch for in Antioch specifically:
- Heaving along the driveway’s edges. Clay swells more at the perimeter than in the field. Keep an eye on the edges after a wet winter.
- Ponding that doesn’t clear. If water stands on the pavers for more than 24 hours after a storm, the slope is wrong or a drain is blocked. That’s a base and grading issue, not a surface issue.
- Slope away from the house. A driveway should shed water at roughly 1 to 2 percent grade away from the foundation. If yours is nearly flat or slopes back toward the house, water is moving under the pavers and toward the crawl space.
- Uphill lot behavior. Driveways on the uphill side of Antioch’s rolling neighborhoods take more sheet flow from neighboring properties, which drives faster joint erosion.
If you’re seeing standing water, rocking pavers along one section, or visible base failure, that’s a drainage problem worth solving before the next rainy season. Spring is a reasonable time to plan the work; the repair itself is often better scheduled for the dry summer months so the base can be rebuilt and properly compacted.
What Your Paver Material Changes About the Schedule
Not every paver surface responds the same way to the Antioch climate. Knowing what you’ve got installed changes your timing and your cleaning routine.
- Concrete pavers (the most common in Antioch): Follow the standard fall-seal cadence. Concrete pavers hold up well but they still need the joint sand topped off and the seal refreshed every one to two years.
- Clay brick pavers: Handle biofilm carefully. Clay brick can absorb stains, so treating shaded sections early is more important than on concrete pavers. The fall seal cadence holds.
- Natural stone (travertine, bluestone, flagstone): Skip anything acidic when cleaning. Choose the cleaner to match the stone, not the stain. Natural stone is also graded more carefully in the fall window because a poor cure shows more visibly.
- Permeable pavers: Skip the sealer coat entirely – it defeats the purpose of the installation. The maintenance schedule becomes a cleaning and joint-check schedule, and the cleaning regimen has to keep the permeable channels open through the wet months.
If you’re replacing pavers rather than maintaining them, the material choice is where the biggest long-term difference gets made. We specify Belgard and other proven brands through our brand partner program, and the material selection usually has a bigger effect on the ten-year maintenance bill than anything else. The Groundwork Construction Co. of Antioch home page has the full scope of what we do, from driveways to additions, all under the same workmanship guarantee. And for full-scope remodels or planned prefab structures – the kind of work that overlaps with major site and hardscape changes – our partners include names like Dvele and Plant Prefab, whose factory-built components integrate well with preplanned driveway and hardscape schedules rather than disrupting them.
Common Mistakes to Avoid
- Sealing in spring. The single most common and most expensive mistake. Spring in Antioch looks like sealing weather and behaves like the opposite – heat pushes up through a fresh coat and the film fails within weeks. Wait for fall.
- Applying sealer to damp pavers. Even in fall, homeowners sometimes rush the timing. If the pavers haven’t been dry for two full days, wait. The trapped moisture turns the coat cloudy and you’ll pay to strip it later.
- Using high-pressure washing as routine maintenance. Pressure washers strip sealer, blast out joint sand, and open the surface to erosion faster than any natural process. Low pressure, medium bristle, and patience.
- Ignoring joint sand until the pavers rock. By the time a paver moves, water has already been working on the base for months. The sand check is your early warning system; skipping it turns a $200 top-off into a $2,000 reset.
- Assuming the schedule is the same across every Antioch driveway. A shaded driveway under oak canopy needs a different cleaning cadence than a full-sun driveway on an uphill lot. Read your own site before applying the general guide.
- Resealing over old product without checking the base coat. If your previous sealer was a penetrating type, a new film-forming coat on top will bubble. Know what’s already on the pavers before adding anything.
- Letting winter pass without a post-storm walk. Antioch’s wet season does the most joint and edge damage of the year. The month after the first big storm is when you catch the damage early.
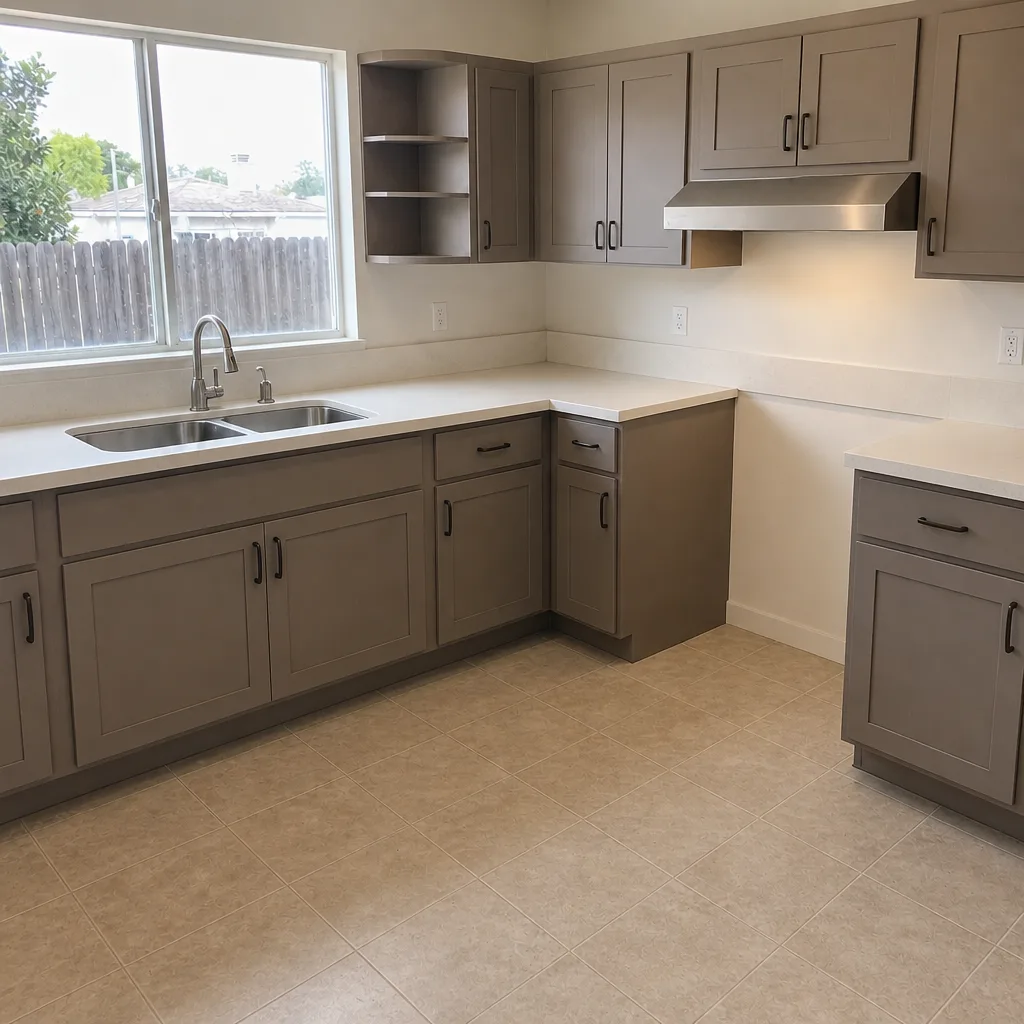
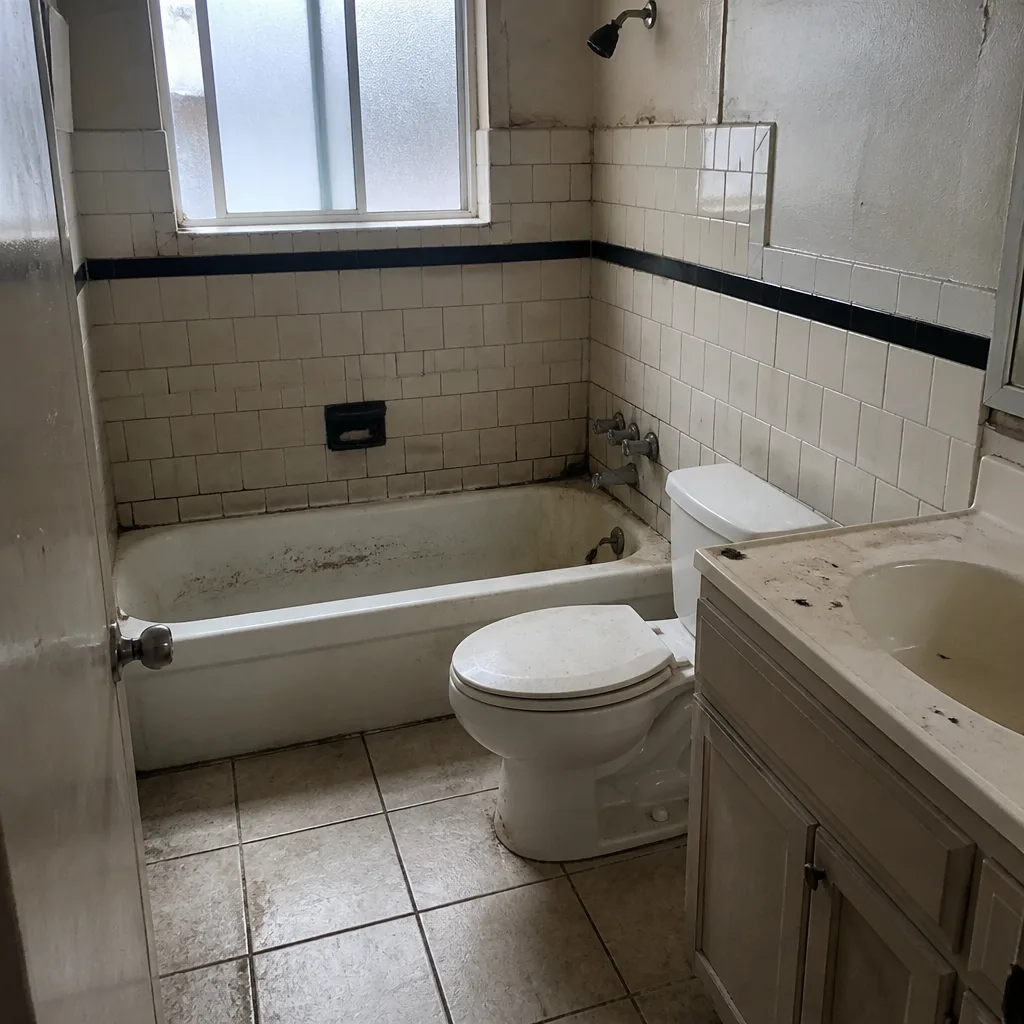
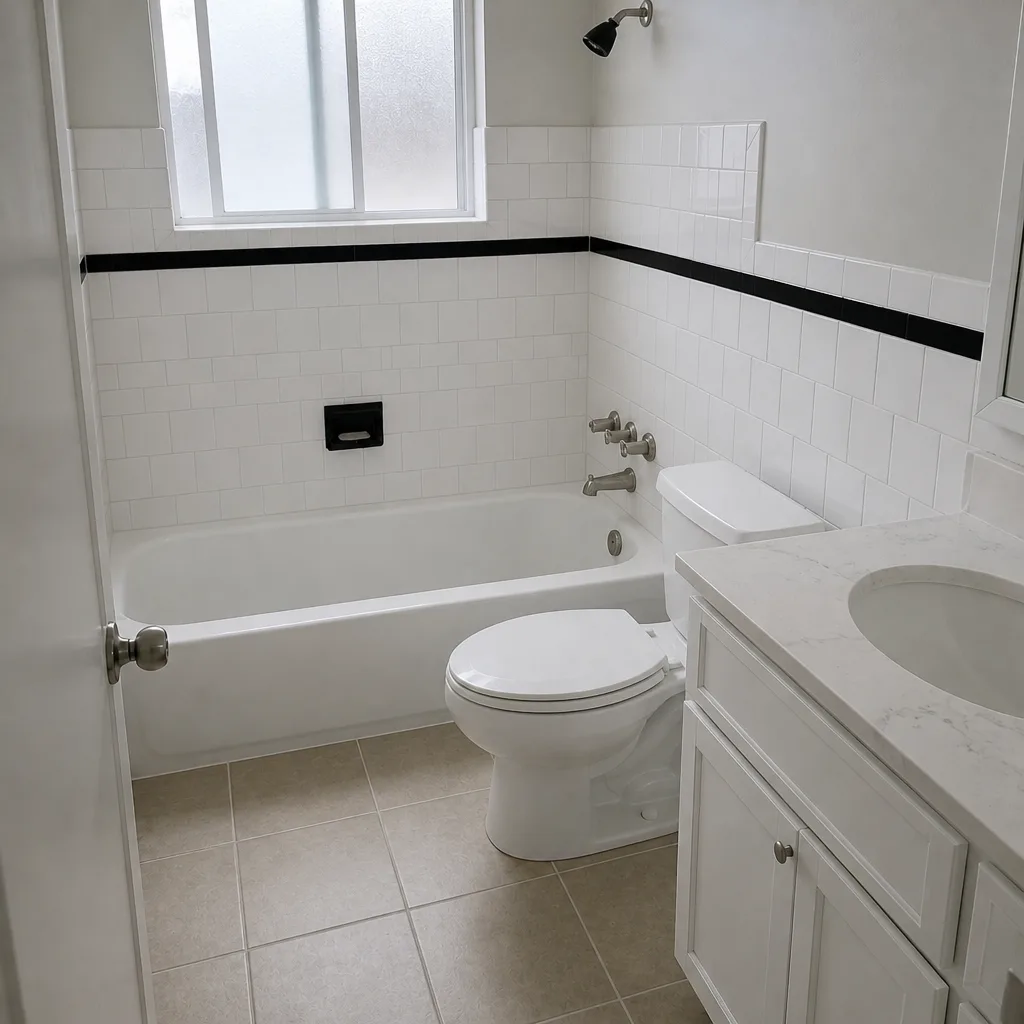
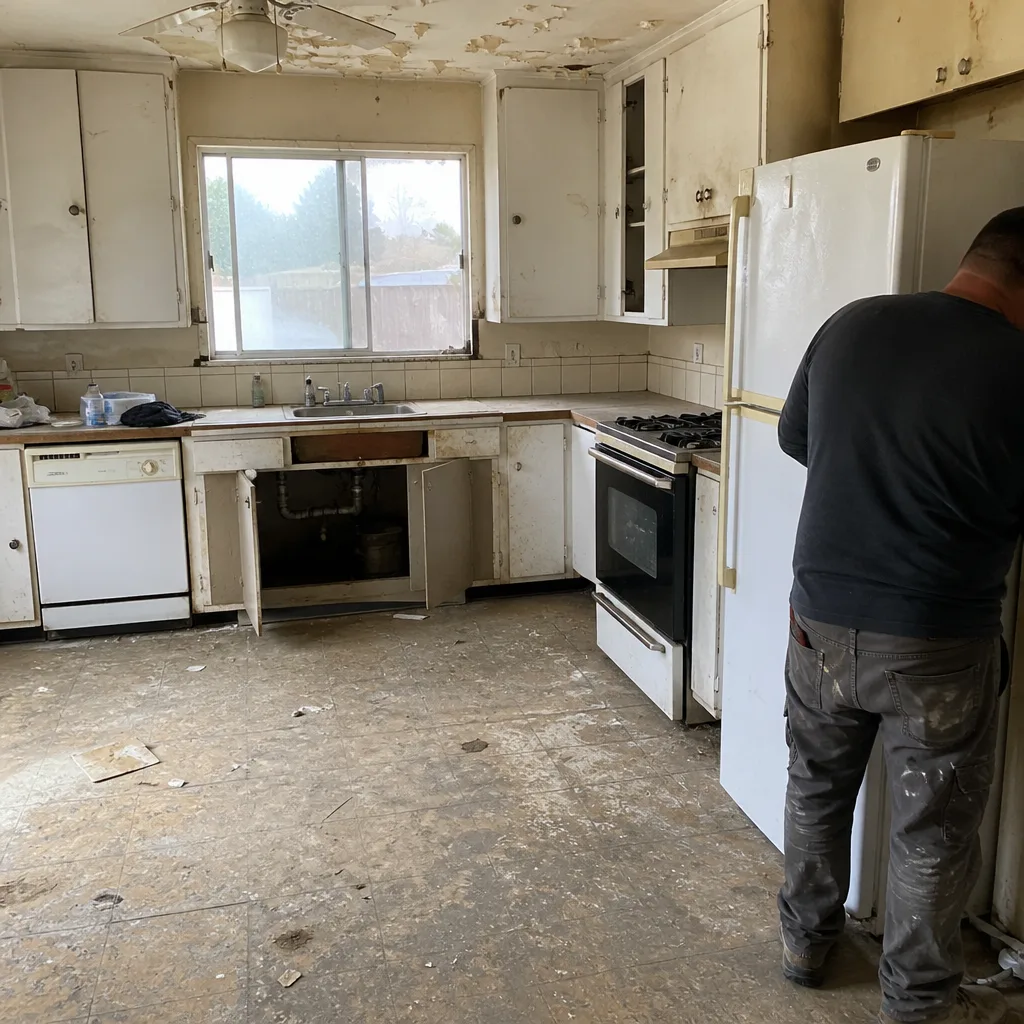
See the difference
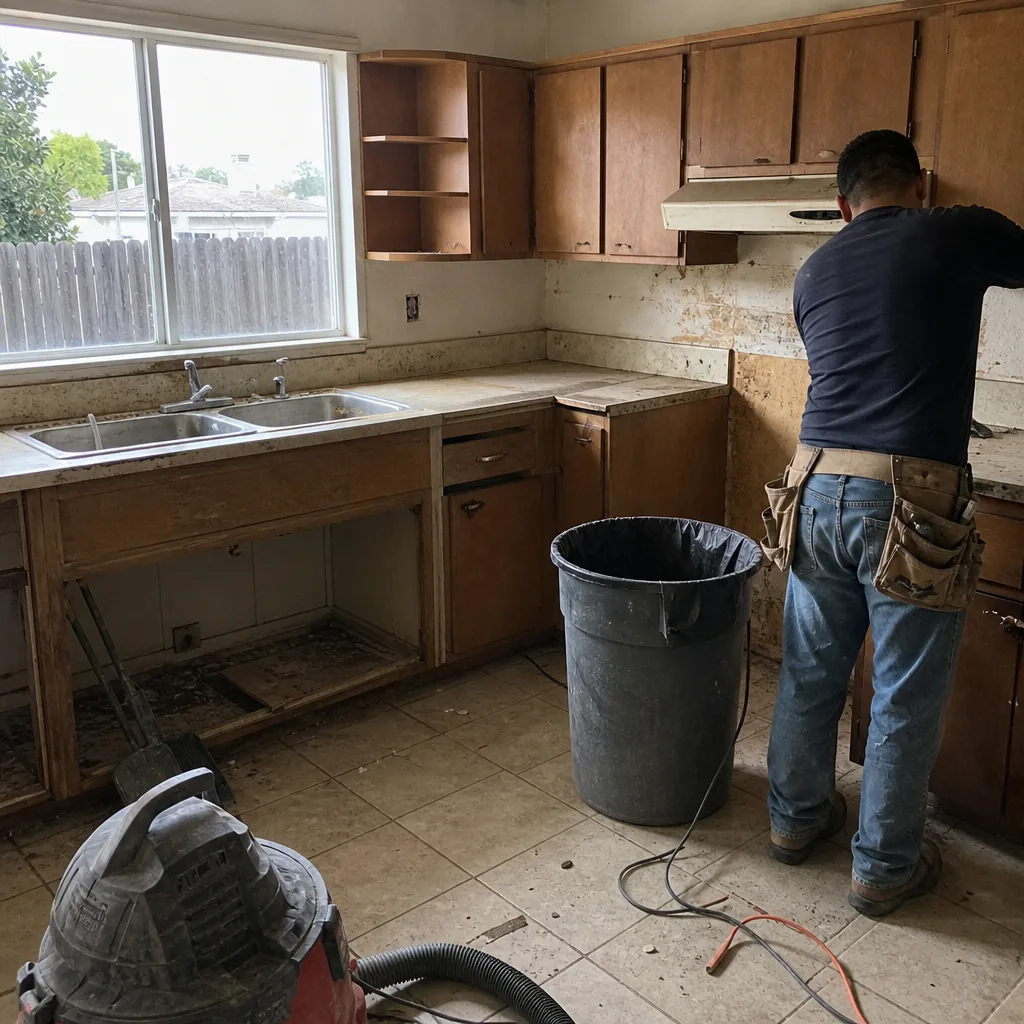 Before
 After
 Before
 After
 Before
 After
When to Call a Professional
Most of this schedule is homeowner work. The line is drawn at base failure and structural problems. Call a professional when pavers rock underfoot across a section rather than a single stone, when water ponds against the foundation for more than a day, when a joint chip works loose and shows an unstable base underneath, or when the driveway-to-garage threshold has shifted enough to let water into the garage. Those are all signs the surface is fine and the layer underneath isn’t. Trying to solve them with more sand or more sealer just delays the real fix.
Groundwork Construction Co. of Antioch offers free estimates in Antioch for driveway and paver work, including drainage corrections and base resets. Call (888) 419-3650 to schedule a walk-through. We answer with a live person, 24/7, so there’s no voicemail loop and no waiting for a callback. Every job comes with our 730-Day Done Right Promise and upfront pricing – the number you see is the number you pay.
Frequently Asked Questions
In the Antioch climate, plan on resealing every one to two years in fall. A full-sun driveway with good drainage can stretch to two years; a shaded driveway under tree canopy usually needs the yearly cadence, because the shaded surface stays damp longer and the film breaks down faster. Always reseal in the fall window once daytime highs drop below 85°F – never in spring.
Fall seals from the top down because the ground has dried out after the winter rains and the air is cooling. Spring does the opposite – the ground is still saturated, the sun heats the pavers, and the trapped moisture pushes up against the sealer film, causing haze, bubbling, and early peeling. Fall also gets the fresh seal onto the surface before the first winter storm, so the pavers go into the wet season already protected.
Push a screwdriver tip gently into the joint sand. If it sinks past 1/4 inch, it’s time to top off. Other signs: visible sand trails running toward the street after a rainstorm, weeds threading up along a continuous joint, and any paver that rocks slightly underfoot. In Antioch’s clay soil, expect to top off the polymeric sand around year three – the clay movement opens joints faster here than in sand-based soils.
Only at low pressure, and only after treating with a paver-safe cleaner. Low pressure means 1,200 to 1,500 PSI with the tip held well off the surface. High pressure strips the sealer, blasts out the joint sand, and does more damage than the biofilm it removes. The better sequence is an oxygen-based cleaner, a dwell time, a medium-bristle scrub, and a low-pressure rinse.
Base instability, most often driven by drainage. Contra Costa County’s clay soil expands when saturated and shrinks when dry, and either movement pushes against the pavers from underneath. If water isn’t shedding away from the house properly or joints have lost their sand, water gets under the pavers and the base loses compaction. That’s when pavers begin to rock. It’s a base fix, not a surface fix – more sand on top won’t stop it.
Most of it is homeowner work – the monthly perimeter walk, the joint sand top-off, the biofilm cleaning, and the seasonal sealing are all doable with the right products. Call a professional for base failure, rocking pavers across a section, standing water that doesn’t clear, or any drainage correction. Groundwork Construction Co. of Antioch covers those repairs and offers free estimates in Antioch – call (888) 419-3650.
The Bottom Line
Driveway pavers don’t fail because of one big event. They fail through a slow sequence of small, preventable moments – a joint that lost its sand, a sealer that went on in April, a perimeter walk that never happened. In Antioch, the schedule that keeps that sequence from starting runs on four anchors: a monthly three-minute perimeter walk, polymeric sand in late spring, a full reseal in fall, and a biofilm clean on shaded sections before the sealer breaks down. Get those four right and you’ll see the difference at year ten – a driveway that still looks new, with a maintenance bill that stayed in the hundreds, not the thousands.
Written by the team at Groundwork Construction Co. of Antioch.