
Last updated November 17, 2026
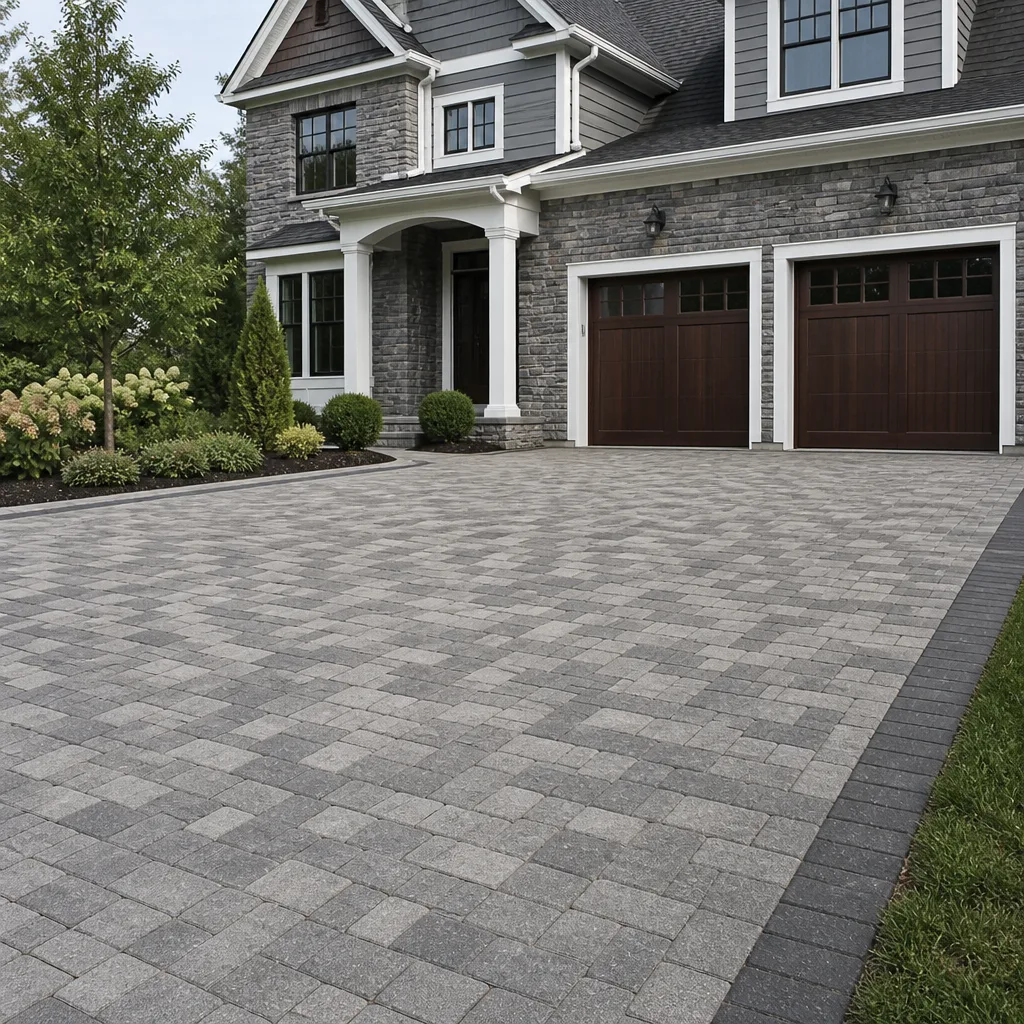 Driveway & pavers
 Kitchen remodeling
 Bathroom remodeling
 Home additions & ADU
 Roofing
 Windows & doors
 Fence
Free written scope consultation - allowances, timeline, and change-order rules on paper before a single trade is scheduled
Driveway & Pavers Maintenance Checklist for Antioch Homeowners
The number-one reason Antioch driveways fail prematurely isn’t poor installation. It’s a single skipped maintenance step in October that turns a $400 fix into a $4,000 re-base job by spring. Here in Antioch, our enemy isn’t the hard freezes that wreck driveways in the Midwest or the constant rain that eats pavement in the Pacific Northwest. It’s a quieter cycle: blistering summer heat, dry-season soil shrinkage in our expansive clay, then the first soaking storms of winter driving water into every gap that opened while the ground was baking. In this guide, you’ll learn the exact fall re-sanding window for the delta, how to tell base failure from harmless surface settling, a stain protocol built for high-UV concrete pavers, and a 12-month calendar tied to Antioch’s real seasons.
Quick Answer
Antioch driveway pavers need maintenance twice a year: a deep clean and polymeric sand refill in October before the winter rains, and a lighter inspection in April after the wet season. If you skip the October re-sanding, water gets into the joints, the clay subgrade beneath swells and shifts, and what started as a $300 to $500 joint refill turns into a full excavation and re-base job in the thousands by spring. Concrete pavers also need a joint-sand top-off every 12 to 18 months in Antioch’s climate regardless of how good the original installation was.
Styles & brands we work with
- Kitchen remodeling
- Bathroom remodeling
- Home additions & ADU
- Roofing
- Windows & doors
- Driveway & pavers
- Fence
Table of Contents
- Why Antioch Driveways Fail Faster Than You’d Expect
- The Fall Re-Sanding Window: Antioch’s Most Important Maintenance Step
- How to Tell Base Failure from Surface Settling (Field Tests You Can Do)
- Oil Stain Treatment for High-UV Concrete Pavers
- Weed and Ant Control Without Trapping Moisture
- Should You Seal Pavers in Antioch? The Honest Answer
- The 12-Month Antioch Paver Maintenance Calendar
- Concrete Slab vs. Pavers: Maintenance Differences in Antioch
Why Antioch Driveways Fail Faster Than You’d Expect
Most maintenance guides you’ll find online are written for USDA zones with hard freezes and 40-plus inches of rain. Antioch sits in a different pattern entirely. Our summers routinely push past 95°F for weeks, and our winters bring concentrated rain between November and March with long dry stretches in between. That wet-dry swing is what breaks driveways here, not cold.
Here’s the mechanism. Antioch’s clay soils – especially through neighborhoods like the older parts of downtown, the hillside streets off Somersville, and newer builds out toward the southeast – expand when they absorb water and shrink when they dry. When the soil under a driveway shrinks in August, the base material loses some of its compaction. Paver joints open a fraction of a millimeter. Then the first real storm in November drives water straight down those open joints. The clay below swells, the base plate lifts unevenly, and by February you’ve got a roller-coaster surface that no amount of re-leveling will fix without digging it out.
We’ve watched this pattern play out in Antioch for years. The driveways that survive 15 to 20 years here aren’t the ones with the most expensive pavers. They’re the ones where the homeowner did one unglamorous thing every October: cleaned the joints and refilled them with the right sand before the rain arrived.
What actually causes the damage
- Thermal cycling: daily swings of 30°F or more during our shoulder seasons cause pavers and joint sand to move independently, opening gaps.
- Clay shrink-swell: Antioch’s expansive soils move more than most homeowners realize, and open joints let water reach them.
- UV bleaching: our summer sun fades pigment in concrete pavers faster than coastal or mountain climates; unsealed pavers can lose noticeable color in three to five years.
- Dry-season dust and grit: windblown silt fills joints unevenly, blocking sand from reaching the bottom.
The good news: nearly all of this is preventable with a predictable, twice-a-year routine. That’s what the rest of this guide breaks down.
The Fall Re-Sanding Window: Antioch’s Most Important Maintenance Step
If you do only one maintenance task on your Antioch driveway all year, make it the October joint refill. This is the single step that separates driveways that last two decades from driveways that need a full rebuild in eight years. It’s also the cheapest insurance you’ll ever buy for a paver surface.
Why October specifically? In Antioch, the reliable rain window opens in early to mid-November. You want your joints full and your polymeric sand fully cured before that first soaking storm, not after. Polymeric sand needs a window of dry weather to set up properly, and October gives you that in our climate – warm afternoons, dry air, and enough time before the rain starts. Push the job to November and you’re gambling on a dry stretch that may not come.
What polymeric sand grade to use for the delta region
Standard polymeric sand isn’t right for Antioch’s temperature swings. Look for a joint sand formulated for a wide application range – generally rated down to about 32°F with high-flex binder chemistry. You want a sand that flexes with thermal movement instead of cracking. Skip any product that markets itself primarily for hard-freeze climates with ratings down to -10°F; those formulations tend to cure harder and more rigid, which fights the delta’s thermal movement instead of moving with it. Best approach: check the printed temperature application range on the bag and buy from a brand that publishes specific guidance for hot, dry summers and wet winters rather than one that only mentions cold-weather performance.
The steps
- Clean the surface thoroughly – sweep, then pressure-wash at low pressure (under 1,500 psi) to remove dirt from joints and surface. Don’t blast joints empty with high pressure; you’ll damage the paver edges.
- Let it dry for at least 24 hours. Wet joints don’t accept polymeric sand correctly.
- Fill joints with sand – sweep it across the surface at a 45-degree angle until all joints are full and slightly overfilled.
- Compact with a plate compactor fitted with a rubber pad, which seats the sand and consolidates the pavers.
- Sweep off the excess so a fine dust layer remains.
- Mist with water – not soak it – to activate the polymer.
- Stay off the driveway 24 to 48 hours to let it fully cure.
Expect to spend $300 to $500 in materials for a typical Antioch two-car driveway if you do it yourself, or $500 to $900 for professional re-sanding. Compare that to a re-base job – often $3,500 to $8,000 depending on the size and complexity – and the math takes care of itself.
How to Tell Base Failure from Surface Settling (Field Tests You Can Do)
Not all unevenness is a crisis. Almost every paver driveway settles a little over time, and some settling is cosmetic. The key question is whether the movement is in the surface layer (sand and pavers shifting) or the base layer (compacted gravel and clay subgrade). One is a maintenance fix; the other is an excavation job. Here’s how to tell them apart yourself before calling anyone.
Field test #1: The rock test
Set a golf ball or baseball on the low spot of your driveway. Walk 10 feet away and look at it. If it rolls slowly and stops within a few seconds, the slope is nearly flat with minor variations – surface settling. If it rolls fast and doesn’t stop, you have a significant grade problem that needs professional assessment. Do the test after a rain, when moisture reveals actual base movement most clearly.
Field test #2: The joint line test
Look at the lines between pavers running perpendicular to your house. If those lines are straight, the base is holding. If they’re wavy or zigzag over an area of 3 feet or more, the pavers underneath are moving because the base has failed there.
Field test #3: The water pooling test
After a decent rain, walk your driveway and note where water pools and stays for more than an hour. Some pooling is fine and normal. If water pools more than a half inch deep and lasts 24 hours, you either have a slope issue, a settled paver, or a base that’s developed a low spot underneath. Water sitting on paver joints is what eventually causes the base to fail further.
Field test #4: The walk test
Walk the driveway barefoot or in thin socks. If you feel distinct dips or rises that are ½ inch or more over a 2-foot span, that’s base movement. Small irregularities under ¼ inch are normal surface variance.
Field test #5: The paver lift check
Carefully try to lift one or two pavers at the edge of a low spot. If they come up easily and the base underneath is loose, sandy, or uneven, the base is failing locally. If they come up with difficulty and the base beneath is firm and well-compacted, the issue is surface-level. Don’t force pavers up – if they’re hard to lift, you’ve confirmed the base is intact.
Rules of thumb
- Surface-only settling: isolated low spots, sand loss, minor edge sinking. Fixable with re-sanding and possibly relaying a few pavers. Budget $300 to $600.
- Base failure: linear cracking, wavy joint lines, significant rocking when you step, water pooling in large areas. Requires excavation and re-base. Budget $3,500 to $8,000+ depending on square footage.
- The gray zone: one settled area with no joint-line waviness. Watch it after each rain for a season; if it stays put, it’s surface. If it grows, it’s base.
If you hit the “base failure” column, stop maintenance and get eyes on it before the next wet season. Every month of delay lets water work deeper into the problem, and the cost climbs with it. Groundwork Construction Co. of Antioch provides written line-item estimates for paver repairs across Antioch so you know exactly what you’re paying for.
Oil Stain Treatment for High-UV Concrete Pavers
Standard advice for oil stains on pavers is to grab the strongest degreaser on the shelf and scrub hard. In Antioch’s high-UV environment, that approach backfires. UV exposure has already opened the pores on your pavers’ surface layer to some degree, and aggressive degreasers on a sun-baked surface can accelerate erosion of that top layer, leaving a chalky, dull patch that’s more visible than the original stain within a year.
Here’s a protocol that works for Antioch’s conditions.
Step 1: Pull up the oil before you clean it
Fresh oil is easiest to lift, not clean. Sprinkle kitty litter or an absorbent clay over the stain, grind it in lightly with your shoe, and let it sit for 24 hours. Sweep it up. This pulls a surprising amount of oil out of the paver surface before any liquid cleaning starts.
Step 2: Use a pH-neutral or mildly alkaline cleaner, not a strong solvent
For concrete pavers in high-UV areas, start with dish soap diluted in warm water and a stiff nylon brush. Work in circles over the stain for two to three minutes and rinse. If that removes most of it, stop there. You’ve preserved the surface. Only escalate to a stronger cleaner if the stain survives.
Step 3: Escalate carefully
If household soap doesn’t cut it, use a pH-neutral paver cleaner specifically formulated for concrete pavers, applied to a small test spot first. Avoid any product containing hydrochloric acid – it will etch concrete pavers badly. Avoid powdered laundry detergents, which leave residues that UV bakes into the surface.
Step 4: Timing matters more than product
Clean stains in the early morning or late evening, not in the middle of a hot Antioch summer afternoon. Cleaning pavers at 100°F surface temperature with any cleaner will dry it too fast and concentrate the chemistry, which damages the surface. Cooler pavement gives you working time and protects the finish.
Step 5: Deep-set stains need a poultice
For stains that have sat for weeks, a poultice pulls oil out of the paver body rather than just cleaning the top. Mix an absorbent powder (diatomaceous earth, or powdered clay) with a small amount of solvent to make a paste, cover the stain, wrap it in plastic, and tape it down. Leave it 24 hours. Remove the plastic and let the poultice dry, then sweep off. The oil comes up with the powder.
Weed and Ant Control Without Trapping Moisture
Antioch’s dense clay subgrades hold moisture. That’s good for the soil, but it means the wrong weed control strategy can trap water under and around your pavers, which is a direct path to base failure. The instinct for many homeowners is to just seal everything – seal the pavers, seal the joints, seal the weeds out. But in our climate, sealing over active weed pressure or over wet subgrade locks moisture in and pushes the problem deeper.
Here’s a strategy that controls weeds and ants without making moisture problems worse.
For weeds
- Pull when they’re small. A flathead screwdriver or a weed-puller tool takes them out at the root. Do this weekly in spring and you’ll never let them establish.
- Refill joints properly each October. Most weeds in pavers are growing because there’s an inch of open joint with organic material in it. Refill with polymeric sand and you remove the growing medium.
- Use glyphosate sparingly and carefully. Spot spray on a windless morning, targeting only the plant. It breaks down in soil; don’t spray it on wet joints where it will run under pavers.
- Avoid pre-emergent granules in joints. They don’t hold position well in pavers and can migrate down to the base.
- Skip vinegar and boiling water for widespread weeds. They work on small individual weeds, but both cause more surface damage to pavers than most people expect.
For ants
- Identify the species first. Most ants in Antioch pavers are pavement ants that nest in the sand joints, not in the subbase. This matters because the treatment differs.
- Use bait, not spray. Liquid or granular ant bait placed near the joint lines lets workers carry it back to the colony. Sprays kill foragers but rarely kill the queen, and ant nests repopulate within weeks.
- Don’t flood joints with insecticide. Water-based sprays can saturate the polymeric sand and break it down.
- Fill open joints. Ants exploit gaps; closing them with fresh sand is the most durable ant control you’ll ever do.
- Skip airstone or gravel-based ant deterrents. In our climate, these can trap moisture and cause more problems than they solve.
If ant pressure is severe enough that you’re seeing them indoors too, call a licensed pest professional for a whole-property treatment. Paver maintenance won’t solve an interior infestation.
Should You Seal Pavers in Antioch? The Honest Answer
This is where most Antioch homeowners get steered wrong. Big box stores and online guides push sealing as a universal solution for “protecting” pavers. In our climate, sealing is a matter of timing, product choice, and honest tradeoffs. Sealed at the wrong time, a sealer traps moisture in the subbase and accelerates the exact failure it was supposed to prevent.
When sealing helps
- Your pavers are 3+ years old and have started to fade in color from UV exposure; a UV-stabilized sealer can hold color longer.
- You’ve just re-sanded the joints and want extra stain resistance on surfaces that see a lot of oil.
- You live in a fire-prone foothill street where ember resistance adds value (check with your insurer for specific standards).
- Your driveway is dark and unsealed, and you want to reduce the summer heat absorbed by the surface.
When sealing hurts
- The joints are currently full of polymeric sand that hasn’t fully cured yet (wait at least 30 days after re-sanding).
- You have active weed pressure or ants in joints; sealing over the problem just locks it in.
- You’re within a few days of expected rain in the Antioch forecast; moisture trapped under a fresh sealer causes cloudy patches and, worse, prevents the surface from breathing.
- Your subgrade has any hint of base failure; sealers can make a hidden moisture problem worse.
- You’re using a solvent-based acrylic that shrinks and cracks within one or two delta summers.
Product choice matters more than the act of sealing
For Antioch’s climate, look for breathable, water-based sealers with UV inhibitors marked for hot-climate application. Avoid solvent-based acrylics marketed as “high-gloss” – they can look great for one summer and then crack into a spiderweb pattern that’s harder to remove than doing it right the first time. Two thin coats beat one thick coat every time, and one coat every two to three years is better than one coat every five.
Our recommendation
Seal your Antioch pavers – but only after you’ve confirmed the base is sound, the joints are full, and the weather window is right. Do it in spring (April or May, before the summer UV peak) or early fall (late September). Don’t seal between late October and March; you’ll be wrestling with rain windows and cool temperatures that prevent a proper cure.
The 12-Month Antioch Paver Maintenance Calendar
This calendar is built specifically around Antioch’s seasons, not a generic USDA zone chart. Follow it and you’ll get 15 to 20 years out of a well-installed paver driveway in this climate.
January – February: The wet season inspection
Walk the driveway after every major storm. Look for standing water, new dips, and washed-out joint sand. Don’t re-sand now; the weather won’t support curing. Note problem areas to address in April.
March: Pre-spring cleanup
Sweep off winter debris and pull early weeds while they’re small. Check the gutter and drainage paths around the driveway; if water is being funneled onto the pavers from a downspout or slope, that’s the highest-priority maintenance item.
April: The spring inspection and light maintenance
Do a full walk with the field tests. Fix any single-paver issues; refill any joints that are more than a quarter inch below the surface. This is your window to fix anything before the summer heat sets the surface. Do NOT re-sand the entire driveway unless you have significant joint loss – save that for October.
May: Pre-summer prep and optional seal
If you’re sealing this year, this is one of your two good windows. Otherwise, this is when you clean oil stains before they bake into the surface in the summer heat, and treat any weed pressure you spotted in April.
June – August: Hot-season care
Don’t seal in these months. Don’t pressure-wash in these months. Water plants nearby early in the morning if the driveway is next to a tree well or planter. Address oil stains within 48 hours before they set. Watch for new ant trails – they’re most active in Antioch in summer.
September: Pre-fall prep
Clean the entire surface and prepare for the critical October re-sanding. Order your polymeric sand now – the good stuff sells out locally in September and October during peak re-sanding season. Consider scheduling a professional re-sanding if you’re not doing it yourself; October slots book out in Antioch.
October: THE re-sanding month
This is the step that matters most. Full joint refill with polymeric sand as described above. Test the field-test list again after re-sanding to catch any problem areas before the rains start. If you’re going to do one paid maintenance project on your Antioch driveway this year, this is the one.
November – December: Rain-watch
Monitor after storms. Address any washout at the edges before it spreads. Avoid all maintenance beyond observation; curing conditions are wrong for any sealer or re-sanding work.
Concrete Slab vs. Pavers: Maintenance Differences in Antioch
Some Antioch homeowners are choosing between poured concrete and pavers for a new driveway and want to know what maintenance looks like afterward. Here’s the honest comparison for our climate.
Concrete slab driveways
Concrete slabs need less frequent maintenance but they fail differently. In Antioch’s clay soils, slabs are more prone to cracking because they can’t flex with the subgrade’s shrink-swell cycle the way pavers can. Expect to seal a new concrete driveway every three to five years, and expect to address hairline cracks with a flexible filler as they appear. When a slab genuinely fails (heaving, deep cracking, or large settlement), the fix is usually removal and replacement, not repair – and it’s expensive.
Paver driveways
Pavers need more frequent attention – the October re-sanding, the twice-yearly inspection, spot repairs – but individual pavers can be lifted and reset without touching the rest of the driveway. That repairability is a huge advantage in our climate, where isolated settling is common. Paver failure is also progressive and visible long before it’s expensive; concrete failure can go from “looks fine” to “must be replaced” faster.
What we see in Antioch
In older neighborhoods and near the hillside streets where clay movement is most active, we’ve seen paver driveways outlive concrete slabs by a wide margin when the pavers got minimal maintenance. On flatter lots with better-draining soils, either choice can last 30+ years with proper care. The maintenance differences are real, but either surface will outlast the average homeowner’s tenure in the house if it’s installed correctly in the first place.
If your current driveway has reached the point where maintenance can’t keep up, our team at Driveway & Pavers in Antioch can walk you through replacement options and give you a written line-item estimate. We install Belgard and Boral pavers, among other trusted brands, with upfront pricing you can compare before deciding.
Common Mistakes to Avoid
- Skipping October re-sanding “because it looks fine.” The joints that look fine in September are the ones that wash out by December. Re-sand every year in Antioch, no exceptions.
- Using cold-climate polymeric sand. A sand rated for -10°F cures harder than our climate needs and fights the thermal movement of Antioch’s pavers. Read the bag; buy delta-appropriate formulations.
- Pressure-washing above 1,500 psi. High pressure blasts away joint sand, damages paver surface layers, and accelerates UV fading. Low pressure, high flow, moving nozzle – every time.
- Sealing in the rainy season. Any sealer applied November through March in Antioch will struggle to cure properly and often clouds. Wait for a real dry window in spring or fall.
- Ignoring wavy joint lines. Straight joint lines mean a sound base. Wavy ones mean a problem. If you see waviness and don’t investigate, you’re letting a manageable surface repair turn into a base job.
- Pouring acid-based cleaner on concrete pavers to attack oil stains. Hydrochloric acid etches concrete pavers permanently and makes the stain area look worse than the oil. Never use it on pavers.
- Re-sanding without compacting. Sand swept into joints but not compacted with a plate compactor will wash out in the first storm. Skip the compactor and you’ve wasted the sand and the hours.
- Filling ant nests with caulk or sealer. Ant nests in joints need bait, not blockage; seal them in and the ants will work into the base and out elsewhere.
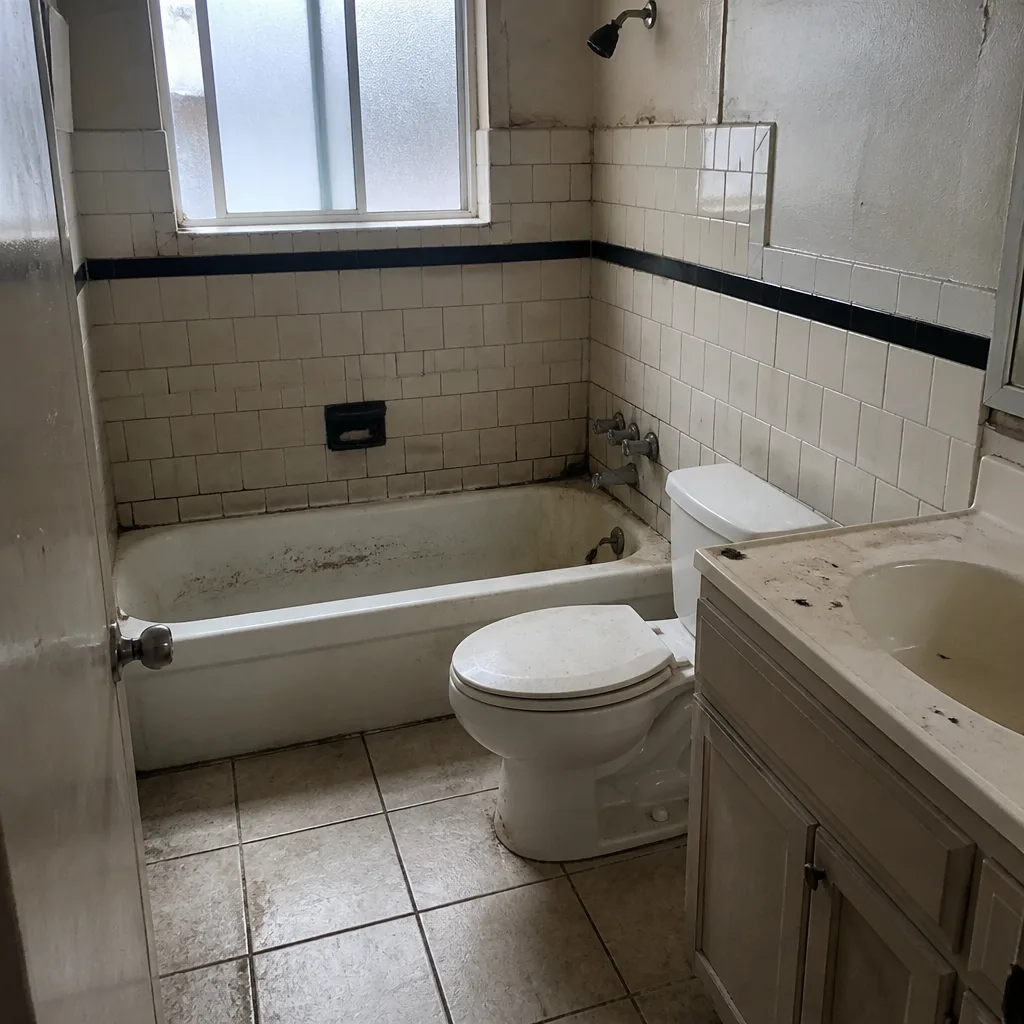
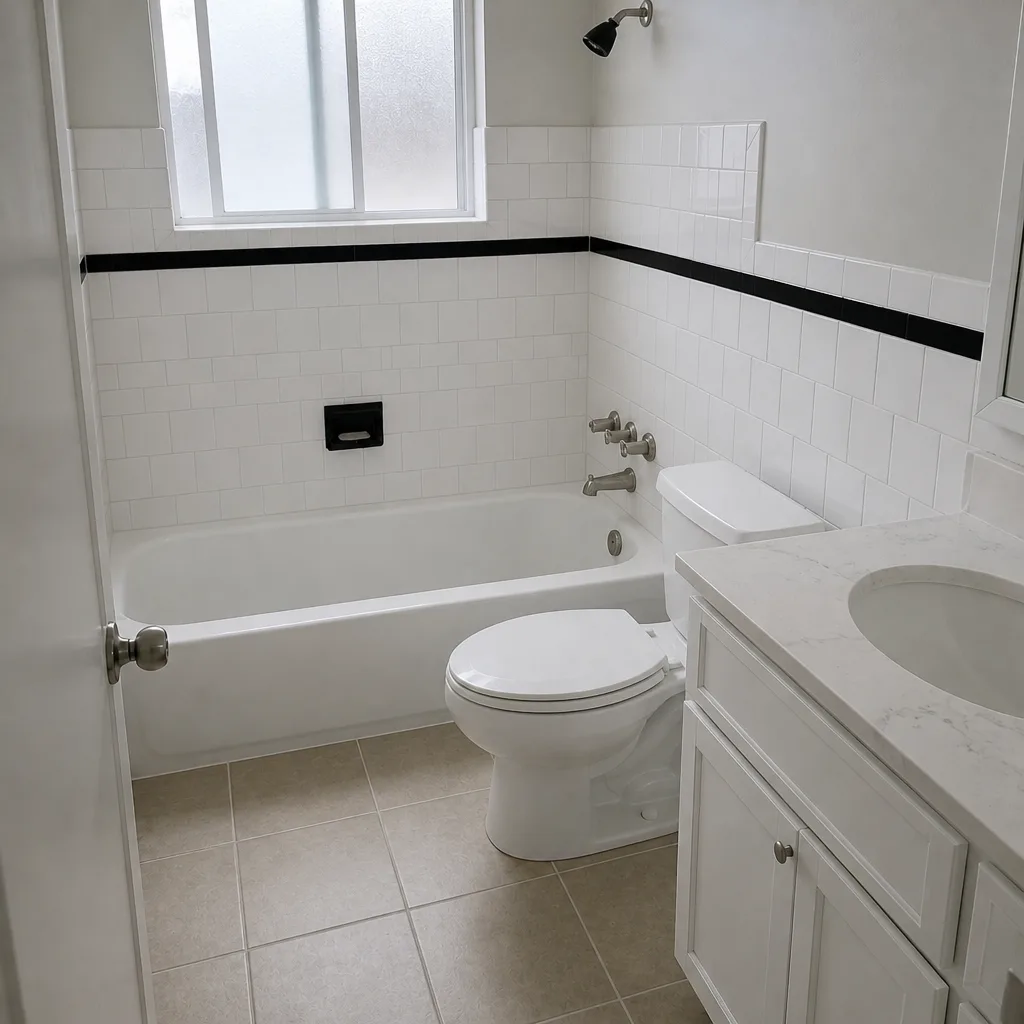
See the difference
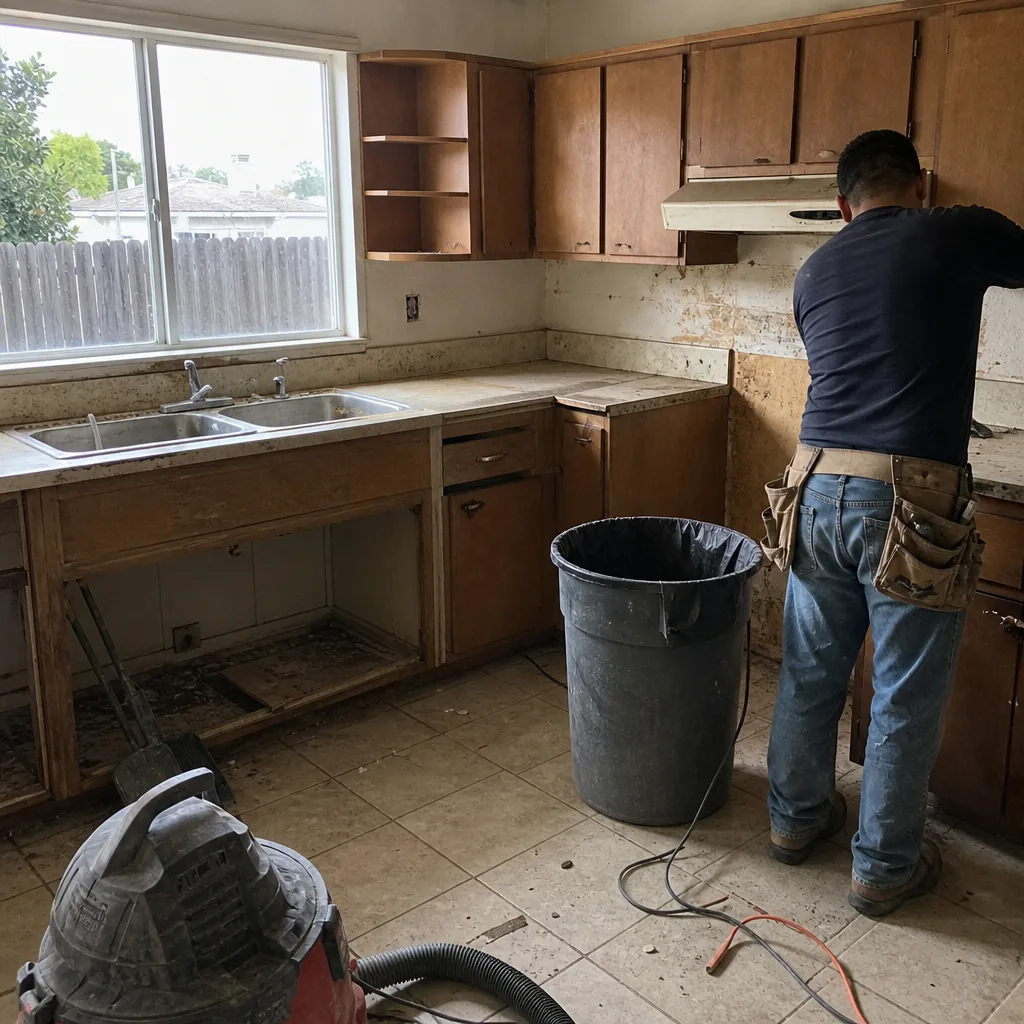 Before
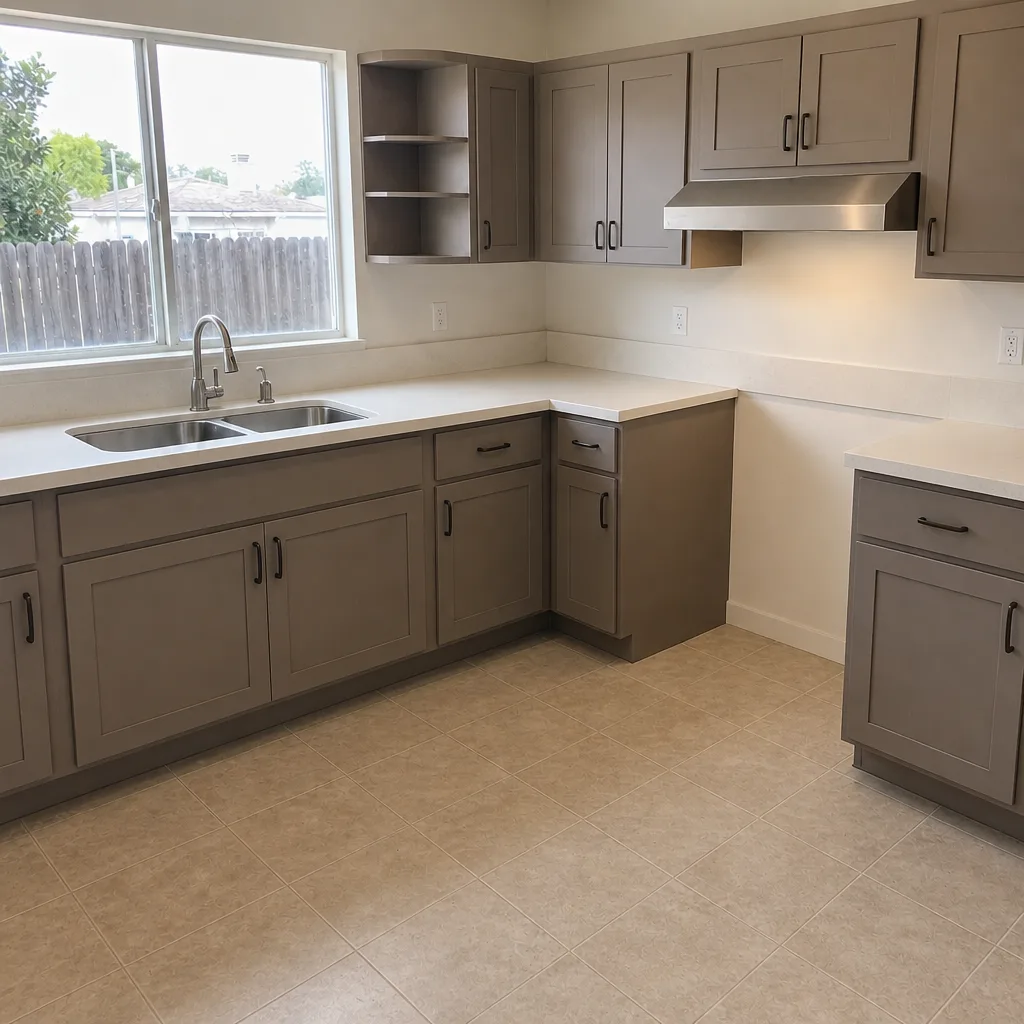 After
 Before
 After
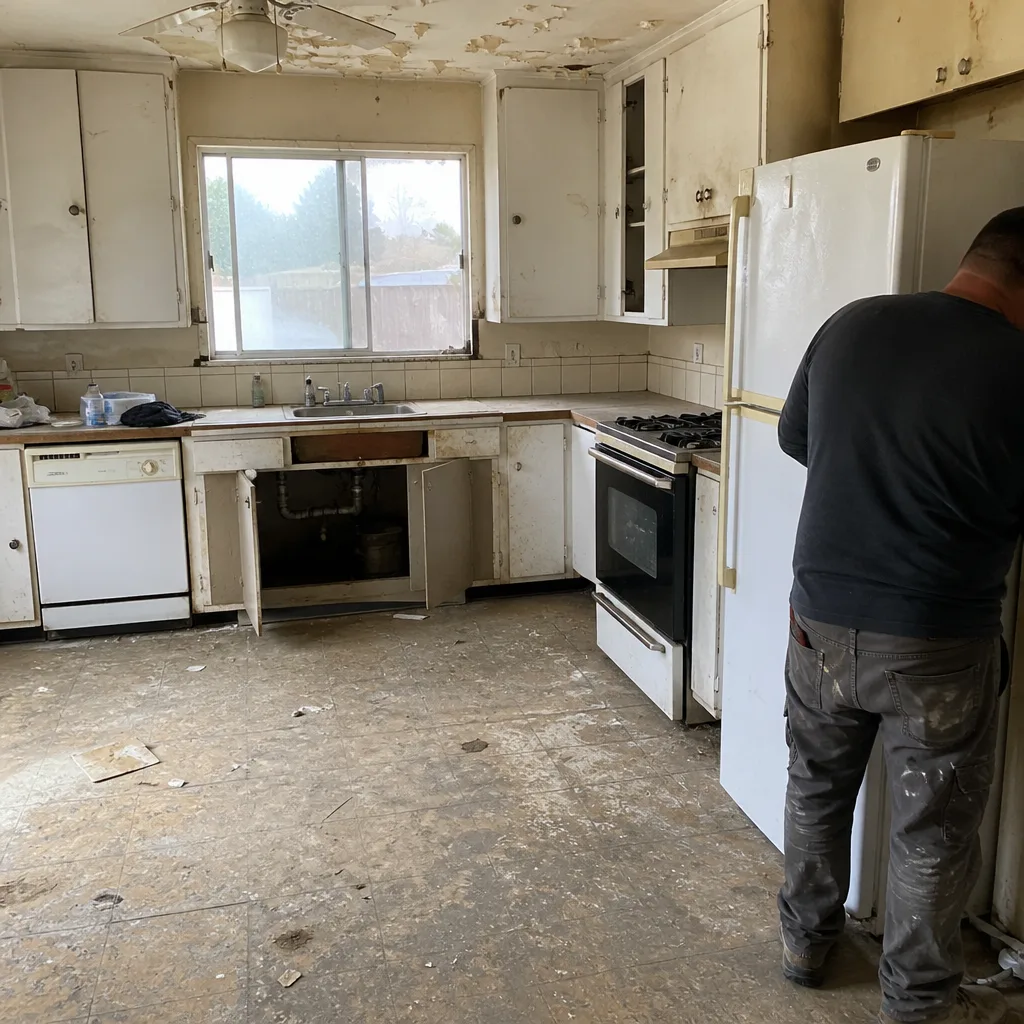 Before
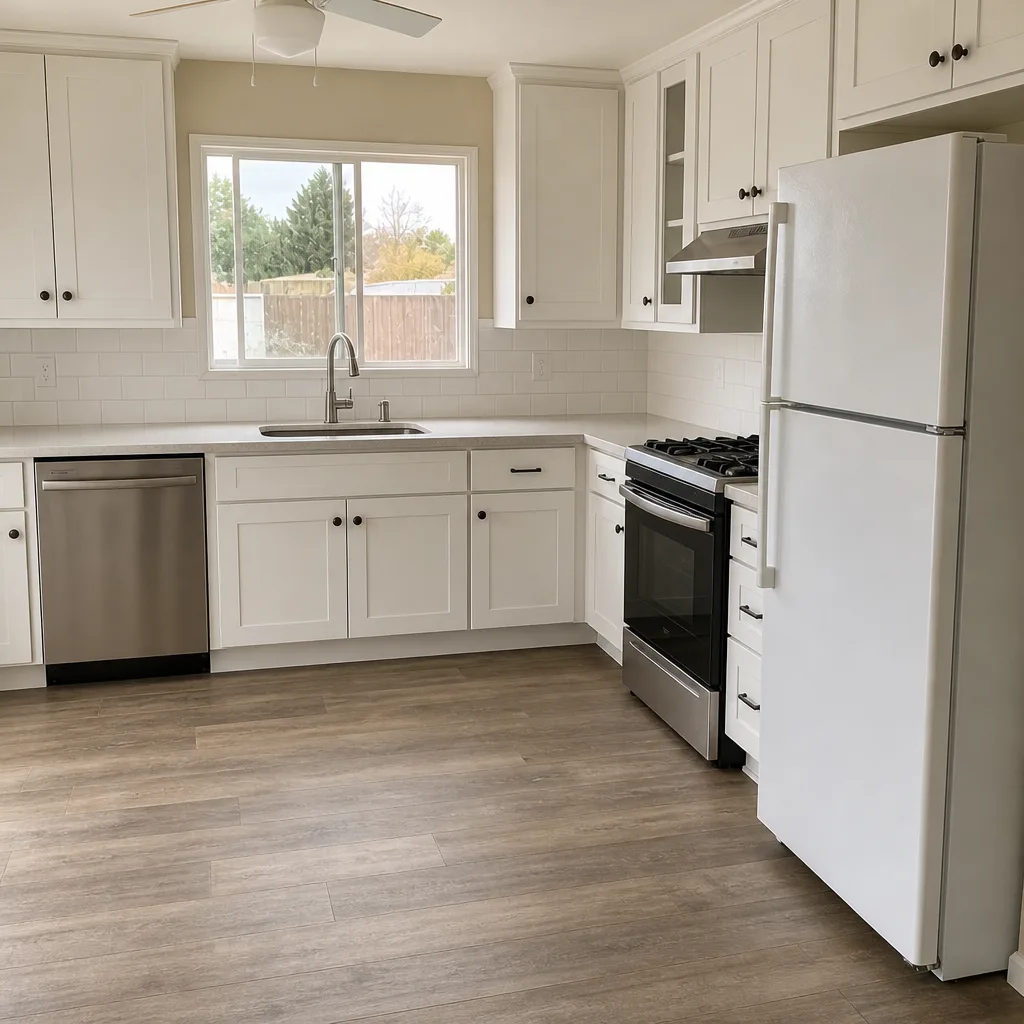 After
When to Call a Professional
Some of this checklist is homeowner-friendly: sweeping, stain treatment within 48 hours, spot weed pulling, and annual visual inspection. Other tasks are worth a professional crew because the wrong approach makes the damage worse. Specifically, call us when you see wavy joint lines across 3 feet or more, standing water that doesn’t drain within 24 hours, heaving or settling of ½ inch or more over a 2-foot span, or pavers that rock underfoot. Also call if the driveway hasn’t been re-sanded in more than two years, or if you’re not comfortable running a plate compactor over a full driveway. A proper October re-sanding job costs far less than repairing what a skipped year causes. Groundwork Construction Co. of Antioch offers free estimates in Antioch – call (888) 419-3650.
Frequently Asked Questions
At minimum, twice a year: a full joint re-sanding in October before the rains, and a lighter inspection in April. Concrete pavers in Antioch also benefit from a UV-resistant sealer application every two to three years, plus immediate spot treatment for oil stains. Between the two seasons, weekly walks for weeds and standing water keep small issues from becoming expensive ones.
A wide-range formulation rated down to about 32°F with high-flex binder chemistry is ideal for Antioch’s temperature swings. Avoid sands formulated primarily for hard-freeze climates; those cure harder and crack more easily here. Ask for a sand rated for hot, dry summers and cool wet winters specifically. The bag will state its application temperature range; look for that clearly printed range rather than marketing claims.
Look for four signs: wavy joint lines running perpendicular to the house, water pooling over ½ inch deep lasting more than 24 hours, distinct dips over ½ inch across 2 feet, and pavers that rock underfoot when walked on. If two or more apply, you likely have base failure and should get a professional assessment before the next wet season. Any one of those signs alone is worth a closer look; none of them are “wait and see” territory.
No. Sealing and re-sanding do completely different jobs. Sealing protects the paver surface from UV and stains; re-sanding locks the joints and prevents water infiltration. A sealer over open joints seals nothing – water finds the joints first regardless of surface coating. Skipping the October re-sanding and sealing instead is the most reliable way to accelerate base failure in Antioch’s climate.
Start with absorbent clay or kitty litter to pull up fresh oil within 24 hours, then follow with dish soap and warm water on a cool morning or evening. Avoid strong chemical degreasers in hot weather; they dry too fast and concentrate, and can accelerate surface erosion on high-UV pavers. Deep-set stains need a poultice of absorbent powder and solvent wrapped in plastic for 24 hours. Never use hydrochloric acid cleaners on concrete pavers – they etch permanently.
We offer both – full installs, base repairs, and re-sanding maintenance. Free written estimates in Antioch cover the exact scope, whether that’s a 400-square-foot re-sand job or a full driveway rebuild. If a maintenance crew can fix it for a few hundred dollars, we’ll tell you that rather than pushing a full replacement. Call (888) 419-3650 for a free estimate.
The Bottom Line
The single most important thing an Antioch homeowner can do for a paver driveway is the October re-sanding, done with the right delta-appropriate polymeric sand, before the winter rains arrive. Pair that with a spring inspection using the field tests in this guide, careful stain treatment in high-UV months, and a sealer applied only in correct weather windows, and you’ll extend a driveway’s lifespan by a decade. Skip those steps and you’re looking at a full rebuild in the thousands. Our team at Groundwork Construction Co. of Antioch backs every paver install and repair with our 730-Day Done Right Promise – if it’s not done right, we make it right.
Whether you’re deciding between concrete and pavers, catching base failure before it becomes an excavation, or setting a maintenance schedule that actually fits Antioch’s seasons, we’re here to help. See our Groundwork Construction Co. of Antioch home for the full scope of what we do, check out Driveway & Pavers in Antioch for more on installation and repair, and if the driveway project is part of a bigger plan – a new Fence Installation in Antioch, or a Home Additions & ADU in Antioch – we can walk the whole property with you in a single visit.
Call (888) 419-3650 for a free estimate today. We answer the phone live, 24 hours a day, so there’s no voicemail to leave and no waiting until Monday. Upfront pricing, no surprises, on every maintenance and repair quote we write.
Written by the team at Groundwork Construction Co. of Antioch.