
Last updated November 17, 2026
 Home additions & ADU
 Kitchen remodeling
 Bathroom remodeling
 Roofing
 Windows & doors
 Driveway & pavers
 Fence
Free written scope consultation - allowances, timeline, and change-order rules on paper before a single trade is scheduled
Home Additions & ADU Troubleshooting: Common Problems and How to Fix Them
Water intrusion, HVAC imbalance, and foundation settling are the three most common post-build complaints in home additions, and all three are almost entirely preventable if you know what to verify before drywall goes up. That’s the part that stings. In our experience across Antioch, the expensive problems we get called out to fix were born during framing and rough-in, then sealed behind a layer of drywall and paint where nobody could see them failing. By the time a homeowner notices a stain on the ceiling or a bedroom that won’t cool, the repair means opening up finished work. This guide walks through how to tell a cosmetic flaw from a structural one, why HVAC problems in additions are usually a duct-sizing issue rather than a bad unit, what to do when plumbing or electrical gremlins appear after move-in, how to document and escalate with an unresponsive contractor, and which defects fall under California’s 10-year latent defect statute. If you’re planning an addition in Antioch or already living with one that isn’t behaving, here’s how to read the warning signs and act on them before the damage compounds.
Quick Answer
Most home addition and ADU problems trace back to three preventable failures: water intrusion from incomplete flashing and drainage detailing, HVAC imbalance from undersized or badly routed ducts, and foundation settling from inadequate soil prep or drainage. A crack or damp spot is usually cosmetic if it’s hairline, dry, and stable; it’s structural if it’s wider than a quarter inch, actively leaking, or changing over weeks. Document everything with dated photos, get a written diagnosis from a licensed professional, and remember that California’s 10-year latent defect statute gives you real leverage on defects that were hidden at the time of construction.
Styles & brands we work with
- Kitchen remodeling
- Bathroom remodeling
- Home additions & ADU
- Roofing
- Windows & doors
- Driveway & pavers
- Fence
Table of Contents
- Why Water, Air, and Foundation Cause Most Post-Build Complaints
- How to Tell a Cosmetic Crack from a Structural Problem
- Diagnosing Water Intrusion: Where It Starts and How to Fix It
- Why Your New Addition Won’t Heat or Cool (And Why It’s Usually the Ducts)
- Electrical and Plumbing Problems That Only Show Up After Occupancy
- How to Document and Escalate When Your Contractor Goes Quiet
- California’s 10-Year Latent Defect Statute Explained
- What to Verify Before Drywall Goes Up
Why Water, Air, and Foundation Cause Most Post-Build Complaints
When homeowners call us about a finished addition that’s gone sideways, the complaint almost always lands in one of three buckets: moisture where it shouldn’t be, a room that won’t stay comfortable, or a floor or wall that’s shifted. Those aren’t random. Each one is tied to a single phase of construction that gets covered up and rarely inspected again once the job moves on.
Water intrusion is a flashing and drainage problem. It starts with how the roof-to-wall transition was detailed, whether the siding has a proper drainage plane behind it, and whether the grade around the new foundation sheds water away or toward the structure. In Antioch, we get a long dry season followed by concentrated winter rain, and that pattern punishes shortcut flashing. A joint that looks fine for eight months can wick water the first time a real storm rolls through the Delta.
HVAC imbalance is a design problem. The equipment in a new addition is often sized correctly for the whole house and then asked to push conditioned air through a duct run that was never engineered for the added square footage. You end up with a room that’s three to five degrees off no matter what the thermostat says.
Foundation settling is a soils and drainage problem. Antioch sits on expansive clay in a lot of neighborhoods, and clay moves with moisture. If the site wasn’t graded right or the footing wasn’t deep enough for the soil conditions, you’ll see the results as cracks and sticking doors a year or two out.
The common thread: none of these are visible in a finished, painted room. They’re visible during framing and rough-in. That’s the window where a homeowner has the most power and the least idea what to look for.
How to Tell a Cosmetic Crack from a Structural Problem
Most cracks in a new addition are cosmetic and come from normal material movement as lumber dries and the structure settles into itself. Some cracks are the first sign of something serious. The trick is separating the two with a handful of specific visual indicators rather than panic or denial.
Treat a crack as cosmetic when it’s hairline (under 1/16 inch), the two sides are still flush, it’s in drywall at a corner or seam, and it’s stable when you check it again in a month. Shrinkage cracks at the joint between new drywall and old walls are extremely common and almost never structural. So is a hairline crack above a door frame as the framing adjusts to seasonal humidity.
Treat a crack as structural, and get a licensed professional out quickly, when you see any of these:
- The crack is wider than a quarter inch, or it’s grown noticeably over a few weeks.
- One side of the crack is pushed out or stepped in relative to the other (offset), especially in a foundation wall or slab.
- The crack runs diagonally from the corner of a door or window, and the door or window no longer closes cleanly.
- You find horizontal cracks in a foundation wall, which often signal soil pressure rather than settling.
- Cracks appear alongside a floor that slopes or a ceiling that sags.
- You can see daylight, feel a draft, or the crack is wet or weeping.
In Antioch, expansive clay makes the offset-versus-hairline distinction especially useful. A hairline crack that widens in the dry season and closes in the wet season is usually soil movement acting on a foundation that’s doing its job. A crack that widens and never closes is the one to worry about. When you’re unsure, take dated photos every couple of weeks and compare. Movement over time tells you more than any single inspection. If you’re early in the planning stage rather than troubleshooting, our guide to Home Additions & ADU in Antioch covers how the build itself should be sequenced to prevent these issues in the first place.
Diagnosing Water Intrusion: Where It Starts and How to Fix It
Water always tells you where it’s been if you read the stains correctly. The mistake homeowners make is patching the ceiling or repainting the wall where the water shows up, which hides the symptom and lets the source keep working. The fix is to trace the water back to its entry point, and in an addition that entry point is nearly always one of five places.
- Roof-to-wall flashing. This is the number one culprit. Where the new roof ties into the existing house, the flashing and counter-flashing have to be woven and sealed correctly. A small gap lets wind-driven rain in behind the siding.
- Window and door penetrations. Every opening needs a sill pan and proper flashing tape. Skip the sill pan and water sits on the rough sill until it rots its way in.
- Siding and the drainage plane. Siding is a rain screen, not a waterproofing layer. Behind it there should be a weather-resistant barrier that lets water drain down and out.
- Foundation and grade. If the soil around the addition slopes toward the wall, water pools and pushes against the foundation. It finds the path of least resistance, which is often the slab edge or a crawlspace vent.
- Roof penetrations. Vent pipes and any skylight or chimney the addition added need properly booted and sealed penetrations. A cracked boot is a slow, quiet leak.
To diagnose, start at the highest point where you see a stain and work upward and outward, not the other way around. Water travels along framing, so the entry point can be several feet from the visible damage. Look for staining, soft drywall, bubbling paint, and a musty smell near the suspected area. A moisture meter is worth the small cost; it turns guesswork into a reading.
Fixing it means correcting the flashing or drainage detail, not caulking over the gap. Re-caulk is a band-aid that fails within a season. Whether the addition’s roofline ties into an existing roof or stands solo, quality roofing components matter: the flashing detail around CertainTeed or Owens Corning underlayment systems is what keeps a tie-in dry for decades, not months. If the roof over your addition is past its service life and the leaks are chronic, replacement may be the cheaper long game, and that’s a different conversation than chasing one leak.
Why Your New Addition Won’t Heat or Cool (And Why It’s Usually the Ducts)
When the new bedroom is too hot in summer and the back of the house is freezing in winter, the instinct is to blame the furnace or the AC. In our experience, the equipment is almost always working fine. The problem is the duct design.
Additions create what HVAC folks call a distribution problem. The original system was sized and routed for the original square footage. When you add a 400-square-foot primary suite or a detached ADU, that system now has to push the same volume of conditioned air through the same trunk and then branch into rooms that may be at the end of a long, undersized run. Static pressure climbs, airflow at the far registers drops, and the room never gets the air it needs to hit setpoint.
Here’s how to tell a duct problem from an equipment problem:
- Duct problem: Some rooms are comfortable and others aren’t. The equipment runs, cycles normally, and the temperature differs room to room by more than two or three degrees. Airflow at the new registers feels weak compared to the old ones.
- Equipment problem: The whole house struggles evenly. The system short-cycles, runs constantly without reaching setpoint anywhere, or you hear it straining. That points at the unit, the refrigerant charge, or the blower.
- Both: A new addition that was ducted with a manual, undersized run into an otherwise fine system, which then gets an oversized unit slapped on to compensate. That’s a design failure stacked on a design failure.
The real fix for a duct problem is a Manual J load calculation and a Manual D duct design that accounts for the new square footage, then correcting the runs, adding a return in the new space, and balancing the system. Sometimes a dedicated mini-split for the addition is the cleaner, more efficient answer than trying to force the central system to serve a room it was never designed for. If the addition is a detached ADU, a separate system is usually the only sensible option. Don’t let anyone sell you a bigger unit as the fix. Oversizing makes short-cycling worse and costs more to run.
In Antioch, a lot of additions include a new primary suite on the sunny side of the house, and those rooms take on afternoon heat that the old system never had to handle. That’s a load-calculation issue, not a “turn it down” issue.
Electrical and Plumbing Problems That Only Show Up After Occupancy
Some defects are patient. They pass the rough-in inspection and the final walkthrough, then reveal themselves months into occupancy when a breaker starts tripping or a drain backs up. The important thing to know is which ones are minor and which ones are urgent, and what to do first.
On the electrical side, the most common post-occupancy complaints are:
- Breakers that trip when multiple loads run at once, which usually means the new circuits were wired to a panel that didn’t have the capacity, or the load calculation for the addition was wrong.
- Dead outlets or switches that worked at inspection, often a loose backstab connection that finally gave up, or a wiring device that wasn’t torqued properly.
- Lights that flicker or dim when a large appliance kicks on, a sign of an undersized circuit or a shared neutral problem.
- No GFCI protection in the addition’s kitchenette or bathroom, which is a code problem, not just an annoyance.
On the plumbing side, watch for slow drains, gurgling, and water hammer. Slow drains in a new addition are frequently a venting problem, not a clog. If the new bathroom’s drain line wasn’t properly vented, the trap siphons and the drain gurgles and runs slow even though the pipe is clear. A water heater or the addition’s rough plumbing that wasn’t pressure-tested correctly can also show a slow leak at a joint that was fine at install.
What to do first: for a tripping breaker, stop using the circuit and get an electrician to check the panel and the new circuits before it becomes a fire risk. For a slow drain, don’t pour chemicals in it. Have a plumber check the venting and the trap. For any active leak, shut off the water at the fixture or the main and call the contractor on your punch list. Electrical and gas work is not a homeowner fix, and it’s not a general handyman fix either. It needs a licensed electrician or plumber, and it needs to be documented.
One thing we’ve learned across Antioch additions: getting the electrical and plumbing documented during rough-in, with photos before the drywall goes up, is worth more than any repair. If you can’t produce a photo of what’s behind the wall, you’re negotiating from a position of weakness later. That’s one reason a single contractor coordinating all trades from foundation to finish line is easier to hold accountable than four subs who never talked to each other.
How to Document and Escalate When Your Contractor Goes Quiet
The worst feeling in a build isn’t a defect. It’s a defect and a contractor who won’t return your calls. Before you assume the worst, get organized. A homeowner with good documentation has real leverage; a homeowner with a verbal complaint and a vague memory has very little.
Follow this sequence:
- Build the file. Gather your signed contract, the scope of work, the payment schedule, all change orders, permits, inspection records, and every text and email. If the contract is thin, that matters later and it matters now.
- Document the defect in writing. Take dated photos, ideally with a reference object for scale. Write a short, chronological summary of the problem and its impact, no emotion, just facts and dates.
- Send a written notice. Email and, if your contract requires it, certified mail. State the specific defect, reference the applicable contract clause or warranty, and set a reasonable response deadline. Keep it professional. You want this email to read well to a third party.
- Escalate to the warranty or guarantee. If your contractor offers a written workmanship guarantee, invoke it in writing. A real guarantee, like Groundwork’s 730-Day Done Right Promise, means the contractor has a documented obligation and a process to honor it. Make them honor it.
- Pull the permit record. Your local building department can tell you whether final inspection was signed off. An open permit is leverage.
- Consider the licensing board. In California, the Contractors State License Board takes consumer complaints and has a process for mediation and enforcement. A written complaint with your documentation attached gets attention.
- Get a second written opinion. An independent licensed contractor’s written diagnosis and repair estimate is your strongest piece of evidence if the issue escalates.
What a homeowner’s leverage actually looks like: the signed contract, the warranty language, the payment schedule, and the permit record. If you haven’t paid the final draw, you have leverage there. If you’ve paid everything and the contractor vanishes, the licensing board and, for larger sums, small claims court become the path. Calls answered by a live person, 24/7, is one of the reasons a contractor with a real phone operation is easier to hold accountable than one who disappears behind voicemail. If you can’t get a human on the phone when something’s wrong, that tells you something.
California’s 10-Year Latent Defect Statute Explained
California gives homeowners a real legal runway on construction defects, and it’s longer than most people expect. Under the state’s construction defect statute, the outside limit to bring a claim for a “latent” defect is 10 years from substantial completion of the improvement. Latent means the defect wasn’t apparent and wouldn’t have been discovered by a reasonable inspection.
Here’s the practical breakdown:
- Latent defects: up to 10 years from substantial completion. These are the hidden ones: missing flashing behind siding, inadequate soil compaction under a slab, a drain line vented incorrectly behind drywall. The homeowner couldn’t reasonably have seen it during a normal inspection.
- Patent defects: defects that are visible or should have been obvious. These have a shorter window and, in many cases, the clock runs from the date the homeowner knew or should have known.
- The window is a maximum, not a given. The 10 years is the outside limit. There’s also a shorter “discovery” period that starts when you find the defect. If you find a latent defect in year three, the 10-year limit may still cap you, but you don’t want to sit on it for years and weaken your position.
One catch: the statute applies to the original licensed contractor and the responsible parties, not to a handyman who did unpermitted work. In Antioch, unpermitted additions and ADUs are a real problem because a lot of older properties have them. If the work was done without a permit, the statute still applies to the contractor, but your ability to get the building department to inspect and sign off on a fix gets complicated. The other catch is that a warranty from your contractor and the statute run on parallel tracks. The 10-year statute is your legal backstop; a strong written guarantee, like the 730-Day Done Right Promise, is your first, faster line of defense.
What this means for your options: the statute is leverage. When you’re documenting a defect, put the repair estimate on paper and start a date log. The clock matters, and the sooner you have a written diagnosis, the stronger every conversation becomes. For a defect you suspect is latent and structural, a licensed structural engineer’s report is the piece of paper that gets taken seriously by everyone involved.
What to Verify Before Drywall Goes Up
The single best troubleshooting step is the one that happens before the problem exists. The drywall phase is the last chance to see the skeleton of your addition and catch the failures that would otherwise live behind the walls. If you’re building now, walk the site at rough-in with a checklist and take photos of everything.
Verify these before the drywall goes on:
- Roof flashing and tie-in. Photograph every roof-to-wall junction, valley, and penetration. Confirm the flashing and counter-flashing are in place and the weather-resistant barrier is lapped correctly over the top of it.
- Sill pans and window flashing. Confirm every window and door has a sill pan and that flashing tape is lapped in the right order. This is the cheapest insurance in the build.
- Grade and drainage. Walk the perimeter. The soil should slope away from the addition, not toward it. Confirm downspouts and any drainage plane discharge away from the foundation.
- Duct design. Ask for the Manual J and Manual D documents, and photograph the duct runs in the new addition. Confirm there’s a return in the new space and the supply runs are sized for the room’s load, not just “a run that fits.”
- Rough plumbing and venting. Photograph every drain, water line, and vent connection before it’s covered. Confirm the traps are vented and the lines were pressure-tested.
- Electrical and panel capacity. Ask to see the load calculation for the new circuits and the panel. Photograph the wire routing and confirm GFCI and AFCI protection are in place where code requires.
- Foundation and slab. Photograph the footing, any post-tension or rebar, and the waterproofing against the foundation wall. Confirm the compaction records for the soil under any slab.
- Inspection sign-offs. Confirm every rough-in inspection passed before the drywall goes up. Skipped inspections get expensive to unwind.
A single contractor coordinating from foundation to finish line can hand you a complete photo and inspection record at the rough-in walk, because one team is accountable for the whole sequence. When the subs never talk to each other, the gaps between trades become the gaps in the building. That’s where the failures come from.
Common Mistakes to Avoid
- Repainting over a moisture stain. The stainless is a symptom. Painting over it hides the evidence and lets the actual source keep working until the damage gets expensive. Trace the water up and out before you touch a brush. In Antioch’s wet winters, a stain that appeared in January will be back by the next storm if the flashing wasn’t repaired.
- Adding a bigger HVAC unit instead of fixing the ducts. An oversized unit short-cycles, costs more to run, and still leaves the new room uncomfortable. The fix is the duct design and load calculation, not a bigger box.
- Starting a build without a permit to save time. Unpermitted additions and ADUs in Antioch create a nightmare at resale, can complicate insurance, and make it hard to get a fix signed off. The permit is not paperwork; it’s your inspection record.
- Paying the final draw before a rough-in walkthrough. Once the drywall is up and you’ve paid in full, your leverage on hidden defects drops sharply. Tie the final payment to a documented walkthrough and a passed final inspection.
- Accepting a verbal warranty. A handshake guarantee sounds great until you need it. Get the workmanship warranty in writing, with the specific coverage period and the process for invoking it.
- Caulking a leaky roof tie-in. Caulk fails within a season. The fix is correcting the flashing and the drainage plane, not sealing over the gap.
- Skipping the pre-drywall photo record. Without photos of what’s behind the wall, you’re arguing about a hidden defect with no evidence. The cheapest insurance you can buy is a camera and a checklist.
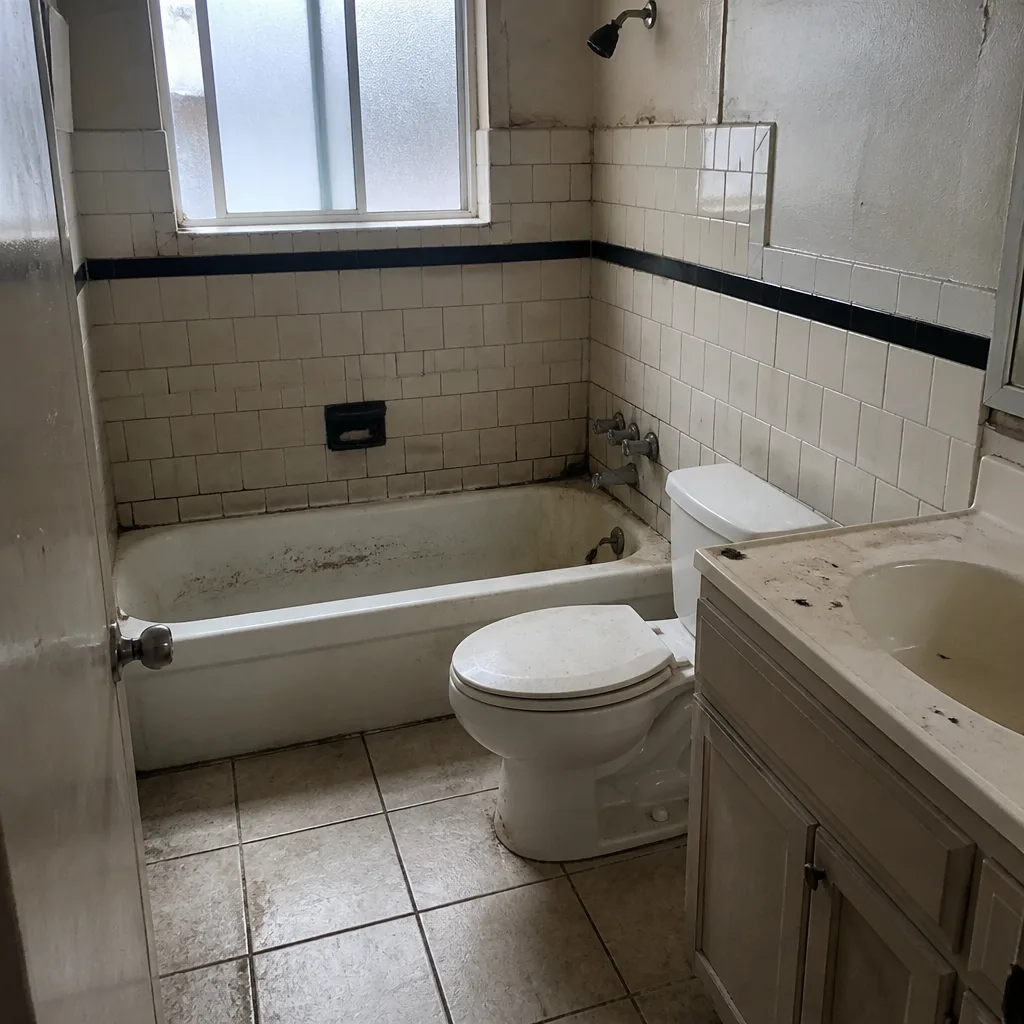
See the difference
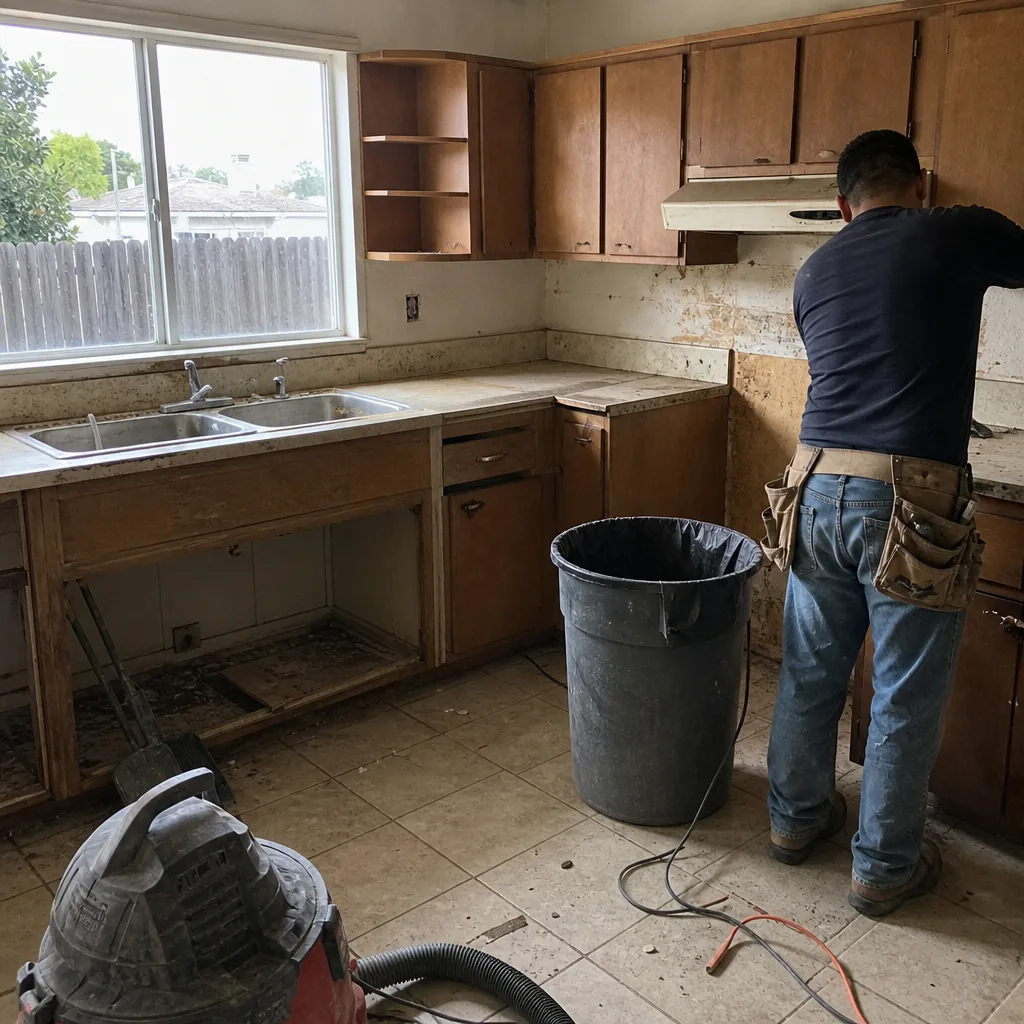 Before
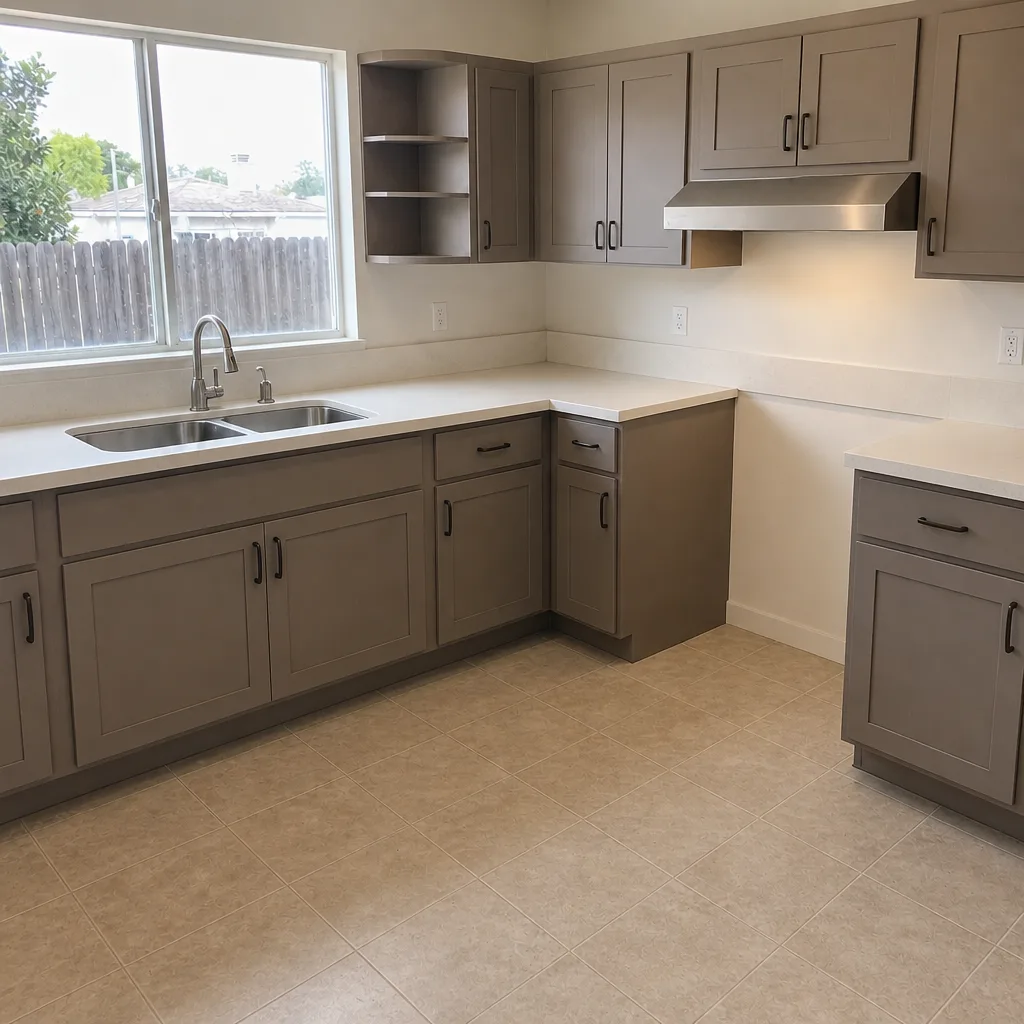 After
 Before
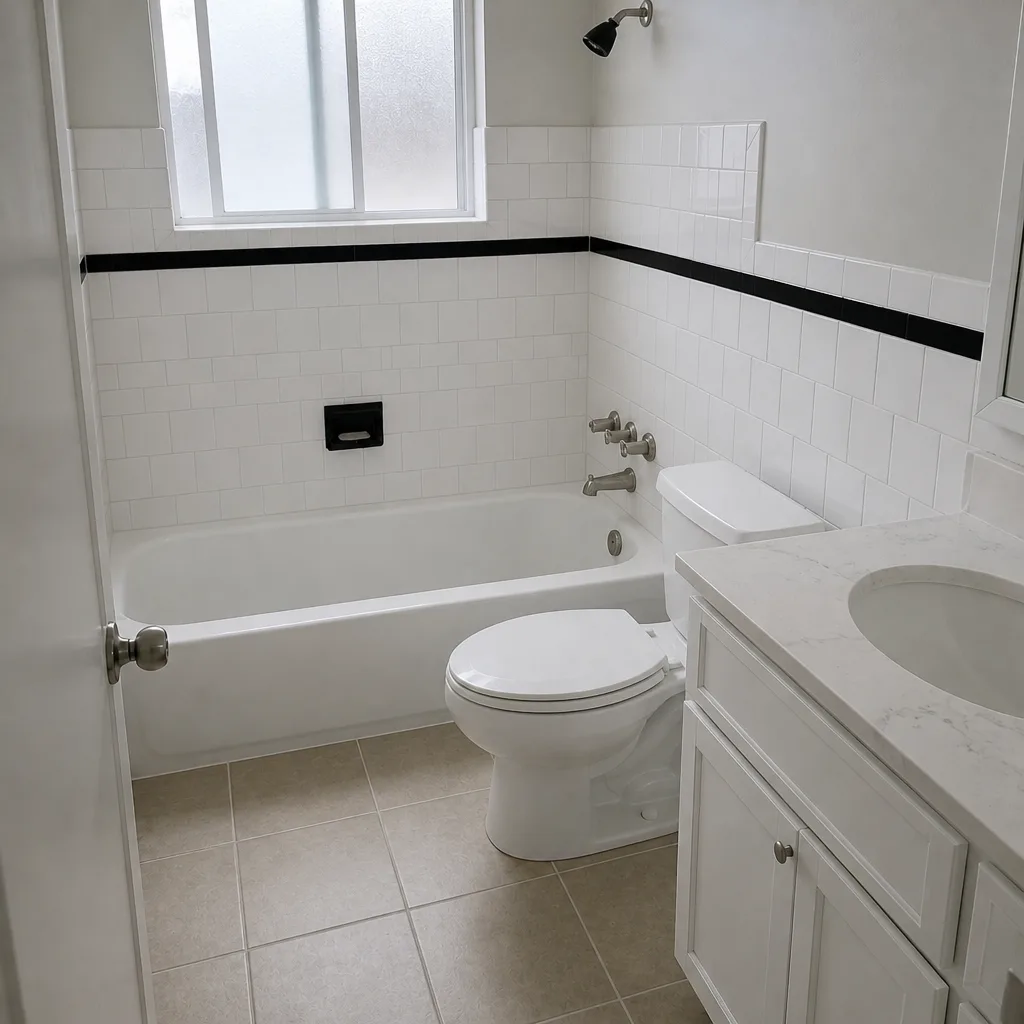 After
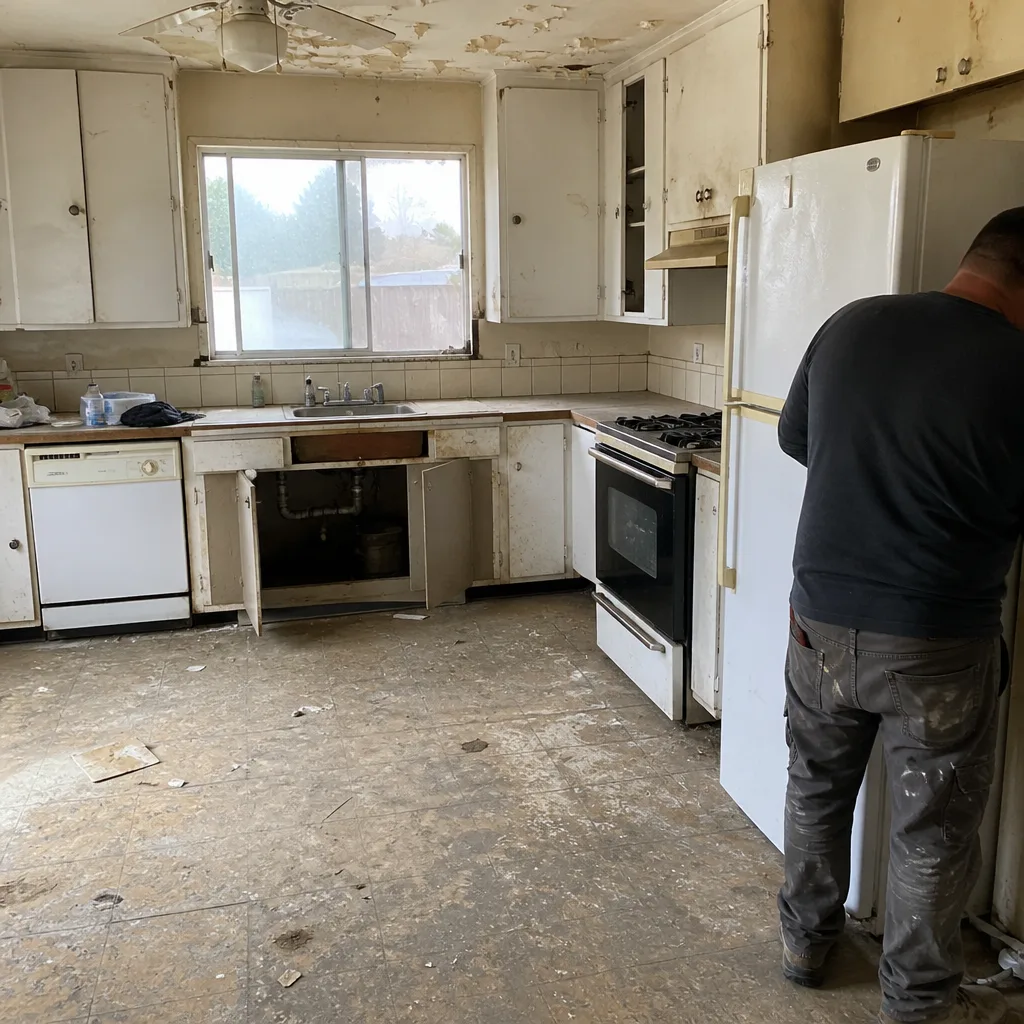 Before
 After
When to Call a Professional
Some problems wait for a scheduled repair. Others need a licensed professional today. Call immediately if you have active water intrusion, a crack wider than a quarter inch or one that’s offset, a foundation wall that’s bowing, a tripping breaker that won’t reset, a gas smell, or any plumbing leak that’s soaking a wall or ceiling. Those are the ones where a delay turns a repair into a rebuild.
For latent defects that are stable, get a written diagnosis and a repair estimate on the calendar within a few weeks so the documentation starts and the statute clock isn’t the deciding factor. And if the original contractor has gone quiet on a valid defect, don’t wait it out. A second licensed opinion plus your written file is the conversation starter.
Groundwork Construction Co. of Antioch offers free estimates in Antioch. If you’re planning an addition or ADU and want to see how the build should be sequenced to prevent these problems, call (888) 419-3650. Our technicians have up to 12 years of experience, and every project is covered by the 730-Day Done Right Promise. For the full scope of available services, see our Groundwork Construction Co. of Antioch home page, and if your build’s exterior is part of the plan, our guides to Driveway & Pavers in Antioch and Fence Installation in Antioch cover the sitework that keeps water moving away from the structure.
Frequently Asked Questions
A crack is usually cosmetic if it’s hairline (under 1/16 inch), the two sides are flush, and it’s stable over a month. It’s structural if it’s wider than a quarter inch, one side is offset from the other, it runs diagonally from a door or window, or it’s actively changing. In Antioch’s expansive clay, a crack that widens in the dry season and closes in the wet season is often normal soil movement; a crack that only widens is the one to get inspected. Take dated photos and compare. If you’re not sure, a licensed structural engineer’s written opinion settles it. Call (888) 419-3650 for a free estimate if you want a professional to look at a planned repair.
It’s almost always a duct problem, not an equipment problem. The original HVAC system was sized for the original square footage, and the new addition was likely ducted with an undersized run or no return. The fix is a Manual J load calculation and a Manual D duct design for the new space, plus balancing the system; sometimes a dedicated mini-split is the cleaner answer for a detached ADU. Don’t accept a bigger unit as the solution, since oversizing makes short-cycling worse. Call (888) 419-3650 to schedule a free estimate on a diagnosis and repair.
No. A water stain is a symptom, and repainting hides the evidence while the source keeps working. Trace the stain up and out to the entry point, which in an addition is usually the roof-to-wall flashing, a window penetration, or the siding’s drainage plane. Fix the flashing or drainage detail, confirm with a moisture meter that the area is dry, and only then repaint. In Antioch, a stain that appears during the winter rains will reappear next season if the flashing isn’t corrected. Call (888) 419-3650 for a free estimate on a water intrusion diagnosis.
California’s construction defect statute gives you up to 10 years from substantial completion to bring a claim for a latent defect, meaning one that wasn’t apparent and wouldn’t have been discovered by a reasonable inspection. Visible or patent defects have a shorter window tied to when you knew or should have known. The 10 years is the outside limit, and the discovery clock runs shorter. A written repair estimate and a date log matter, because the clock is leverage. Call (888) 419-3650 for a free estimate if you need a written diagnosis to start that documentation.
Get organized before you escalate. Gather your contract, change orders, permits, inspection records, and all texts and emails, then send a written notice by email and certified mail stating the specific defect, the contract clause or warranty it falls under, and a response deadline. If your contractor offers a written workmanship guarantee, invoke it in writing, since a real guarantee like the 730-Day Done Right Promise creates a documented obligation. Pull the permit record and, if needed, file a complaint with the Contractors State License Board. Call (888) 419-3650 for a free second-opinion estimate and a written diagnosis.
Cosmetic drywall patching is a reasonable homeowner task. Structural repairs, HVAC duct redesign, electrical panel or circuit work, gas line work, and anything involving active water intrusion are not. Electrical and gas work is genuinely dangerous and requires a licensed electrician or plumber, and structural repairs need a licensed contractor and, often, an engineer’s report. A bad DIY fix on a structural or electrical defect can void your warranty and your insurance coverage, and it can weaken your legal position on a latent defect. Call (888) 419-3650 for a free estimate so a trained professional handles the parts that carry real risk.
The Bottom Line
Most problems in a finished addition or ADU were created during framing and rough-in and sealed behind drywall before anyone noticed. The three that cause the most grief, water intrusion, HVAC imbalance, and foundation settling, are almost entirely preventable if you verify flashing, drainage, duct design, and soil prep before the walls close up. If you’re already living with a defect, the playbook is the same in every case: document with dated photos, get a written licensed diagnosis, know which defects are structural versus cosmetic, invoke your written warranty, and remember California’s 10-year latent defect statute gives you real leverage on hidden flaws. The best troubleshooting step is the one you take before the drywall goes up.
Written by the team at Groundwork Construction Co. of Antioch.