
Last updated November 17, 2026
 Windows & doors
 Kitchen remodeling
 Bathroom remodeling
 Home additions & ADU
 Roofing
 Driveway & pavers
 Fence
Free written scope consultation - allowances, timeline, and change-order rules on paper before a single trade is scheduled
Windows & Doors Troubleshooting: Common Problems and How to Fix Them
Here’s what we’ve learned crawling through hundreds of Antioch homes: a drafty window is not always a window problem. In our experience, roughly 60% of the air infiltration homeowners complain about is coming from the rough opening framing or the interior trim gap, not the glass or the sash. That’s a $20 tube of caulk and an afternoon, not a $1,500 replacement. The same pattern holds for doors that won’t latch and sliders that fight you: the symptom you notice is rarely the part that failed. This guide walks through seven root causes, from fogged insulated glass units to sliding door tracks, so you can diagnose what you’re dealing with before you call anyone.
Quick Answer
Most window and door problems trace back to one of seven root causes: a failed glass seal, a gap at the frame-to-rough-opening joint, missing exterior flashing, thermal expansion, a bent sliding track, binding hinges, or worn operator hardware. Diagnosing which one you have determines whether the fix is a $15 tube of sealant, a $200 hardware swap, or a full unit replacement. Match the symptom to the cause first, and you’ll avoid paying for a new window when a flashing repair would have solved it.
Styles & brands we work with
- Kitchen remodeling
- Bathroom remodeling
- Home additions & ADU
- Roofing
- Windows & doors
- Driveway & pavers
- Fence
Table of Contents
- Fogging Between Panes: What It Means and Whether You Can Reseal It
- Door That Won’t Latch in Summer But Works Fine in Winter
- Three Places a Window Leaks (And How to Tell Them Apart)
- Sliding Door Tracks: Clean, Lube, or Replace?
- Sticking Casement Windows: Hinge, Frame, or Operator?
- The Drafty Window That Isn’t a Window Problem
- What Antioch’s Climate Does to Windows and Doors
- Common Mistakes to Avoid
Fogging Between Panes: What It Means and Whether You Can Reseal It
When you see a milky haze inside a double-pane window, the seal on the insulated glass unit has failed. That haze is moisture that got past the perimeter seal and condensed on the inside of the glass. The window frame, the sash, and the surrounding wall are usually fine. What failed is the IGU, the sealed sandwich of two panes, a spacer bar, and about a half-inch of trapped gas. Once that seal breaks, no amount of wiping will clear it, because the moisture is inside the sealed unit where you can’t reach.
So what can you actually do about it? Here’s the short version:
- Confirm it’s the IGU. Run a hand across the interior glass. If the fog is on the room-side surface, it’s condensation on a normal window. If the fog sits between the two panes and won’t wipe off, the IGU has failed.
- Check the age of the unit. Most double-pane windows carry a manufacturer’s seal warranty that runs 10 to 20 years. In Antioch, plenty of homes built in the 2000s boom are now at the far end of that window.
- Decide between glass and window. If the frame and sash are solid, a glass-only replacement costs a fraction of a full unit. If the frame is warped, rotted, or visibly compromised, a full replacement is the better spend.
- Don’t pay for a drill-and-defog “repair.” Anyone offering to drill a hole and dry the glass out is leaving you with a unit that will fog again within a season.
We work with Andersen and Marvin glass when we replace an IGU or a full unit, and both brands offer warranty paths worth checking before you commit to anything. If your fogging is widespread across multiple windows on the same wall, that’s a sign the original installation compressed or stressed the perimeter seals, and it’s worth looking at the frame condition before you replace glass into a bad frame.
Door That Won’t Latch in Summer But Works Fine in Winter
A door that sticks from June through September and swings cleanly in January is almost certainly a thermal expansion issue. Wood, steel, and most composite door slabs expand measurably as they warm up, and the strike-side jamb does the same. An Antioch afternoon in the high 90s can push a slab enough to close a 1/16-inch gap and turn a smooth latch into a fight. The door isn’t broken. It’s doing what the material wants to do.
There are two clean solutions, and which one you pick depends on how much movement you’re seeing:
- Reset the strike plate. A 1/8-inch adjustment to the strike plate location, or filing the plate opening slightly larger, gives the latch room to catch. This works when the movement is small and consistent. It’s a 20-minute fix with a screwdriver and a metal file.
- Replace the door slab or the door itself. If the gap swings more than 3/16 inch between seasons, the frame is moving too much, or the slab is warped, chasing the strike plate every summer gets old fast. This is where fiberglass and steel doors usually win over wood in Antioch’s swing between mild winters and hot summers.
Two quick checks before you pick a solution. First, close the door and look at the gap between the slab and the jamb. Even all the way around? That’s expansion. Wide at one corner, tight at the opposite? That’s the frame out of square, and the strike plate won’t fix it. Second, check the hinges. Loose screws or a sagging top hinge will pull the latch away from the strike regardless of temperature. Tighten or replace any hinge hardware that moves when you push on the door.
Three Places a Window Leaks (And How to Tell Them Apart)
Water coming in around a window has three possible sources, and they call for three completely different repairs. Get the diagnosis wrong and you’ll caulk the wrong joint, or worse, replace a window that wasn’t the problem. Here’s how to separate them.
1. The glass seal
Water appearing inside the double-pane unit means the IGU seal has failed. You’ll see fog or droplets trapped between panes. Fix: replace the glass unit. This is the least common of the three on exterior water intrusion, but the easiest to spot.
2. The frame-to-rough-opening gap
Water showing up on the interior sill, on the drywall around the window, or at the corners of the opening suggests the joint between the window frame and the rough framing has opened up. In our experience this is the most common source of interior leaks in Antioch homes, especially where the original installation relied on caulk alone instead of a proper sill pan and backer rod. Fix: pull the interior trim to inspect, re-flash the rough opening if the water is entering from outside, and re-seal the joint from the exterior with a quality sealant.
3. The exterior flashing and weather barrier
Water showing up on the ceiling below the window, on a floor below an upper window, or in the wall cavity itself usually means the exterior flashing or the weather-resistant barrier has failed. This is the most serious of the three, because the water is traveling. Fix: remove the siding and trim around the window, inspect the flashing and the WRB, and rebuild the water-shedding layers in the correct order (pan, barrier, flashing, window, trim, sealant).
A quick tell: if the leak only shows up when the rain is driving sideways against a specific wall, you’re looking at flashing or the frame-to-opening gap. If water tracks down the interior face of the glass on a cold morning, that’s condensation, not a leak, and the fix is ventilation and humidity, not caulk.
Sliding Door Tracks: Clean, Lube, or Replace?
Patio sliders take more abuse than any door in the house. They’re heavy, they cycle hundreds of times a month, and the bottom track collects every piece of grit the household drags in. Most slider complaints respond to a simple cleaning routine. A few need real repair. Here’s how to sort them:
- Inspect the track for debris. Use a shop vac with a crevice tool, then a stiff brush and a rag. Grit in the lower channel is the single most common cause of a stiff slider.
- Check the rollers. Pop the door off the track (or tilt it back if it’s a newer unit) and look at the rollers at the bottom edge. Worn, flat-spotted, or seized rollers need replacement, and that’s a $30 to $80 hardware swap. A complete roller replacement on a standard six-foot slider usually takes under an hour.
- Lubricate correctly. Use a dry silicone spray or a dedicated track lubricant, not WD-40 and never grease. Grease captures dirt and makes the next problem worse. Spray the track, wipe down the rollers, and cycle the door several times.
- Check the track for bends. Lay a straightedge along the lower track. Any dip more than 1/8 inch over the door’s travel means the track itself is bent. That’s not a cleaning problem. Bent tracks require track replacement, and on most sliding doors that’s a real repair, not a swap.
- Check the frame for racking. If the door binds at one end of its travel but not the other, the frame has racked. Older sliders in Antioch homes on slab foundations sometimes shift as the soils move, and a racked frame will bind until you address the frame itself.
If the door passes all four checks and still scrapes, the issue is probably a warped slab (more likely on wood-framed sliders than vinyl or fiberglass), and replacement is the honest call. If you’re staring at a slider that’s failed in multiple ways at once, that’s often the moment to consider a full replacement through our Groundwork Construction Co. of Antioch home page, where we coordinate the window and door scope alongside other projects.
Sticking Casement Windows: Hinge, Frame, or Operator?
A casement window that fights you as you crank it open has one of three problems, and you can usually tell which by feel. Crank the window slowly and pay attention to where the resistance shows up:
- Hinge binding. Resistance increases toward the end of travel, and the sash sags slightly at the far edge. The hinge arm has lost lubrication or the hinge pin has worn. Fix: clean and re-lube the hinge track (silicone spray, not grease), or replace the hinge if it’s visibly loose.
- Frame racking. The window is tight through the entire travel, and the sash feels like it’s dragging against the frame on all sides. This means the rough opening has settled or the window was installed slightly out of square. Fix: this one requires a pro to check the frame and the rough opening, because any fix that ignores the frame will fail again.
- Operator gear failure. The crank turns freely or skips, but the sash doesn’t travel. The gears inside the operator have stripped. Fix: replace the operator. This is a common wear item, and on most casement windows the operator is a $40 to $90 part with a 20-minute swap.
You can confirm the operator diagnosis in about ten seconds. Open the window a few inches, then look at the operator arm and gear housing while someone else cranks it. If the arm wobbles or the gear slips audibly, the operator is done. If the arm moves cleanly but the sash doesn’t, the sash-to-arm attachment has come loose.
Here in Antioch, we see a lot of casement operator failures in the west-facing windows of older homes. West sun bakes the operator housing, the lubricant inside dries, and the gears wear faster than they would on a shaded window. It’s not a manufacturing defect. It’s exposure and time, and it’s an easy fix once you know what you’re looking at.
The Drafty Window That Isn’t a Window Problem
You feel cold air around the window frame on a January morning, so you assume the window is bad. In our experience, roughly 60% of the time the air is infiltrating at the rough opening frame or the interior trim gap, both of which are far cheaper to fix than a window replacement. Here’s how to test it:
- The hand test at the trim. On a windy day, run a bare hand along the interior trim where it meets the wall. If the draft is strongest at the trim joint, the infiltration is at the rough opening, not the glass.
- The candle test at the sash. Hold a candle (or a lighter) near the meeting rail of a closed double-hung window. If the flame flickers, the sash seals or the weatherstripping have failed. That’s a $15 to $40 weatherstrip replacement.
- The plastic-sheet test. Tape a sheet of plastic across the entire window opening on the interior side. If the plastic billows inward on a windy day, the infiltration is behind the trim and into the wall cavity. If the plastic sits still, the window is the source.
If you’ve confirmed the draft is at the trim or the rough opening, the fix is a careful re-caulk along the interior trim-to-wall joint with a paintable latex caulk, plus exterior sealant at the frame perimeter. Twenty bucks in materials and an afternoon. If the plastic-sheet test shows the infiltration is at the sash, weatherstripping is the move. If it’s at the frame-to-glass interface, you might be looking at a frame issue that needs a pro eye.
What Antioch’s Climate Does to Windows and Doors
Antioch sits at the confluence of the Sacramento and San Joaquin rivers, and that geography shapes what fails and when. Summers regularly push past 100°F, and the thermal swing between a July afternoon and a January morning can hit 60 degrees. That’s a real workout for wood slabs, aluminum frames, and the sealants at every exterior joint. Door slabs expand and contract. Caulk joints fatigue faster than they would in a milder climate. Sliding door tracks collect dust from the dry summer months and then get soaked in the winter rains.
The delta wind matters too. West-facing windows in neighborhoods like Deer Valley and Lone Tree take a steady afternoon breeze off the river in spring and fall, and that wind drives rain against the exterior face of the glass and trim. Homes with a bad flashing detail or a failed exterior sealant joint on the west wall are the ones we see leaking first. Same pattern on the east-facing windows of homes closer to the water in the Rivertown area, where the morning marine layer keeps the joint wet longer after rain.
What does that mean practically? A few things we’ve learned from working on Antioch homes specifically:
- Wood entry doors need a re-seal every two to three years here, not every four or five like the labels suggest.
- Sliding door tracks need a clean-out in late spring (before they collect summer dust) and again in late fall (before the rains start).
- Exterior caulk joints on west- and south-facing windows fail faster than east- and north-facing ones, so check them every spring rather than waiting for a leak.
- IGU failures tend to show up on west-facing windows first because they see the highest daily heat cycling.
None of that is alarming. It’s just the maintenance rhythm for a window and door set living in the East Bay’s hot inland climate rather than the cooler coastal zones.
Common Mistakes to Avoid
- Replacing a window when the leak is at the flashing. We’ve seen homeowners pay for a full unit replacement and still get water on the interior sill because the flashing behind the window was never rebuilt. Fix the water-shedding layer first, then decide if the window needs replacement.
- Using WD-40 on sliding door tracks. It attracts dirt and gums up the rollers. Use a dry silicone spray instead, and wipe down the track before you apply anything.
- Paying for a drill-and-defog IGU “repair.” Drilling a hole in the glass and drying the unit out is a temporary fix that guarantees a re-fog within a season. Replace the IGU or the window, not the gas inside it.
- Ignoring a door that sticks every summer. A slab that’s moving enough to bind the latch is putting wear on the strike plate and the hinges. Left alone for three or four years, it warps the slab enough that strike-plate adjustment stops working and you’re into a replacement.
- Caulking over a wet joint. Sealant won’t adhere to a damp substrate, and it will fail within one rainy season. If the joint is wet, dry it, or wait.
- Skipping the interior trim inspection. Most drafts and leaks in Antioch homes show up at the trim joint first, and that joint is easy to skip because it’s on the inside and the cause is usually on the outside. Pull the trim before you replace the window.
- Hiring the first window company that shows up with a quote. A written line-item quote that specifies the glass unit, the frame material, the flashing detail, and the warranty is the standard. A verbal number and a handshake on a window replacement is not.
See the difference
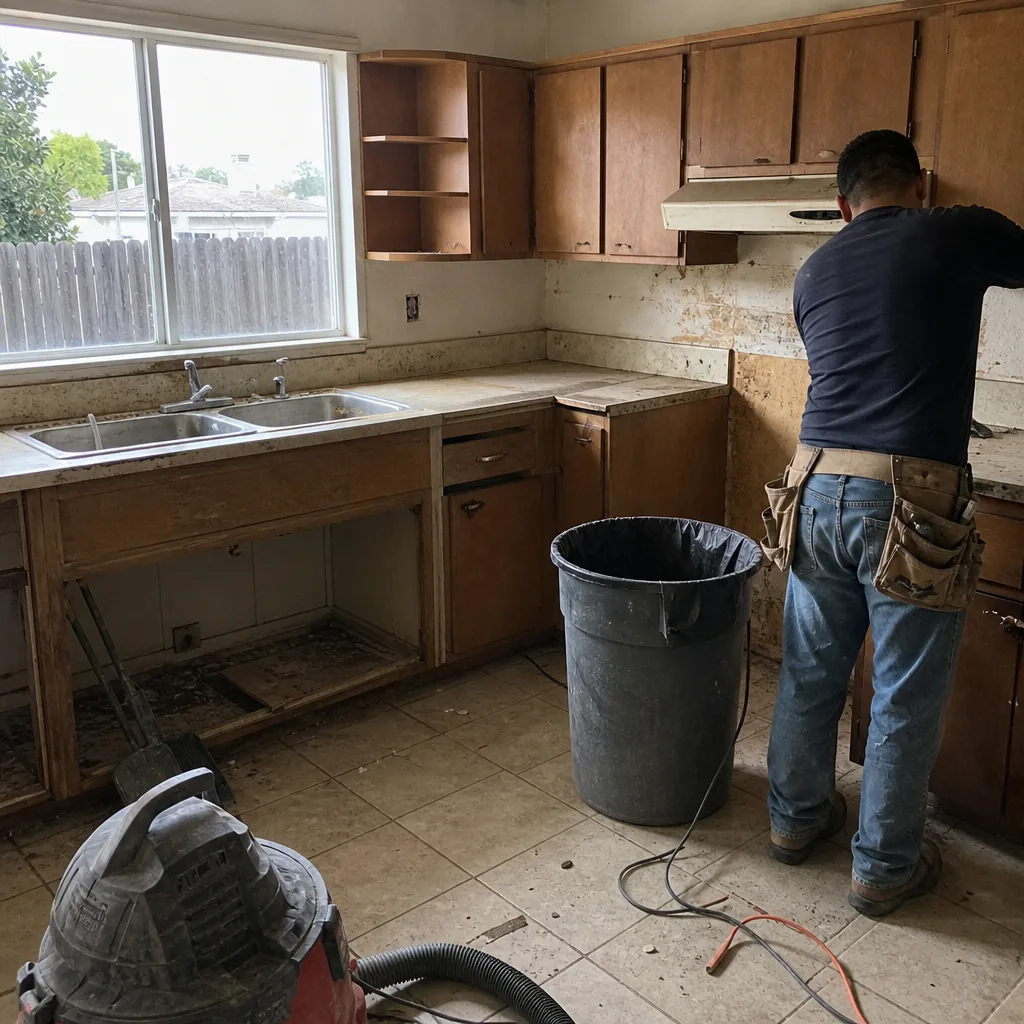 Before
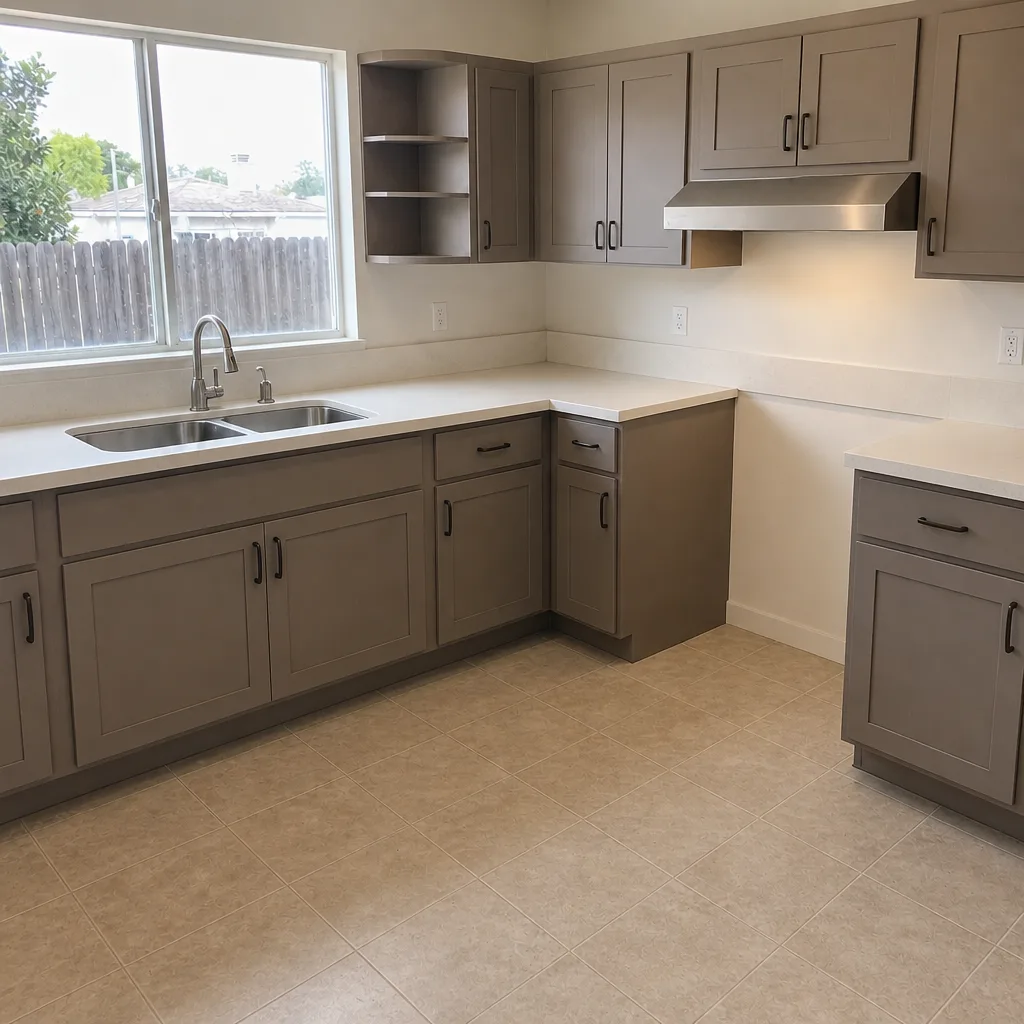 After
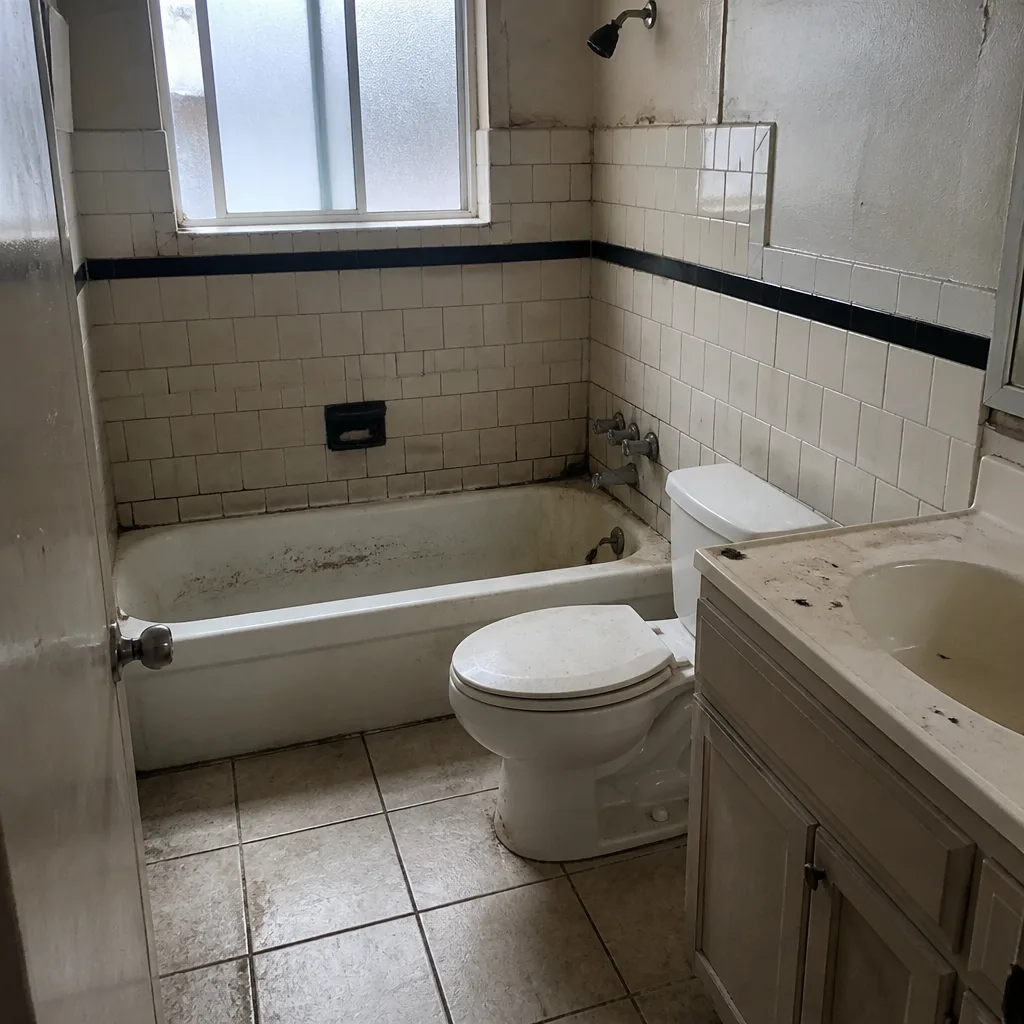 Before
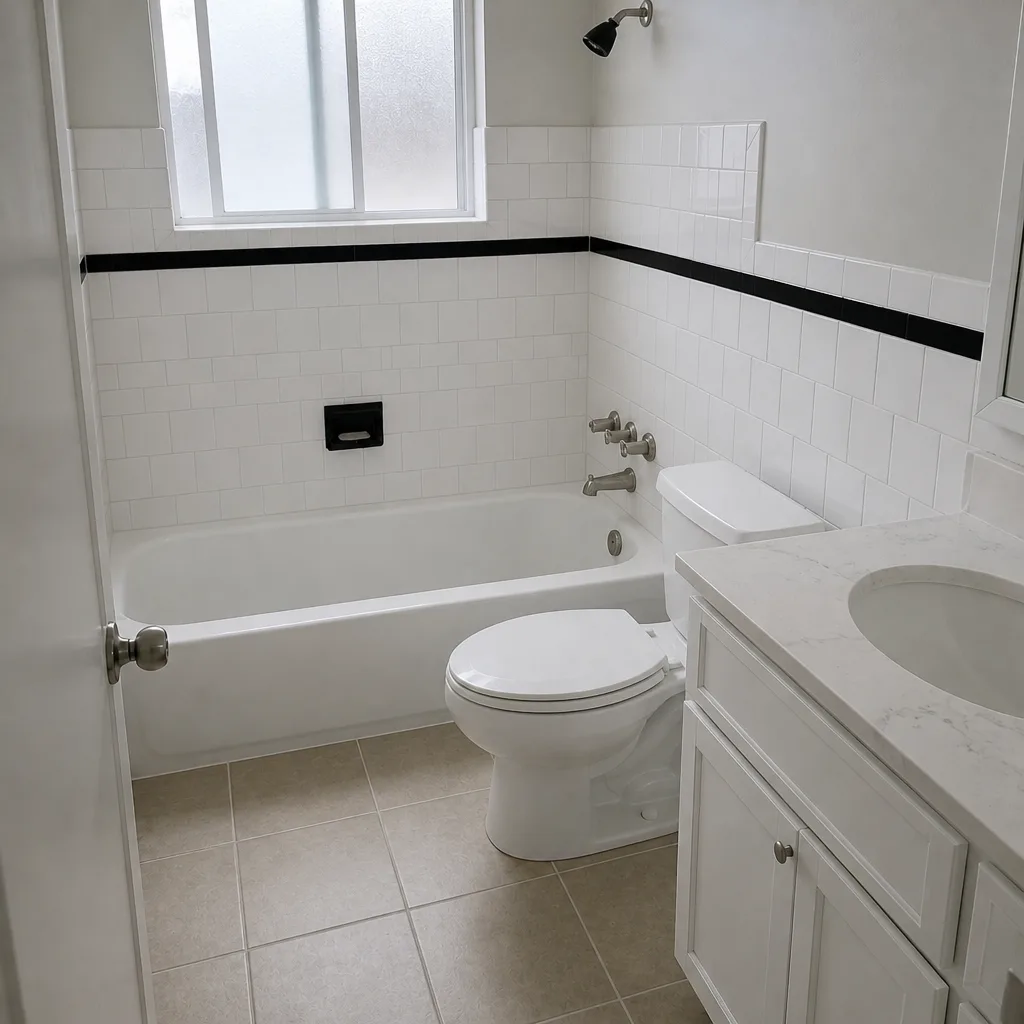 After
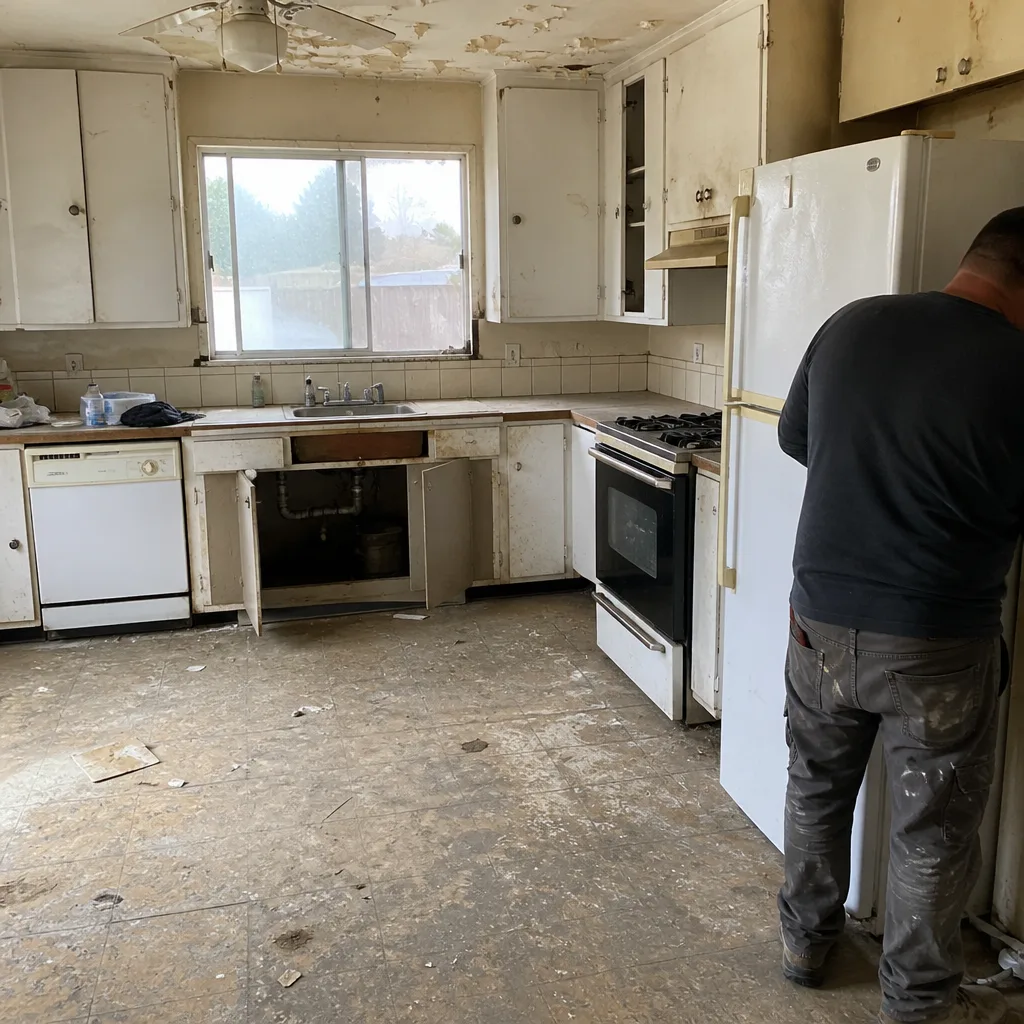 Before
 After
When to Call a Professional
Some fixes in this guide are genuinely DIY: re-lubricating a slider track, replacing a casement operator, adjusting a strike plate. But four scenarios should have a professional look before you spend money on any repair: water showing up inside the wall cavity or on a ceiling below a window, an IGU failure across more than two windows on the same wall, a casement window with visible frame racking, and any leak that returns after a sealant repair. Those are the moments when the diagnostic call saves you from paying for a fix that doesn’t solve the actual problem. Groundwork Construction Co. of Antioch offers free estimates in Antioch, and we walk you through the diagnosis before we quote a repair. Call (888) 419-3650 and we’ll schedule an appointment.
Frequently Asked Questions
Most window repairs in Antioch fall into three price bands: hardware repairs (casement operators, rollers, hinges) typically run in the low hundreds, IGU replacement usually runs higher than hardware repair but well under full replacement, and full window replacement starts in the high hundreds per unit and climbs with size and brand. A written line-item quote should specify which of those three you’re getting so you can compare apples to apples. Call (888) 419-3650 for an exact quote; estimates are free.
No, on our projects it doesn’t. We quote a written, line-item number after the diagnostic walk-through, and the number you see is the number you pay. If a repair turns up something we didn’t catch during the estimate, we stop and talk with you before doing anything that changes the scope. That’s the point of upfront pricing. Call (888) 419-3650 to schedule your free estimate.
No. A fogged double-pane window has a failed seal inside the insulated glass unit, and no field reseal works. The gas and desiccant inside the unit are gone, moisture has entered, and the only real fix is replacing the IGU or the whole window. Anyone offering to drill and dry the glass is putting off the real repair by a season at best. Call (888) 419-3650 for a free estimate on glass or full-unit replacement.
Replacement-in-kind window and door swaps typically don’t require a permit in most California jurisdictions when the size and location are unchanged, but any change to the rough opening, header, or exterior finish does. We check the permit requirements for your specific project before we finalize the scope, and we pull and pass whatever the city requires. That way the work shows up clean on a future inspection or sale. Call (888) 419-3650 for a free estimate.
Most single-window replacements are a half-day job per unit once the glass and frame are on site. A full-house window package in Antioch typically runs three to five working days depending on the count and the stucco or siding work around each opening. We schedule projects in a single mobilization where we can, so you’re not living with a half-finished wall for weeks. Call (888) 419-3650 to get an exact timeline for your project.
Thermal expansion. The slab and the track both grow with summer heat, and any tight clearance in the lower track closes as the temperature rises. Cleaning and silicone lubricant solve it in most cases, but if the sticking is severe enough that the door scrapes, the track or the rollers may need replacement. Call (888) 419-3650 for a free diagnostic look; we’ll tell you which of the two it is before you spend a dollar.
The Bottom Line
Most window and door problems have a specific, diagnosable cause, and the cause almost never matches the symptom a homeowner first notices. Fog between the panes means a failed IGU. A door that only sticks in summer means thermal expansion. Drafts at the interior trim usually come from the rough opening, not the glass. Water on the interior sill is a flashing or frame-to-opening problem. Sliders and casements each have their own diagnostic flow. Match the symptom to the root cause first and you skip the expensive guess. If the diagnosis lands on flashing, frame racking, or anything inside the wall cavity, that’s the moment to call a pro. Groundwork Construction Co. of Antioch offers free estimates in Antioch, and every project is backed by our 730-Day Done Right Promise. Call (888) 419-3650 to get started.
If your window and door project is part of a larger scope, we coordinate the whole build: check our Home Additions & ADU in Antioch for additions that include new exterior openings, our Driveway & Pavers in Antioch for exterior hardscape that ties into entry door replacements, and our Fence Installation in Antioch for perimeter work that runs alongside exterior upgrades.
Written by the team at Groundwork Construction Co. of Antioch.