
Last updated November 17, 2026
 Windows & doors
 Kitchen remodeling
 Bathroom remodeling
 Home additions & ADU
 Roofing
 Driveway & pavers
 Fence
Free written scope consultation - allowances, timeline, and change-order rules on paper before a single trade is scheduled
Windows & Doors Maintenance Schedule: What to Do and When
Weep holes, the small openings at the bottom of your window frames, get clogged by debris and painted over in an average of three years. When they do, water that should drain to the outside gets quietly redirected into your wall cavity, where you won’t see it until the drywall stains. Clearing them takes 45 seconds with a toothpick. That’s the whole job. And it’s one of five small tasks that determine whether your windows and doors last 12 years or 25. This guide lays out the full calendar for Antioch homeowners, season by season.
Quick Answer
Inspect and clear weep holes, weatherstripping, caulk, hardware, and thresholds twice a year: a spring pass after winter rain and wind, and a fall pass before the first storm. Clean tracks and lubricate hardware in spring, then check weather seals, caulk lines, and door thresholds in fall. Most windows and doors have a 20 – 30 year service life, but the ones that fail at 12 – 15 years almost always failed because these five checks were skipped.
Styles & brands we work with
- Kitchen remodeling
- Bathroom remodeling
- Home additions & ADU
- Roofing
- Windows & doors
- Driveway & pavers
- Fence
Table of Contents
- Why Windows and Doors Fail at 12 Years Instead of 25
- Spring Maintenance: What to Inspect After Winter
- Fall Maintenance: Prepping Before the First Rain
- Weatherstripping Replacement Intervals by Material
- The Exterior Caulk Inspection Every Antioch Homeowner Should Do
- How to Lubricate Window and Door Hardware Correctly
- Door Threshold Adjustment: The Annual Task You’re Skipping
- Common Mistakes to Avoid
Why Windows and Doors Fail at 12 Years Instead of 25
A well-built window should last 20 to 30 years. In our experience across Antioch, the ones that get replaced at 12 to 15 years rarely fail because of bad manufacturing. They fail because five maintenance tasks never got done, and none of them are urgent when you’re standing in the kitchen looking at them.
Those five tasks are: clearing weep holes, replacing weatherstripping, inspecting and refreshing exterior caulk, lubricating hardware with the right product, and adjusting door thresholds. Each one takes less than an hour. Each one is invisible until the day it isn’t.
Antioch’s climate makes this more pointed than most people realize. We get a genuine wet season from November through March, with wind-driven rain that pushes water sideways into window frames. Then we swing into a dry summer where exterior temperatures push into the high 90s and low 100s, and wood, vinyl, and even aluminum frames expand and contract with it. That expansion and contraction works everything loose over time: caulk lines, weather seals, threshold screws. The cycle repeats every year, and the only question is whether you’re doing maintenance between the cycles or waiting for a failure.
The economic argument is straightforward. A full window replacement on a typical Antioch ranch home with 14 windows runs well into five figures. A tube of exterior sealant, a pack of weatherstripping, and a proper lubricant cost maybe $60 total. The maintenance schedule isn’t about being handy. It’s about not buying the same windows twice.
Spring Maintenance: What to Inspect After Winter
Spring is the recovery pass. Winter has just put your windows and doors through four to five months of wind-driven rain, debris, and cold cycles, and spring is when you find out what sustained damage. Do these in roughly this order:
- Walk the exterior and clear every weep hole. Use a toothpick, a small Allen wrench, or a straightened paper clip. Don’t use a drill bit or a knife; you’ll widen the hole and defeat the purpose. If the hole is painted over from a past repaint, score the paint film lightly with a utility knife and clear it. Every window, every sill.
- Check the interior side of every window and door for water staining. Look at the drywall and trim directly below the sill and along the jamb. Any bubbling, discoloration, or softness means water is already getting behind the frame and you should stop here and get it evaluated by a professional.
- Open and close every operable window and door. Note any that stick, bind, or scrape. In Antioch, we regularly see spring sticking on north-facing aluminum sliders because the winter cold shrink plus years of dirty tracks accumulate at once.
- Clean the window tracks. Vacuum first, then wipe with a damp cloth. A shop vac with a crevice tool is the fastest method. Don’t soak the tracks; you’ll push water into the sill drainage path.
- Inspect and replace weatherstripping that has compressed flat. See the material breakdown below for how long each type should last.
- Lubricate all hardware. Tracks, rollers, hinges, and lock mechanisms, with the right product.
Spring is also a good time to check your sliding screen doors and window screens. Bent frames and torn mesh don’t fail structurally, but they let insects in and they’re cheap to fix before summer. On the door side, this is also the natural season to look at your exterior entry doors before the heat sets in.
Fall Maintenance: Prepping Before the First Rain
Fall is the protection pass. Spring was about what winter did. Fall is about what winter will do, and in Antioch that means one thing: getting water moving away from the envelope before the first real storm.
Here’s the fall checklist, roughly in priority order:
- Inspect exterior caulk at every window and door frame. Details below; this is the highest-value task on the list.
- Test every door threshold for daylight. Close the door on a sunny day and look for light coming under it. If you see light, the seal is broken and you’re losing conditioned air.
- Check weatherstripping around all exterior doors. Run the back of your hand around the closed door; anywhere you feel moving air is a leak.
- Confirm weep holes are still clear. Yes, again. It’s a two-minute walk and cheaper than any other option.
- Clear gutters and downspouts. Not a window or door task, strictly speaking, but a downspout dumping water against a foundation will find its way into the nearest window or door frame. The two systems are connected whether you treat them that way or not.
- Adjust thresholds that shifted over the summer. See the threshold section below; this is the annual task most homeowners have never done.
For homeowners in the older parts of Antioch, where original aluminum frames from the 70s and 80s are still in place, fall is also when you want to check for oxidation pitting around the frame perimeter. Pitting is a sign the protective finish is gone and the frame is now relying entirely on caulk to keep water out. That’s fixable, but it needs attention before the rains.
Speaking of the exterior envelope: if your fall walk turns up rotted trim around the windows, cracked stucco, or a door frame that’s soft to the touch, it’s usually a sign of a wider problem worth evaluating with a full exterior assessment rather than patching the one visible spot.
Weatherstripping Replacement Intervals by Material
Weatherstripping isn’t one product. It’s three main families, and they wear out at different rates. Most homeowners replace it when it visibly fails, which is about two years too late.
- Foam tape: the cheapest and most common. Compresses permanently in roughly 2 to 3 years. Replace on that cycle even if it looks intact, because a compressed foam seal has stopped sealing whether you can see the failure or not. Foam is fine for interior-facing doors and low-traffic windows; it’s the wrong choice for the main entry door.
- Bulb seal: a hollow rubber or silicone tube. Holds its shape longer than foam and typically lasts 4 to 6 years. The right choice for exterior doors that get used daily, including sliders and entry doors. Check for splits along the length; a single split kills the seal.
- Fin seal or tension seal: the standard for exterior doors, weatherstrip with a flexible lip that contacts the door slab. Outlasts foam and bulb, typically 6 to 8 years in a protected location. In our experience, sun exposure on a west-facing entry door cuts that down substantially, so inspect it every fall.
Whatever material you buy, match it to the door or window it’s going on, and match the adhesive to the surface. Adhesive-backed foam on a dirty or dusty frame will peel within a season. Clean the surface with isopropyl alcohol and let it dry before applying. Replacement weatherstripping for a typical exterior door costs $10 to $25 and takes about 20 minutes.
The Exterior Caulk Inspection Every Antioch Homeowner Should Do
Exterior caulk is the seal between the window or door frame and the siding or stucco around it. When it fails, water goes straight into the wall cavity with nothing to stop it. This inspection is the highest-value 30 minutes on the entire maintenance calendar, and it should happen every fall before the rains.
What to look for, by location:
- Around every window frame: hairline cracks, gaps at the top and bottom corners, or caulk that’s pulled away from the frame or the siding. Corners fail first because that’s where the two caulk lines meet and where movement concentrates.
- Along the top of the window and above the head casing: this is where water sits and where horizontal caulk lines crack first. Feel along the line with your fingertip; a crack you can’t see will catch your nail.
- At the door threshold and along sill edges: the horizontal runs. Look for separation at the corner where the vertical jamb caulk meets the horizontal sill caulk.
- Where siding meets the frame on any wall that gets sun: sun-facing caulk hardens and cracks faster than shaded caulk. West and south exposures on Antioch homes fail first.
- Any spot where the caulk looks milky, chalky, or has lost adhesion: that’s caulk at end of life. If it cracks when you poke it, replace it.
When you replace, remove the old caulk completely rather than caulking over it; new caulk won’t bond to old caulk. Use a 100% silicone or a high-quality polyurethane sealant rated for exterior use, not a cheap acrylic painters’ caulk. Do the work in dry weather with at least 24 hours before rain in the forecast. If you don’t want to do the walk yourself, having it looked at as part of a broader exterior evaluation catches the same issues and usually finds a few others.
If your windows and doors are reaching the end of their service life and the caulk walk keeps turning up the same problems every year, it’s a good time to talk about replacement. Groundwork Construction Co. of Antioch works with Andersen and Marvin on window replacements, and paired with the Groundwork Construction Co. of Antioch home page, you can see how windows fit into a full-exterior scope.
How to Lubricate Window and Door Hardware Correctly
Here’s the part most maintenance articles get wrong. The product you choose matters, and some of the most common household lubricants actively damage window and door hardware.
What to avoid:
- WD-40 (the standard blue-can product): it’s a solvent and water displacer, not a long-term lubricant. It strips the original grease from rollers and tracks, then evaporates within weeks, leaving the hardware drier than before. It also attracts dust.
- Petroleum-based grease or motor oil: on aluminum tracks, this can stain the anodized finish and hold grit, which accelerates roller wear. It also thickens in cold weather, which is the last thing you want on a door hinge.
- Silicone spray: not a wrong choice, but the lightweight aerosol versions dry to a film that breaks down within a season. Fine for a quick fix, not for the annual service.
What professionals actually use:
- Dry film PTFE (Teflon) lubricant on sliding window and door tracks. It’s clean, doesn’t attract dust, and holds up for a full year.
- White lithium grease on hinges, lock mechanisms, and any load-bearing pivot point. Apply sparingly with a small brush or a spray with a straw nozzle; a visible glob is too much.
- Silicone plumber’s grease on weatherstripping contact surfaces, which reduces friction and slows wear.
Application routine: clean the surface first (dirty tracks plus lubricant equals grinding paste), apply the product sparingly, open and close the window or door a few times to distribute it, then wipe away the excess with a clean rag. Full routine for a typical home takes about 30 minutes.
Door Threshold Adjustment: The Annual Task You’re Skipping
Door thresholds move. That’s not a defect; it’s what happens when a house settles seasonally, and it’s nearly invisible until you notice the draft. In Antioch, we see thresholds out of plane regularly because the ground here goes through a wetting and drying cycle annually that shifts a slab a millimeter or two in each direction. Over a few years, that’s enough to open a gap under a door you can see daylight through.
What it costs you:
- Energy: a threshold gap of a quarter inch under a standard exterior door leaks roughly the same air as a 3-inch hole in your wall. Across a winter of heating, that’s real money, and it shows up as a cold spot near the entry.
- Water: wind-driven rain comes in under the threshold gap during storms. This is one of the more common ways water gets into a wall cavity in an area that looks fine from the inside.
- Pests: a quarter-inch gap is enough for a mouse or a large insect.
How to check and adjust:
- Test in daylight. Close the door and look along the bottom edge. Any light means a gap.
- Test with paper. Close the door on a sheet of paper at several points along the threshold. If the paper slides out without resistance, the seal is broken at that point.
- Adjust the threshold. Most modern thresholds have adjustment screws on the top face or the interior side. Turn them a quarter turn at a time, test the seal, repeat. Some are accessible only when the door is open; others require the door to be closed to see the effect.
- Replace the threshold sweep or door bottom if the adjustment runs out. Standard replacement sweeps are $15 to $40 and go on with a few screws.
- If the door itself is out of square (visible gaps on one side or top rather than the bottom), the threshold adjustment won’t fix it. That’s a hinge-side issue and a professional should look at it.
This one task, done every fall, is worth more energy savings than most homeowners get from upgrading weatherstripping on their interior doors.
Common Mistakes to Avoid
- Caulking over old caulk. New sealant won’t bond to a failing bead, so the repair fails within a season. Remove the old bead completely, then reapply.
- Using WD-40 on window tracks. It strips the existing lubricant, attracts dust, and evaporates. The tracks end up worse than they started. Use a dry PTFE lubricant instead.
- Waiting until weatherstripping visibly fails to replace it. Foam and bulb seals stop sealing well before they tear. On a 2-to-3-year foam cycle, replace on schedule regardless of appearance.
- Painting over weep holes. A single coat of paint on the sill can block the drainage path entirely. Tape over the weep holes before painting, then pull the tape. We see this on older Antioch homes where exterior repaints have happened more than once without checking.
- Ignoring soft or stained interior trim. Water staining on the interior jamb is a sign the window is already leaking. Caulking the exterior at this point won’t fix the moisture already in the wall. Get it evaluated.
- Cleaning window tracks with a sopping wet cloth. Excess water pushes into the sill drainage path and can back up behind the frame. Vacuum first, wipe damp, then dry.
- Skipping the fall caulk check because the spring check looked fine. Caulk responds to temperature and movement in real time. A line that looked intact in June can crack open by October after a summer of expansion and contraction. Both passes exist for a reason.
See the difference
 Before
 After
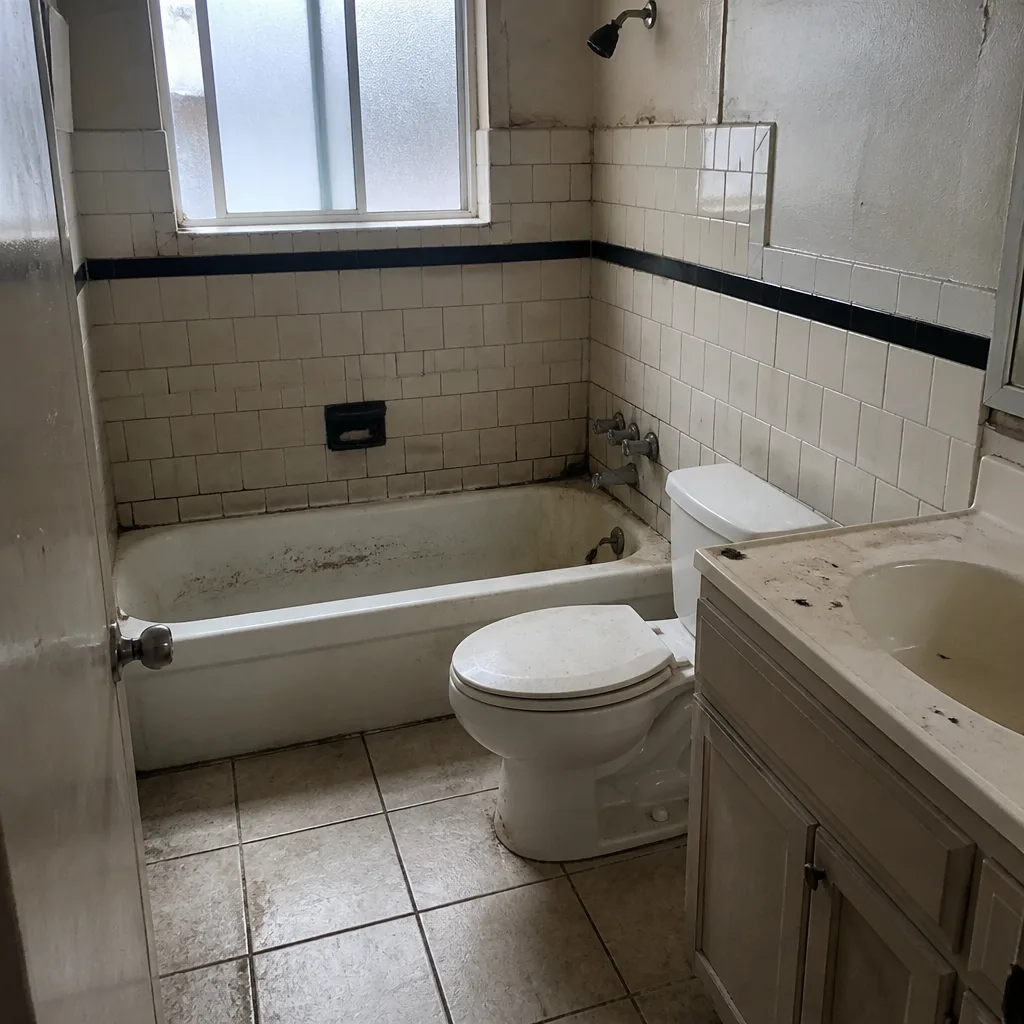 Before
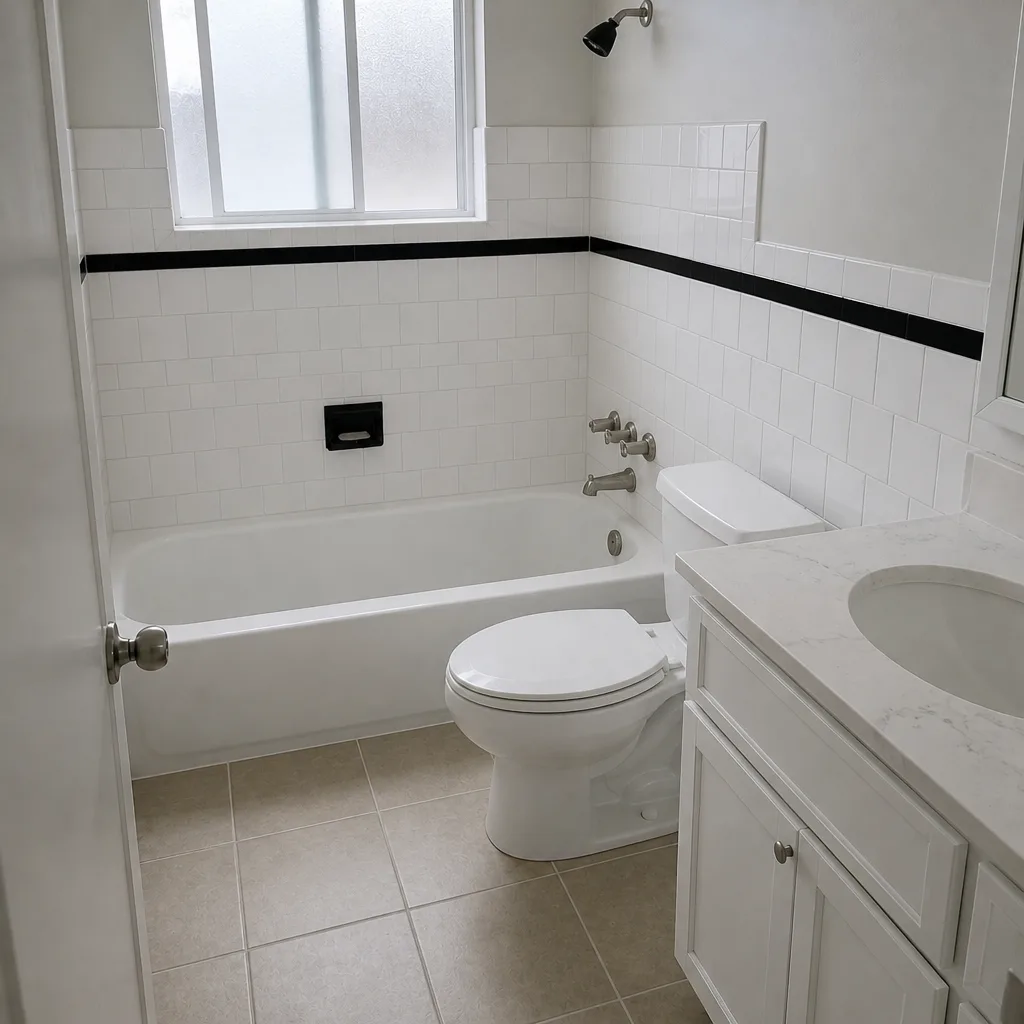 After
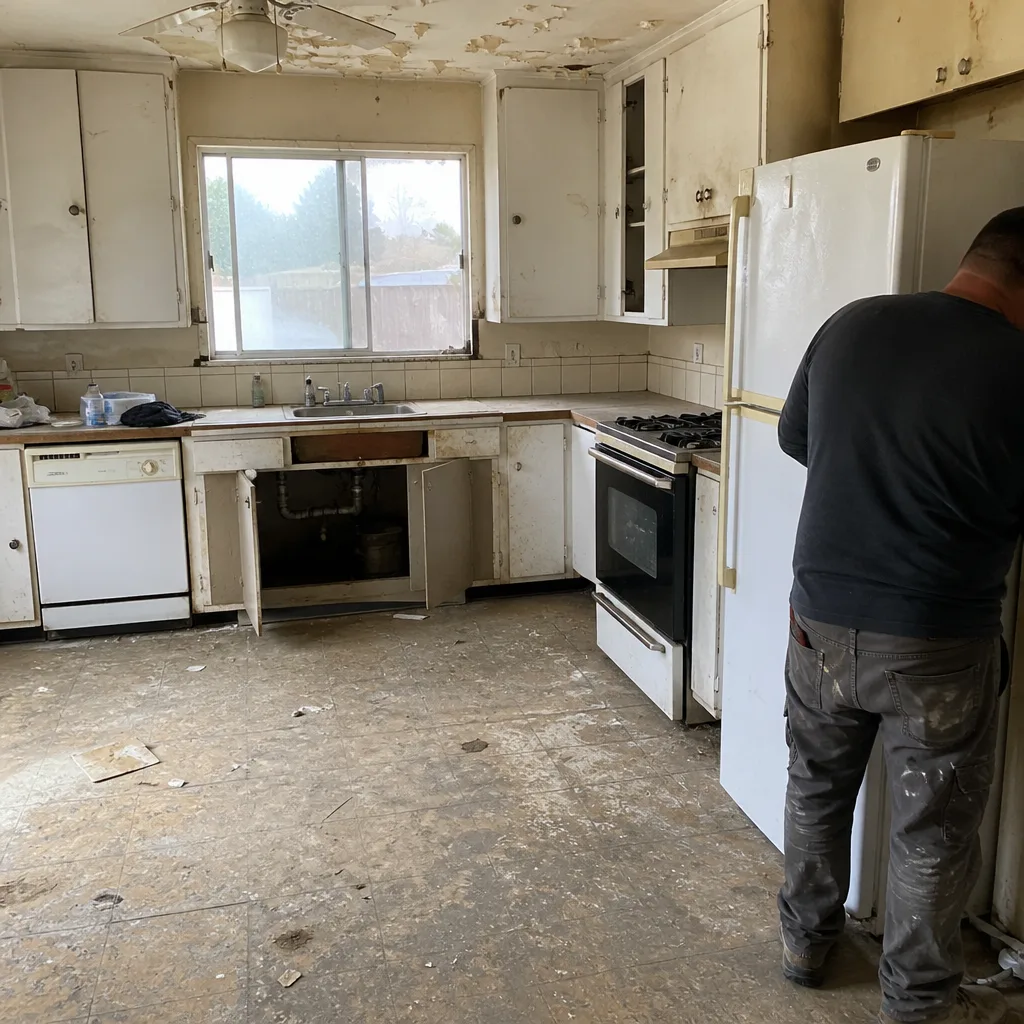 Before
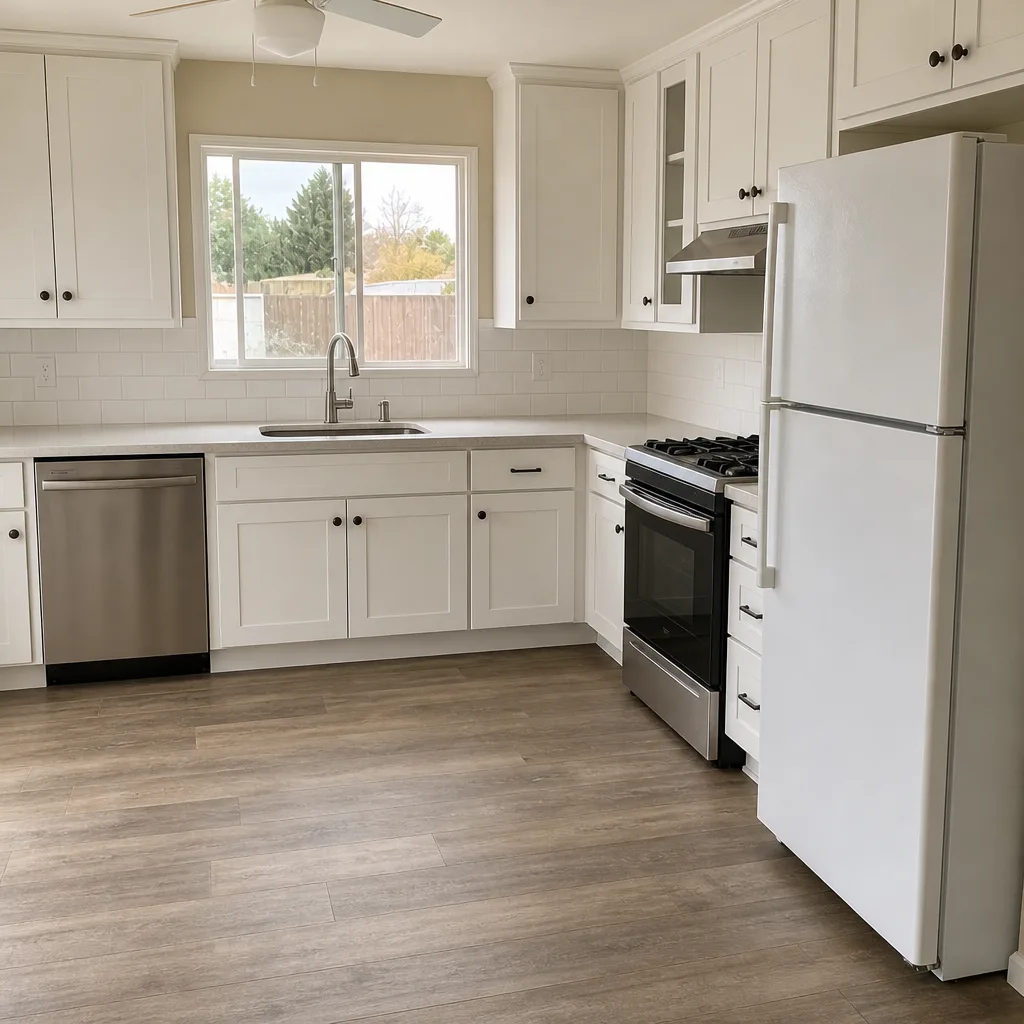 After
When to Call a Professional
These maintenance tasks are within reach for most homeowners. Some situations aren’t. Call a professional if you find soft or stained drywall or trim around a window or door (that’s already a leak), if a window or door is visibly out of square, if you’re on a second-story window, or if the exterior trim has cracked or rotted to the point where caulk won’t hold anymore. And if your windows and doors are 15+ years old and the maintenance is starting to feel like patching rather than protecting, it’s worth getting a professional evaluation of whether repair or replacement is the cheaper path over the next decade.
Groundwork Construction Co. of Antioch offers free estimates in Antioch; call (888) 419-3650 to schedule yours. Calls are answered by a live person 24/7, and we quote with upfront pricing so you know the number before work starts.
Frequently Asked Questions
Twice a year: once in spring after winter has done its damage and once in fall before the first storm. The spring pass focuses on recovery (clearing weep holes, cleaning tracks, replacing weatherstripping that compressed over the winter). The fall pass focuses on protection (exterior caulk, weather seals, door thresholds). Each pass takes about an hour for a typical home.
Inspect every fall; replace failing sections as you find them. Well-applied exterior sealant should last 7 to 10 years in a shaded location and 4 to 6 years on sun-facing walls. In Antioch, where summer sun hits the west and south exposures hard, the sun-facing caulk lines need replacement roughly every 4 to 6 years. If you aren’t sure, do the fingernail test.
A dry film PTFE lubricant on sliding tracks and white lithium grease on hinges and lock assemblies. Avoid standard WD-40 and petroleum-based grease. A single application in spring holds roughly a full year of normal sliding, and the window glides noticeably better afterward.
Months of accumulated dust and grit in the tracks, combined with thermal expansion during the dry season, is the most common cause. Clean the tracks with a shop vac first, then apply a dry PTFE lubricant. If the window still sticks after that, the rollers or the frame itself has worn and it’s worth an inspection. We see sticking sliders most often on older aluminum frames in Antioch.
Yes, for most standard exterior doors and windows. Replacement foam, bulb, and fin seal kits run $10 to $25 and take about 20 minutes per door. The job is a screwdriver-and-alcohol-wipe project. What you shouldn’t do yourself is repair a window or door frame that’s leaking water or out of square, which needs a professional look.
When the annual maintenance starts costing more than the amortized cost of a replacement, which for most homes is somewhere past 20 years or after the third cumulative failure (rot around the frame, fogged double-panes, non-repairable leaks). If you’re in an Antioch home with original construction from the 1970s or 1980s, that math is worth running. A free estimate through us will tell you whether the windows have another five years or need to go now.
The Bottom Line
Windows and doors last 20 to 30 years only if the five tasks on this calendar actually get done: clear weep holes (spring and fall), replace weatherstripping on its material schedule, inspect and refresh exterior caulk every fall, lubricate hardware with the right product, and adjust door thresholds annually. Each takes under an hour. Each is invisible until it’s expensive. The alternative is replacing windows at 12 years that should have gone 25. If the maintenance is past useful and you’re ready to talk replacement, Groundwork Construction Co. of Antioch offers free estimates and a 730-Day Done Right Promise on every job. That includes windows and doors, and it means if the install isn’t right, we make it right for two full years. Call (888) 419-3650 today to schedule your estimate, and get upfront pricing in writing before any work begins. Pair your exterior work with other improvement projects when you’re ready: fence work, a new Driveway & Pavers in Antioch surface, and a full Fence Installation in Antioch, along with Home Additions & ADU in Antioch scopes on the list for later this year. It’s the same team on every job, from foundation to finish line, and it’s why homeowners in Antioch choose us when the work has to be done once and done right.
Written by the team at Groundwork Construction Co. of Antioch.